
📑 Table of Contents ▶
- Mummy Rice Krispie Treats
- Mummy Rice Krispie Treats: Getting Started
- Fundamentals
- Preparation/setup
- Creating Your Mummy Masterpieces
- Technique
- Tips/tricks
- Perfecting Your Mummy Rice Krispie Treats
- Perfecting results
- Troubleshooting/variations
- Presenting and Storing Your Creations
- Serving/presentation
- Pairings/storage
- Conclusion
- FAQs – Mummy Rice Krispie Treats
I believe that a good recipe has the power to bring people together, spark joy, and turn ordinary moments into cherished memories. One of my fondest childhood memories involves creating deliciously spooky treats with my grandmother, a woman who could turn simple ingredients into culinary masterpieces. Her creativity in the kitchen was unmatched, and it planted the seed for my love of cooking.
As Halloween approached, my grandmother and I would spend hours crafting whimsical treats, with Mummy Rice Krispie Treats being a perennial favorite. These treats were as fun to make as they were to eat, and their charming appearance never failed to delight. The simple process of transforming Rice Krispies into adorable mummies fascinated me, and the joy they brought to our family gatherings was immeasurable.
This tradition of creating Mummy Rice Krispie Treats continues to inspire me, reminding me of the magic that can happen in the kitchen. At Yumoti, I strive to make cooking feel less intimidating and more joyful, just as my grandmother did. Whether you’re a seasoned chef or a kitchen novice, these treats are designed to bring a smile to your face and a touch of fun to your table.
Let’s dive into the world of Mummy Rice Krispie Treats and explore how you can create these delightful little characters. With a few simple ingredients and a touch of creativity, you’ll have a batch of treats that will charm both kids and adults alike.
Print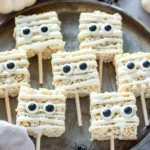
Mummy Rice Krispie Treats
- Prep Time: 20 minutes
- Cook Time: 10 minutes
- Total Time: 20 minutes
- Yield: 12 servings
- Category: Dessert
- Method: Melting, Drizzling
- Cuisine: N/A
Description
Discover how to make adorable Mummy Rice Krispie Treats that are perfect for Halloween! Easy step-by-step recipe for spooky sweet treats.
Ingredients
- 12 Rice Krispies treats (individually wrapped)
- 12 wooden sticks (popsicle sticks)
- 12 oz (340 g) white chocolate, finely chopped
- Assorted sizes of candy eyes
Instructions
- Remove the wrappers from the Rice Krispies treats and lay them on a sheet of parchment paper.
- Gently insert a wooden stick into each Rice Krispie treat.
- Place the chopped white chocolate in a medium-sized bowl suitable for the microwave. Heat it in 15-second intervals, stirring each time, until the chocolate is completely melted and smooth.
- Quickly immerse each Rice Krispie treat in the melted chocolate and set them back on the parchment paper. Attach a candy eye to each one.
- Chill the treats in the freezer for roughly 10 minutes or until the chocolate has solidified.
- Transfer the leftover melted chocolate into a piping bag and snip off the tip.
- Using the piping bag, drizzle the chocolate over the chilled treats to create a mummy-like design.
- Allow the treats to cool down and the chocolate to set.
Notes
- Use high-quality white chocolate to achieve a smooth and delicious coating on the Rice Krispies treats.
- Chill the treats in the freezer to allow the chocolate to set quickly and evenly.
- Experiment with different sizes of candy eyes for a fun and spooky mummy appearance.
Mummy Rice Krispie Treats: Getting Started
Fundamentals
To craft Mummy Rice Krispie Treats, you need to start with the basics. The key components include 12 Rice Krispies treats, wooden sticks, and white chocolate. These ingredients are readily available and easy to handle, making them perfect for a family-friendly activity. The simplicity of these ingredients allows you to focus on the fun part: decorating your mummies.
Each Rice Krispie treat forms the body of the mummy, while the white chocolate serves as the “bandages.” The candy eyes add a playful touch, bringing your creations to life. As you prepare the treats, remember that the joy is in the process. Involve your family members and let everyone express their creativity through decoration.
Preparation/setup
Before you begin, set up your workspace. Lay a sheet of parchment paper on a flat surface to catch any drips and make cleanup easier. Unwrap each Rice Krispie treat and gently insert a wooden stick into each one. This step transforms the treats into convenient, handheld snacks.
Next, prepare the white chocolate. Finely chop the chocolate and place it in a microwave-safe bowl. Heat it in 15-second intervals, stirring in between, until the chocolate melts completely. This method ensures a smooth consistency, perfect for coating the treats. Once the chocolate is ready, you’re all set to start dipping.
Creating Your Mummy Masterpieces
Technique
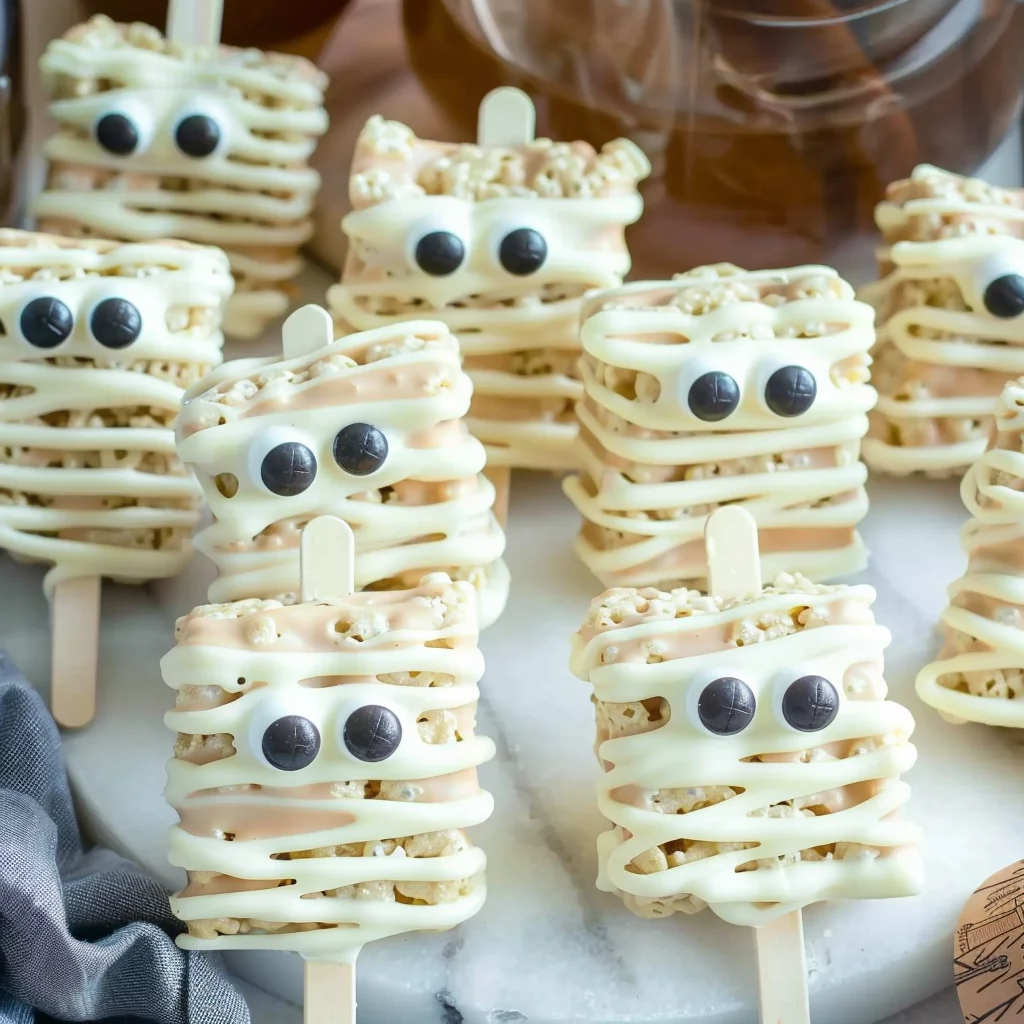
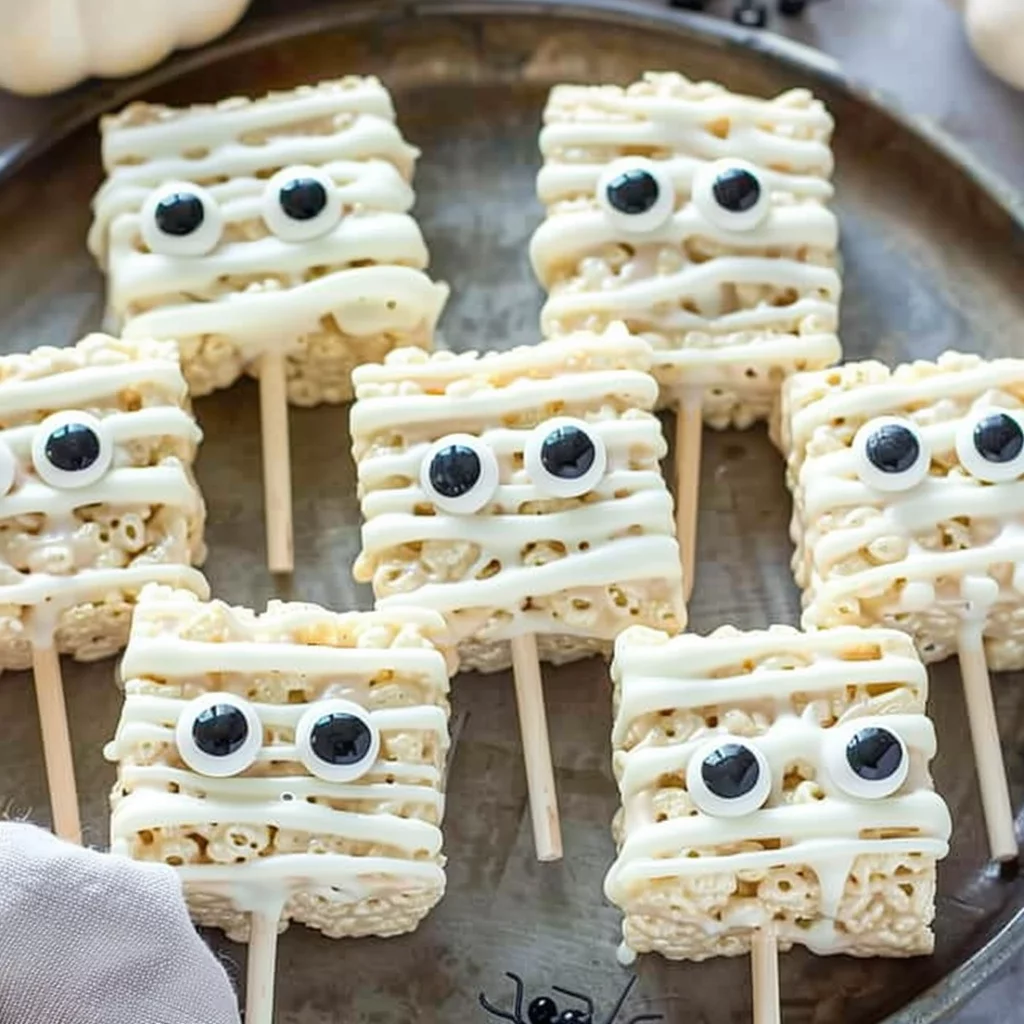
With your melted chocolate ready, it’s time to immerse each Rice Krispie treat. Dip them into the chocolate, ensuring an even coat. Work swiftly to keep the chocolate from hardening prematurely. Once coated, place the treats back on the parchment paper and attach a candy eye to each one. The eyes are what give these mummies their character, so have fun experimenting with different placements.
Allow the chocolate to set by chilling the treats in the freezer for about 10 minutes. This step is crucial for achieving that perfect, firm texture. While waiting, transfer any remaining melted chocolate into a piping bag. You’ll use this to add the finishing touches to your mummies.
Mummy Rice Krispie Treats
Tips/tricks
For an extra touch of creativity, consider experimenting with different sizes of candy eyes. This variation can add personality to each mummy, making them uniquely yours. If you find the chocolate hardening too quickly, simply reheat it in the microwave for a few seconds to restore its smoothness.
Engage your kids in the process by letting them drizzle the chocolate over the treats. This step creates the mummy’s bandages and is an excellent opportunity for children to express their artistic flair. Remember, the goal is to have fun, so embrace the imperfections and enjoy the process.
Perfecting Your Mummy Rice Krispie Treats
Perfecting results
Achieving the perfect Mummy Rice Krispie Treats involves a blend of technique and creativity. Once your treats have chilled and the chocolate has set, use the piping bag to drizzle additional chocolate over them. This step completes the mummy-like appearance, adding layers of “bandages” to your treats. The drizzles need not be perfect; the charm lies in their uniqueness.
To ensure the best results, maintain a steady hand while drizzling. If the chocolate becomes too thick to pipe, warm it slightly to regain its fluidity. By taking your time with this step, you’ll create mummies that are visually appealing and deliciously tempting.
Troubleshooting/variations
If you encounter issues with the chocolate setting too quickly or the eyes not sticking, don’t worry! Simply warm the chocolate again or apply a small dab of chocolate behind each eye as a “glue.” For those who enjoy experimenting, consider adding a touch of food coloring to the white chocolate for a fun twist on the traditional mummy look.
Another variation is to use different types of chocolate for the drizzle, such as dark or milk chocolate, to create contrast. These small changes can elevate your Mummy Rice Krispie Treats, making them a standout treat for any Halloween gathering.
Presenting and Storing Your Creations
Serving/presentation
The presentation of your Mummy Rice Krispie Treats is just as important as their creation. Arrange them on a festive platter to showcase their adorable features. The use of different candy eye sizes adds depth and character, making them a playful centerpiece for parties.
For an extra touch of flair, consider displaying them alongside other themed treats. If you enjoy themed recipes, you might like to explore making Mummy Meatloaf for a savory twist on the mummy theme. These little touches can make your Halloween spread truly memorable.
Pairings/storage
Store any leftover Mummy Rice Krispie Treats in an airtight container at room temperature. They remain fresh for several days, making them perfect for preparing in advance. If you’re planning a larger event, consider pairing them with other delightful treats like Muddy Buddy Rice Krispies Treats or patriotic options like Red White and Blue Rice Krispie Treats.
Mummy Rice Krispie Treats
These treats are versatile and complement a variety of party themes. Their charming appearance and delicious taste ensure they’ll be a hit with guests of all ages. Whether for a school party or a family gathering, Mummy Rice Krispie Treats add a festive touch to any occasion.
Conclusion
Mummy Rice Krispie Treats offer a delightful blend of creativity and simplicity, making them an ideal project for cooks of all skill levels. The process of transforming basic ingredients into charming mummies is both satisfying and fun. These treats embody the essence of Halloween, bringing joy and whimsy to any celebration.
As you create these treats, remember that the journey is just as rewarding as the final product. Involving family and friends in the process can create lasting memories and traditions. Whether you’re exploring new recipes like Japanese Beef and Rice Bowls or trying your hand at Japanese Curry Rice, the spirit of cooking is all about sharing and enjoying together.
So gather your ingredients, let your creativity flow, and enjoy the delightful process of making Mummy Rice Krispie Treats. They’re sure to become a beloved tradition in your household, just as they have in mine.
