
📑 Table of Contents ▶
- No Bake Chocolate Oatmeal Bars Fundamentals
- Preparation/setup
- Directions
- Crafting the Perfect No Bake Chocolate Oatmeal Bars
- Technique
- Tips/tricks
- Perfecting No Bake Chocolate Oatmeal Bars
- Perfecting results
- Troubleshooting/variations
- Serving and Storing No Bake Chocolate Oatmeal Bars
- Serving/presentation
- Pairings/storage
- Conclusion
No Bake Chocolate Oatmeal Bars
Creating the perfect treat often begins in the simplest of ways. One afternoon, I found myself searching for something sweet but didn’t want to heat up the oven. After rummaging through my pantry, I stumbled upon rolled oats, chocolate chips, and peanut butter, an impromptu inspiration for no-bake chocolate oatmeal bars. The combination of creamy peanut butter and rich chocolate danced in my mind, creating a craving that was too good to resist.
No-bake chocolate oatmeal bars bring together the warmth of childhood memories with the convenience of modern baking. Each layer in these bars represents a new texture and flavor, creating a delightful treat that satisfies both young and old. Once you’ve made these bars, you’ll understand why they quickly become a family favorite.
Countless memories revolve around sharing these no-bake chocolate oatmeal bars with friends and family. From movie nights to casual gatherings, they hold a special place in every celebration. If you crave something quick, delicious, and incredibly satisfying, let’s dive into the world of no-bake chocolate oatmeal bars.
No Bake Chocolate Oatmeal Bars Fundamentals
Every successful recipe begins with understanding its fundamentals. No-bake chocolate oatmeal bars require simple ingredients and a simple process. The beauty lies in the layers that build the flavors and textures.
These bars consist of a buttery oat base, a creamy peanut butter and chocolate filling, and a delightful drizzle to finish. Each layer contributes to the overall profile and plays an essential role in the balance of flavors. The no-bake aspect allows for a quick and effortless dessert, which is perfect for those busy days or spontaneous gatherings.
Preparation/setup
Setting up your workspace ensures a smooth cooking experience. Start by lining an 8-inch or 9-inch square baking dish with parchment paper. This step prevents the bars from sticking, making it easier to lift them out once set. Let the parchment paper hang over the edges for easier removal.
If you prefer thinner bars, consider using a 9×13-inch baking dish instead. The choice of pan size allows for flexibility, depending on how thick or thin you want your bars to be. Gather your ingredients and equipment beforehand to streamline the execution of this recipe.
Ingredients
To make these delightful no-bake chocolate oatmeal bars, you will need:
- 1 cup butter
- 1/2 cup brown sugar (packed)
- 1 teaspoon vanilla extract
- 3 cups rolled oats
- 1 cup semisweet or dark chocolate chips
- 1/2 cup peanut butter
Each ingredient plays an essential role in crafting the perfect balance of flavors and textures. The butter and brown sugar provide the foundation, while oats lend a hearty texture. Meanwhile, chocolate chips and peanut butter deliver the indulgent sweetness that characterizes these bars.
Directions
-
Begin by melting the butter and brown sugar in a large saucepan over medium heat. Stir until the butter has melted and the sugar has fully dissolved.
-
Once the mixture is smooth, add the vanilla extract and stir well.
-
Mix in the rolled oats, ensuring that they are thoroughly incorporated into the buttery mixture.
-
Cook this oat mixture over low heat for about 3 to 4 minutes, stirring frequently. This step will help the flavors meld together beautifully.
-
Pour half of the oat mixture into the prepared baking dish. Spread it evenly and press down firmly.
-
Set the other half aside for the second layer.
-
In a microwave-safe bowl, melt the peanut butter and chocolate chips together. Stir until the mixture is smooth and creamy.
-
Pour the melted chocolate mixture over the oat crust, leaving about 1/4 cup for drizzling later. Spread it evenly across the first layer.
-
Next, pour the reserved oat mixture over the chocolate layer, pressing it in gently to adhere.
-
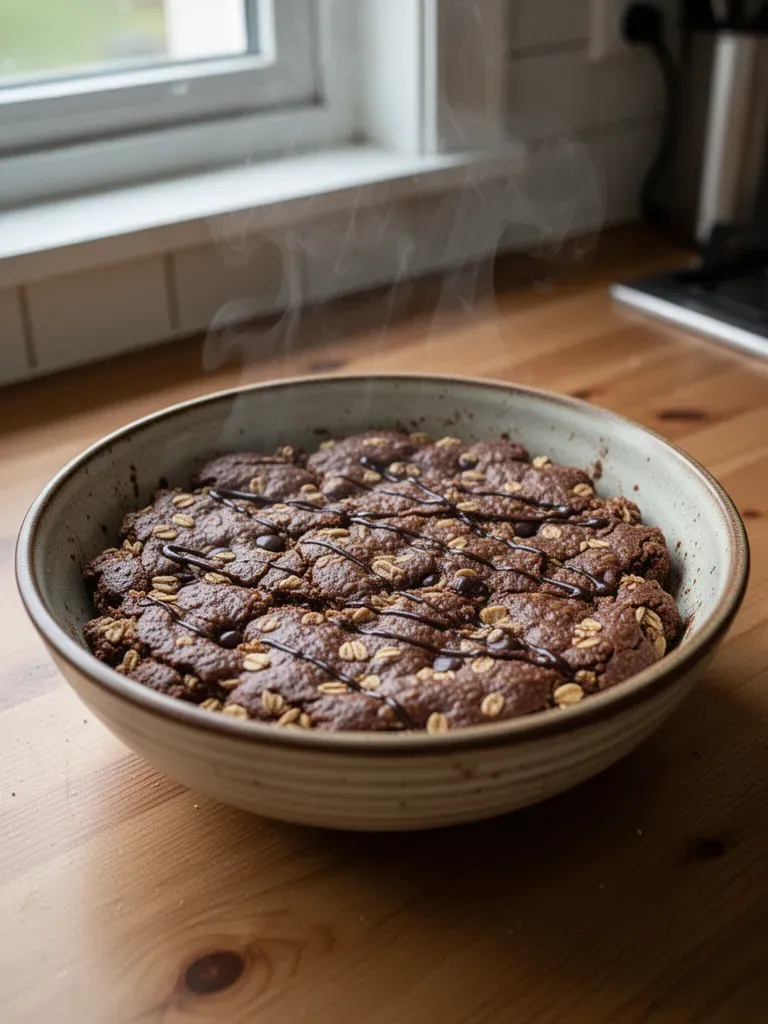
Drizzle the remaining chocolate mixture on top, adding a decorative touch.
-
Refrigerate for 2 to 3 hours, or overnight if you want the bars to set properly.
-
Once set, bring the bars to room temperature before slicing into squares for serving.
Crafting the Perfect No Bake Chocolate Oatmeal Bars
Technique makes a difference in the world of no-bake desserts. Every step contributes to the final product, and mastering the process ensures satisfying results every time. Understanding your ingredients also plays a significant role.
Technique
Pay attention to how you blend the ingredients. Melt the butter and sugar completely without boiling it, as this can affect the final texture of your no-bake chocolate oatmeal bars. The goal is to create a smooth and cohesive mixture that binds the oats together.
When melting the chocolate and peanut butter, do so in short bursts in the microwave, stirring in between. This prevents overheating, ensuring a perfectly silky filling.
Tips/tricks
Want to elevate your no-bake chocolate oatmeal bars? Consider adding a sprinkle of sea salt on top after drizzling the chocolate. It enhances the flavor profile, creating a pleasant contrast to the sweetness.
You can also use different nuts or seeds mixed in with the oats. Almonds, walnuts, or chia seeds can add a delightful crunch and extra nutrition. Don’t hesitate to customize this recipe to fit your mood or dietary needs.
Perfecting No Bake Chocolate Oatmeal Bars
The final product can differ based on several factors. However, mastering the techniques and following the given directions can lead to consistently delightful results.
Perfecting results
Ensure that your butter and sugar mixture reaches the right temperature. If it doesn’t boil long enough, your layered bars might end up too soft and delicate. On the other hand, excessive boiling can result in dry, crumbly bars.
Testing the temperature with a candy thermometer can prevent mishaps. Aim for a medium heat for even melting without scorching the mixture. Even small adjustments in cooking times can lead to significant differences in texture.
Troubleshooting/variations
Should your no-bake chocolate oatmeal bars turn out softer than expected, try refrigerating them longer next time. Allowing them to chill allows the flavors to meld and enhances the structure.
You can also play around with non-dairy versions of the ingredients, such as using coconut oil instead of butter or almond butter instead of peanut butter. These substitutions will create unique flavors while keeping the essence of the recipe intact.
Serving and Storing No Bake Chocolate Oatmeal Bars
Presentation can make a world of difference when serving your no-bake chocolate oatmeal bars. Let’s explore how to serve these delightful treats and how to store any leftovers.
Serving/presentation
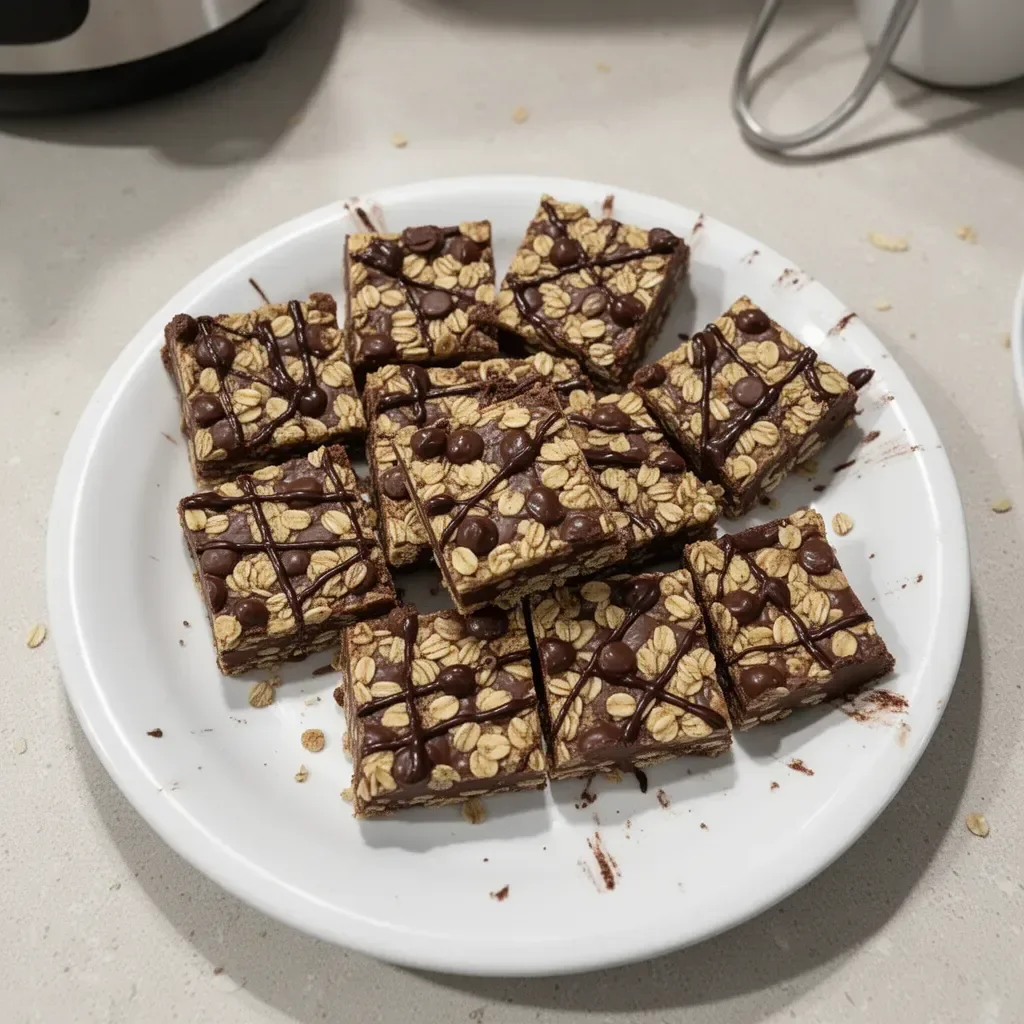
Slice the bars into neat squares or rectangles for a polished presentation. Arrange them on a serving platter or individual dessert plates for gatherings. Adding a sprinkle of shredded coconut or crushed nuts can make your bars even more visually appealing.
To add a touch more flavor, consider serving them alongside fresh fruit or a scoop of your favorite ice cream. The coolness of the ice cream complements the richness of the bars and creates an enjoyable dessert experience.
Pairings/storage
Store any leftover no-bake chocolate oatmeal bars in an airtight container in the refrigerator. They will keep fresh for about a week, although they seldom last that long! For longer storage, consider freezing the bars. Cut them into individual portions, wrap them tightly, and place them in a freezer-safe container. They will maintain their flavor and texture for up to three months.
No-bake chocolate oatmeal bars not only shine on their own but also accompany other sweets or fresh fruits beautifully. Serve them for special occasions or when you crave a delightful homemade treat.
Conclusion
No-bake chocolate oatmeal bars embody the essence of homemade treats. With simple ingredients and easy steps, they make for delightful sweet additions to family gatherings or cozy nights. Their rich, creamy layers and the balance of textures keep cravings at bay while offering flexibility for customization.
The next time you seek a quick yet delicious dessert, look no further than these no-bake chocolate oatmeal bars. So gather your ingredients, follow the straightforward steps, and enjoy the delightful experience of creating and sharing this easy treat.
Print
No Bake Chocolate Oatmeal Bars
- Prep Time: 15 minutes
- Cook Time: 10 minutes
- Total Time: 180 minutes
- Yield: 16 servings
- Category: Dessert
- Method: No-Bake
- Cuisine: American
- Diet: Vegetarian
Description
Delightful no-bake chocolate oatmeal bars with layers of creamy peanut butter and chocolate, perfect for quick treats.
Ingredients
- 1 cup butter
- 1/2 cup brown sugar (packed)
- 1 teaspoon vanilla extract
- 3 cups rolled oats
- 1 cup semisweet or dark chocolate chips
- 1/2 cup peanut butter
Instructions
- Begin by melting the butter and brown sugar in a large saucepan over medium heat. Stir until the butter has melted and the sugar has fully dissolved.
- Once the mixture is smooth, add the vanilla extract and stir well.
- Mix in the rolled oats, ensuring that they are thoroughly incorporated into the buttery mixture.
- Cook this oat mixture over low heat for about 3 to 4 minutes, stirring frequently.
- Pour half of the oat mixture into the prepared baking dish. Spread it evenly and press down firmly.
- Set the other half aside for the second layer.
- In a microwave-safe bowl, melt the peanut butter and chocolate chips together. Stir until the mixture is smooth and creamy.
- Pour the melted chocolate mixture over the oat crust, leaving about 1/4 cup for drizzling later.
- Next, pour the reserved oat mixture over the chocolate layer, pressing it in gently to adhere.
- Drizzle the remaining chocolate mixture on top, adding a decorative touch.
- Refrigerate for 2 to 3 hours, or overnight if you want the bars to set properly.
- Once set, bring the bars to room temperature before slicing into squares for serving.
Notes
Sprinkle sea salt on top for added flavor. Consider using different nuts or seeds for extra crunch.