📑 Table of Contents ▶
- Graveyard Dirt Cups
- Creating the Perfect Graveyard Dirt Cups
- Fundamentals
- Preparation/setup
- Crafting the Graveyard Scene
- Technique
- Tips/tricks
- Enhancing the Flavor and Presentation
- Perfecting results
- Troubleshooting/variations
- Serving the Graveyard Dirt Cups
- Serving/presentation
- Pairings/storage
- Conclusion
- FAQs – Graveyard Dirt Cups
I remember the very first time I made these Graveyard Dirt Cups. It was a chilly October evening, and the air was filled with the scent of autumn leaves and pumpkin spice. I wanted to create a dessert that captured the playful spirit of Halloween while also being delightfully delicious. The idea of transforming a simple pudding cup into a spooky graveyard scene was too tempting to resist.
As a child, Halloween was my favorite holiday. The thrill of dressing up in costumes and the promise of sweet treats made it magical. I wanted to recreate that feeling of excitement and nostalgia with these Graveyard Dirt Cups. They are not just a dessert; they’re an experience that brings smiles and laughter to everyone who sees them.
Creating these Graveyard Dirt Cups is like crafting a miniature world. Each cup tells its own story, with ghostly figures and chocolatey “dirt” that invites you to dig in. It’s a treat that combines creativity with flavor, making it a hit at any Halloween gathering. Plus, the ingredients are simple and easy to find, ensuring that anyone can join in on the fun.
The Graveyard Dirt Cups have become a tradition in my home, a way to celebrate Halloween with a dash of whimsy and a lot of chocolate. Join me on this culinary adventure, and let’s dive into the spooky yet scrumptious world of Graveyard Dirt Cups.
Print
Graveyard Dirt Cups
- Prep Time: 20 minutes
- Cook Time: 0 minutes
- Total Time: 20 minutes
- Yield: 9 servings
- Category: Dessert
- Method: No-Bake
- Cuisine: American
Description
Learn how to make spooky Graveyard Dirt Cups for your next Halloween party! Our easy recipe will guide you through creating this delicious and festive dessert.
Ingredients
- 19 ounces (540 g) Oreo cookies
- 2 cups (480 ml) whole milk
- 9 ounces (110 g) instant chocolate pudding mix
- 8 ounces (225 g) whipped topping
- ½ cup (120 ml) chocolate syrup
- Milano Cookies
- black cookie icing
- ghost peeps
- gummy worms
- mini pumpkin candies
- Halloween sprinkles
Instructions
- Place Oreos in a blender and blend until they turn into fine crumbs. Set them aside.
- In a large mixing bowl, combine the chilled milk and chocolate pudding mix, whisking them together for about 2 minutes until the mixture starts to thicken. Gently fold in the whipped topping until fully incorporated with no streaks visible.
- Add ¼ cup of chocolate syrup and lightly swirl it into the mixture, ensuring not to overdo it, as you want to maintain some streaks. Keep in the fridge until it’s time to assemble.
- Prepare nine 8-ounce cups. Add 2 tablespoons of Oreo crumbs to each cup. Layer 3 to 4 tablespoons of the pudding mixture over the crumbs. Repeat the process.
- Sprinkle an additional tablespoon of Oreo crumbs over the final pudding layer in each cup.
- For the “mud” effect, combine the leftover ¼ cup of chocolate syrup with the remaining cookie crumbs, stirring until it looks glossy and clumpy. Set this aside.
- Use black cookie icing to write on the Milano cookies to make tombstones.
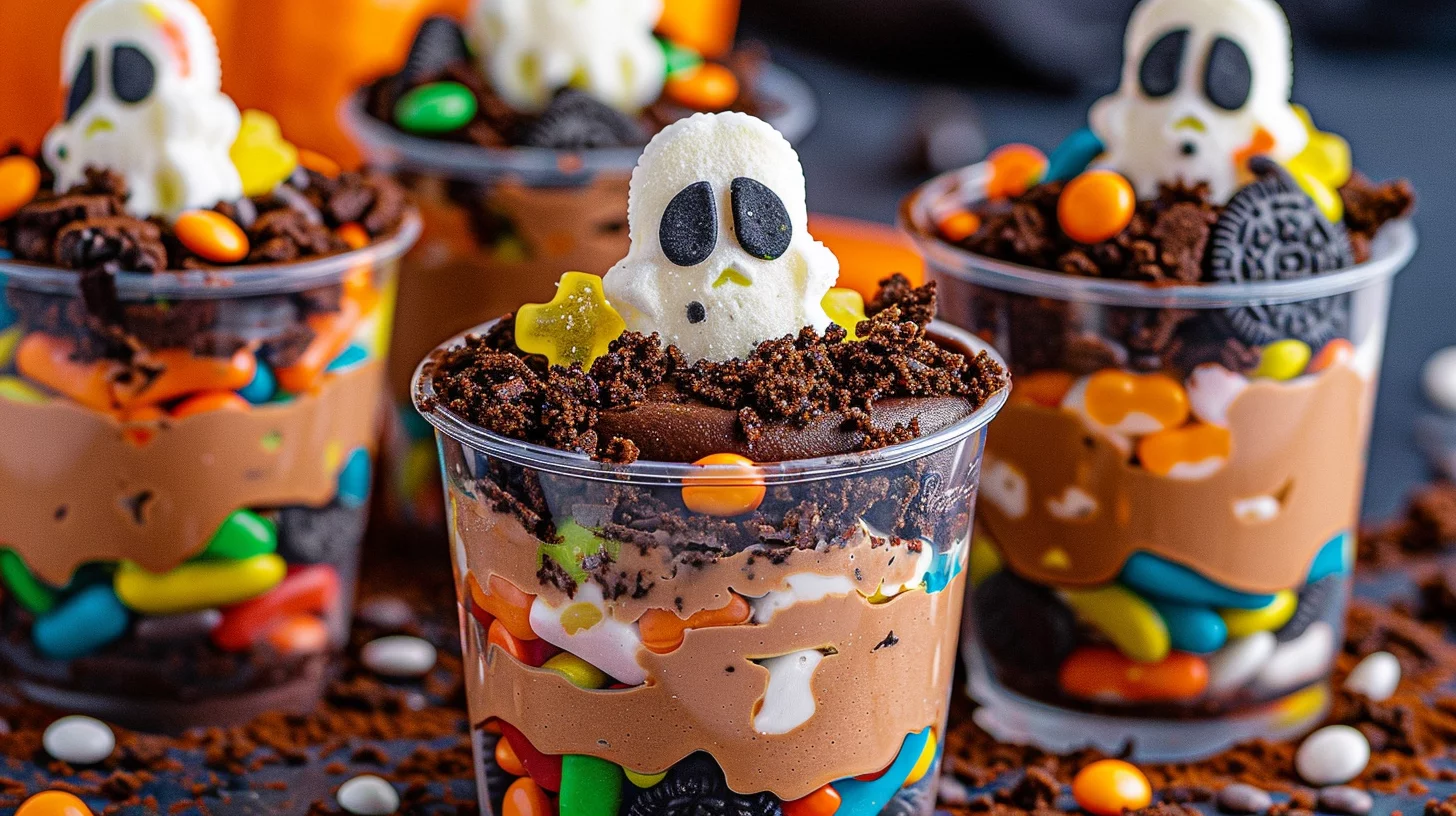
- Create a “graveyard” scene in each cup by placing ghost peeps and the tombstones into the pudding, pressing them slightly to stand upright.
- Sprinkle the “mud” mixture on top to give the appearance of freshly disturbed earth.
- Finish decorating with gummy worms, mini pumpkin candies, and Halloween sprinkles. Chill the cups or serve them immediately.
Notes
- Enhance the chocolate flavor by using dark chocolate pudding mix instead of instant.
- Experiment with various cookies like chocolate sandwich or chocolate chip for a realistic “mud” effect.
- Boost the spooky look by adding edible glitter or food coloring to the graveyard decorations.
Creating the Perfect Graveyard Dirt Cups
Fundamentals
The essence of the Graveyard Dirt Cups lies in the blend of ingredients that come together to form a rich, chocolatey base. The star of this dessert is the Oreo cookies, which are transformed into fine crumbs. These crumbs mimic the look of dirt, providing the perfect backdrop for our spooky scene. The combination of chilled milk and instant chocolate pudding mix creates a creamy, flavorful layer that complements the crunch of the Oreo crumbs.
Using whole milk ensures that the pudding is rich and smooth, while the whipped topping adds a light, airy texture. The chocolate syrup, swirled into the pudding, creates streaks of chocolatey goodness that enhance the overall flavor. These ingredients work together to create a dessert that’s both visually appealing and irresistibly tasty.
Preparation/setup
Start by placing the Oreo cookies in a blender, blending them until they turn into fine crumbs. This step is crucial in achieving the right texture for the “dirt.” Set the crumbs aside and move on to the pudding. In a large mixing bowl, combine the chilled milk and chocolate pudding mix, whisking them together until the mixture starts to thicken. The key is to whisk for about two minutes to ensure a smooth consistency.
Once the pudding is ready, gently fold in the whipped topping. This step requires a light hand to avoid deflating the whipped topping. The goal is to create a homogeneous mixture with no visible streaks. Finally, add ¼ cup of chocolate syrup and lightly swirl it into the mixture. The syrup adds a rich chocolate flavor and creates visually appealing streaks in the pudding.
Crafting the Graveyard Scene
Technique
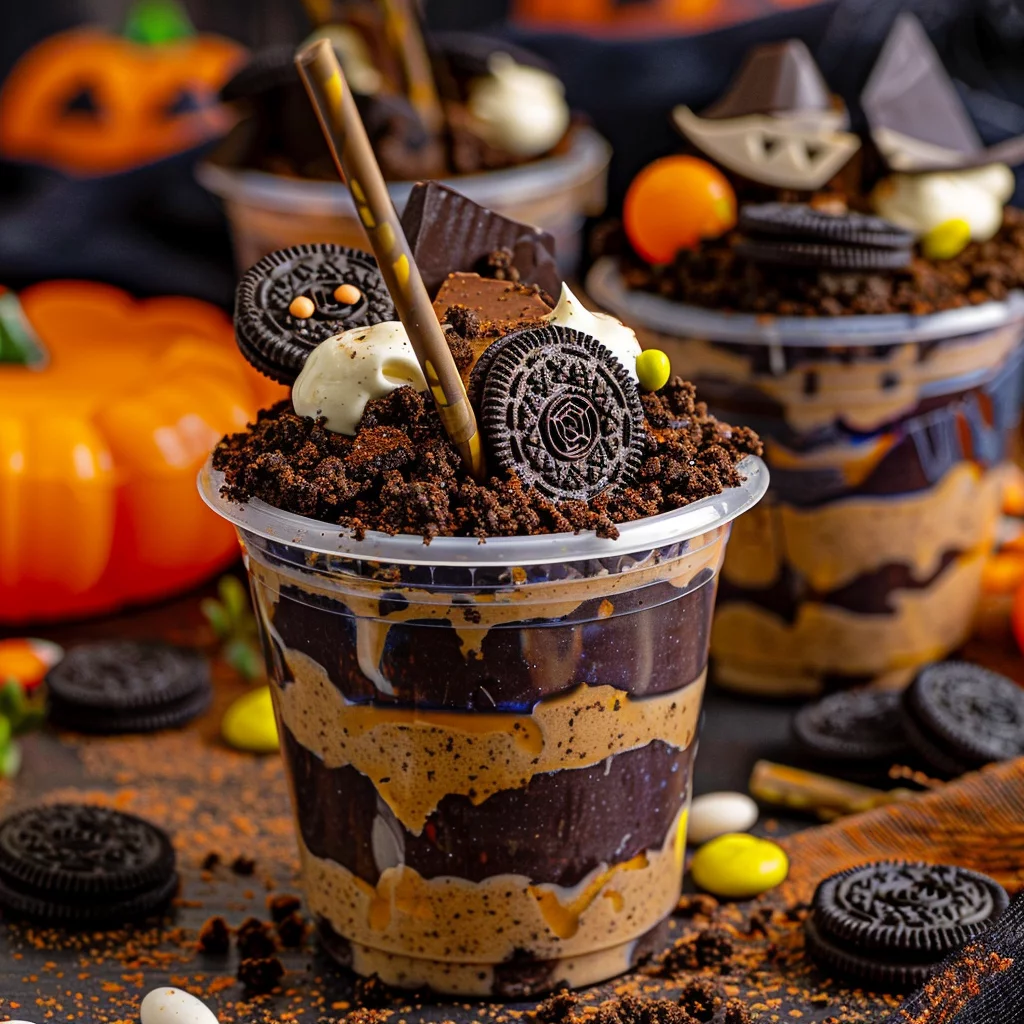
Assembling the Graveyard Dirt Cups is where creativity comes into play. Prepare nine 8-ounce cups, and begin by adding 2 tablespoons of Oreo crumbs to each cup. These crumbs form the base layer of the graveyard scene. Next, layer 3 to 4 tablespoons of the pudding mixture over the crumbs, creating a smooth layer. Repeat the process to create a second layer of crumbs and pudding.
To add to the spooky ambiance, sprinkle an additional tablespoon of Oreo crumbs over the final pudding layer in each cup. This step enhances the “dirt” effect and provides a nice contrast to the creamy pudding. For an extra touch, combine the leftover ¼ cup of chocolate syrup with the remaining cookie crumbs. Stir until the mixture looks glossy and clumpy, resembling freshly disturbed earth.
Graveyard Dirt Cups
Tips/tricks
When decorating the Graveyard Dirt Cups, use black cookie icing to write on Milano cookies, creating tombstones. This step allows for personalization, as you can inscribe spooky messages or fun epitaphs on each tombstone. Place ghost peeps and the tombstones into the pudding, pressing them slightly to stand upright. This creates a dynamic graveyard scene that brings the dessert to life.
For added fun, sprinkle the “mud” mixture on top to give the appearance of freshly disturbed earth. Finish decorating with gummy worms, mini pumpkin candies, and Halloween sprinkles. These embellishments add a pop of color and a playful element to the dessert. Chill the cups for a firmer texture or serve them immediately for a softer, creamier experience.
Enhancing the Flavor and Presentation
Perfecting results
To achieve the best results with your Graveyard Dirt Cups, focus on the balance of flavors and textures. The combination of creamy pudding, crunchy Oreo crumbs, and rich chocolate syrup creates a dessert that’s both indulgent and satisfying. Ensure each layer is distinct yet harmonious, with just the right amount of sweetness and chocolatey depth.
Consider experimenting with different decorations to customize the graveyard scene. You can use various Halloween-themed candies or even add edible glitter for a touch of magic. The key is to let your creativity shine while maintaining the theme of the graveyard.
Troubleshooting/variations
If you encounter any issues with the pudding consistency, ensure that the milk is properly chilled before mixing. This step is crucial for achieving the desired thickness. If the pudding appears too thick, a splash of additional milk can help adjust the consistency. For variations, consider adding a layer of crushed candy bars or using flavored whipped toppings for a unique twist.
Another variation involves creating layers of different colors to mimic different types of soil. Using colored whipped toppings or edible food coloring can add a fun and unexpected element to the dessert. Experiment with different combinations to find the one that best suits your taste and the occasion.
Serving the Graveyard Dirt Cups
Serving/presentation
When it comes to serving Graveyard Dirt Cups, presentation is key. Arrange the cups on a decorative tray or platter to create a cohesive display. The graveyard theme lends itself well to a Halloween party setting, where the cups can be the centerpiece of the dessert table. Encourage guests to dig in and discover the layers of flavor hidden beneath the surface.
For an interactive experience, provide spoons and let guests create their own graveyard scenes. This hands-on approach adds an element of fun and engagement, making the dessert more than just a treat but a memorable activity. The combination of visual appeal and delicious taste ensures that these Graveyard Dirt Cups will be a hit with guests of all ages.
Pairings/storage
Graveyard Dirt Cups pair well with a variety of beverages, from hot cocoa to apple cider. These drinks complement the rich chocolate flavors and add to the cozy, festive atmosphere. For storage, cover the cups with plastic wrap and refrigerate. They can be made a day ahead, allowing the flavors to meld and intensify over time.

Graveyard Dirt Cups
For best results, consume the cups within two to three days to ensure the freshness of the ingredients. The chilled environment helps maintain the structure of the dessert while keeping the whipped topping light and airy. Whether you’re hosting a Halloween party or simply enjoying a treat with family, these Graveyard Dirt Cups are sure to delight.
Conclusion
Graveyard Dirt Cups offer a delightful blend of creativity and flavor, making them a perfect addition to any Halloween celebration. The combination of Oreo crumbs, chocolate pudding, and playful decorations creates a dessert that’s both eye-catching and delicious. Whether you’re crafting these cups with family or serving them at a party, they are sure to impress.
The simplicity of the ingredients and the ease of preparation make Graveyard Dirt Cups accessible to everyone. With a few simple steps, you can transform everyday items into a whimsical dessert that captures the spirit of Halloween. The versatility of the recipe allows for endless customization, ensuring that each cup is a unique work of art.
By focusing on the balance of flavors and textures, you can create a dessert that’s not only visually stunning but also incredibly satisfying. The Graveyard Dirt Cups are a testament to the joy of cooking and the power of imagination, bringing people together one spooky bite at a time.
