📑 Table of Contents ▶
- The Magic of Mother’s Day Cookies
- Fundamentals
- Preparation/Setup
- Directions
- Creative Decorating for Mother’s Day Cookies
- Technique
- Tips/Tricks
- Achieving Perfect Results with Mother’s Day Cookies
- Perfecting Results
- Troubleshooting/Variations
- Presenting and Storing for Mother’s Day Cookies
- Serving/Presentation
- Pairings/Storage
- Mother’s Day Cookies
Mother’s Day Cookies
Baking cookies for Mother’s Day brings back cherished memories of kitchen adventures with loved ones. It feels like yesterday when I stood on a stool, watching my grandmother whip up batches of buttery cookies. There was something magical about how simple ingredients transformed into sweet delights. The aroma filled our home, inviting friends and family to gather, eager to taste those treats.
Mother’s Day is a perfect occasion to recreate that magic. These cookies become more than just treats; they transform into tokens of love and appreciation. Each bite carries warmth and nostalgia, reminding us of joys shared and moments cherished. The act of baking these cookies echoes the love we have for our mothers—simple yet heartfelt.
As we celebrate this special day, let’s bring back the joy of baking. These Mother’s Day cookies offer an opportunity to create lasting memories with your family. Whether you’re a seasoned baker or new to the kitchen, this recipe brings everyone together, making it an essential part of the holiday festivities.
The Magic of Mother’s Day Cookies
Fundamentals
Mother’s Day cookies focus on a simple yet effective recipe that makes even the most inexperienced bakers feel accomplished. They require basic ingredients and minimal steps, making them accessible for everyone. With just flour, butter, sugar, vanilla, and salt, your kitchen becomes a workshop for sweet creations.
Understanding the fundamentals of baking is essential. Baking cookies relies on specific techniques like creaming butter and sugar together, which creates a light texture. This process involves incorporating air, resulting in a delicate crumb that melts in your mouth. Mastering these basics lays the groundwork for delicious cookies.
Additionally, using quality ingredients contributes significantly to the overall flavor and texture. Always opt for unsalted butter that is softened to room temperature. This ensures proper mixing and helps develop the cookies’ rich, buttery flavor that everyone loves.
Preparation/Setup
Create a stress-free baking environment by organizing your workspace. Clear off countertops and gather all necessary tools and ingredients before starting. You will need measuring cups, mixing bowls, a rolling pin, cookie cutters, and a baking sheet lined with parchment paper. This setup allows you to focus on creating delightful treats without distractions.
Preheat your oven to 350°F (175°C) to ensure even baking as the cookies will need a hot oven to set properly. This is a critical step that helps achieve that perfect golden edge while keeping the inside soft and chewy.
Having your ingredients measured and ready to go is essential for smooth preparation. This makes the entire process enjoyable and leads to better results, allowing you to bring those cozy memories alive with fresh cookies.
Ingredients
Gather the following ingredients for your Mother’s Day cookies:
- 2 cups all-purpose flour: Provides structure for the cookies.
- 1/2 cup granulated sugar: Sweetens the treats and helps achieve a golden color.
- 1 cup unsalted butter, softened: Adds richness and a delightful buttery flavor.
- 1/2 teaspoon vanilla extract: Enhances the overall flavor profile.
- 1/4 teaspoon salt: Balances sweetness and enhances other flavors.
- Royal icing for decoration (optional): A beautiful way to add personal touches.
- Colored sprinkles or edible decorations (optional): Fun extras for that festive touch.
Having these ingredients on hand makes the process straightforward and enjoyable, leading to deliciously classic cookies that can be customized for any occasion.
Directions
- Preheat the oven to 350°F (175°C).
- In a mixing bowl, cream together the softened butter and sugar until light and fluffy.
- Add the vanilla extract and mix well.
- Gradually add the flour and salt, mixing until the dough comes together.
- Roll the dough out on a floured surface to about 1/4 inch thick.
- Cut out cookie shapes using cookie cutters.
- Place the cookies on a baking sheet lined with parchment paper.
- Bake for 10-12 minutes or until the edges are lightly golden.
- Let the cookies cool completely.
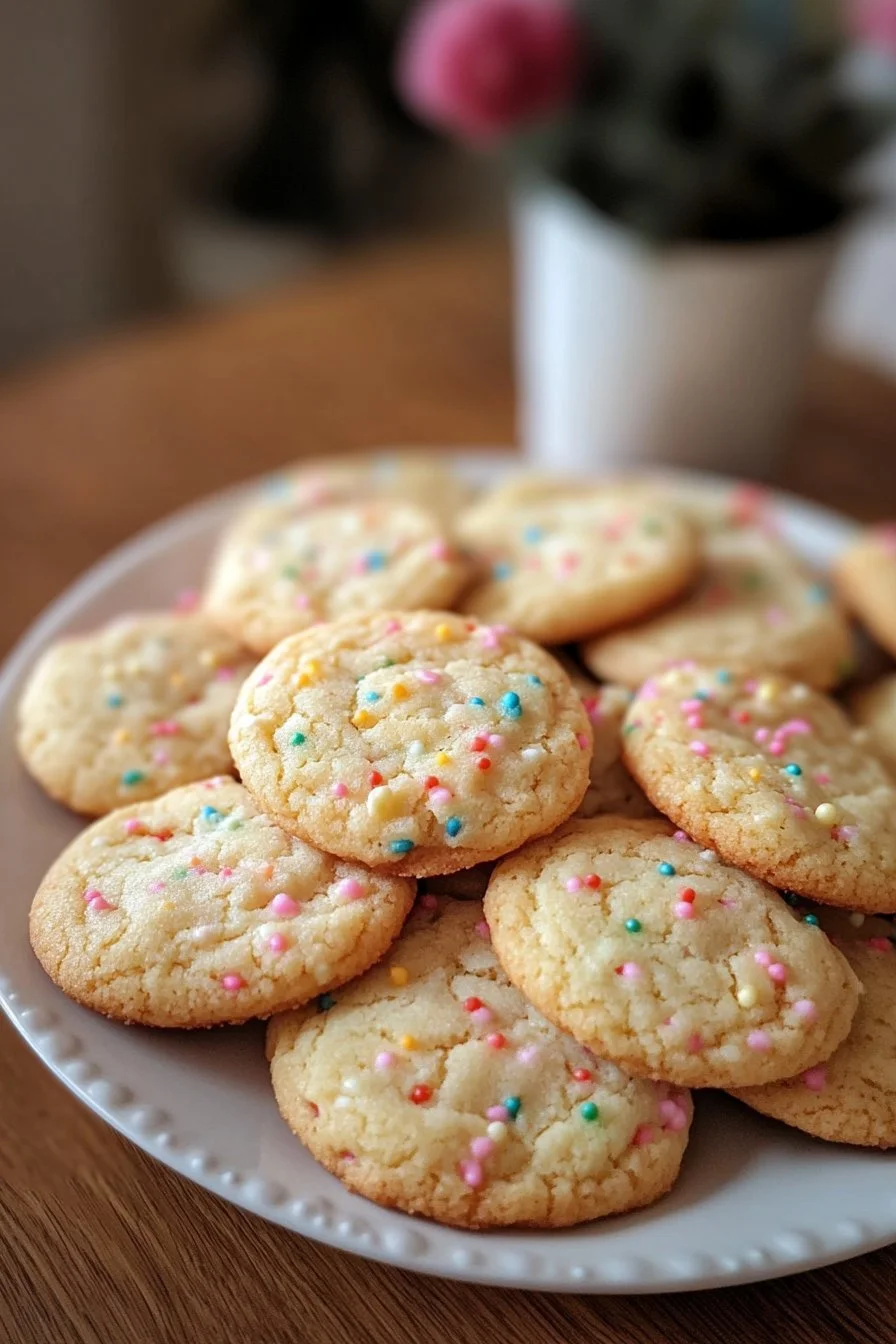
- Decorate with royal icing and sprinkles if desired.
Creative Decorating for Mother’s Day Cookies
Technique
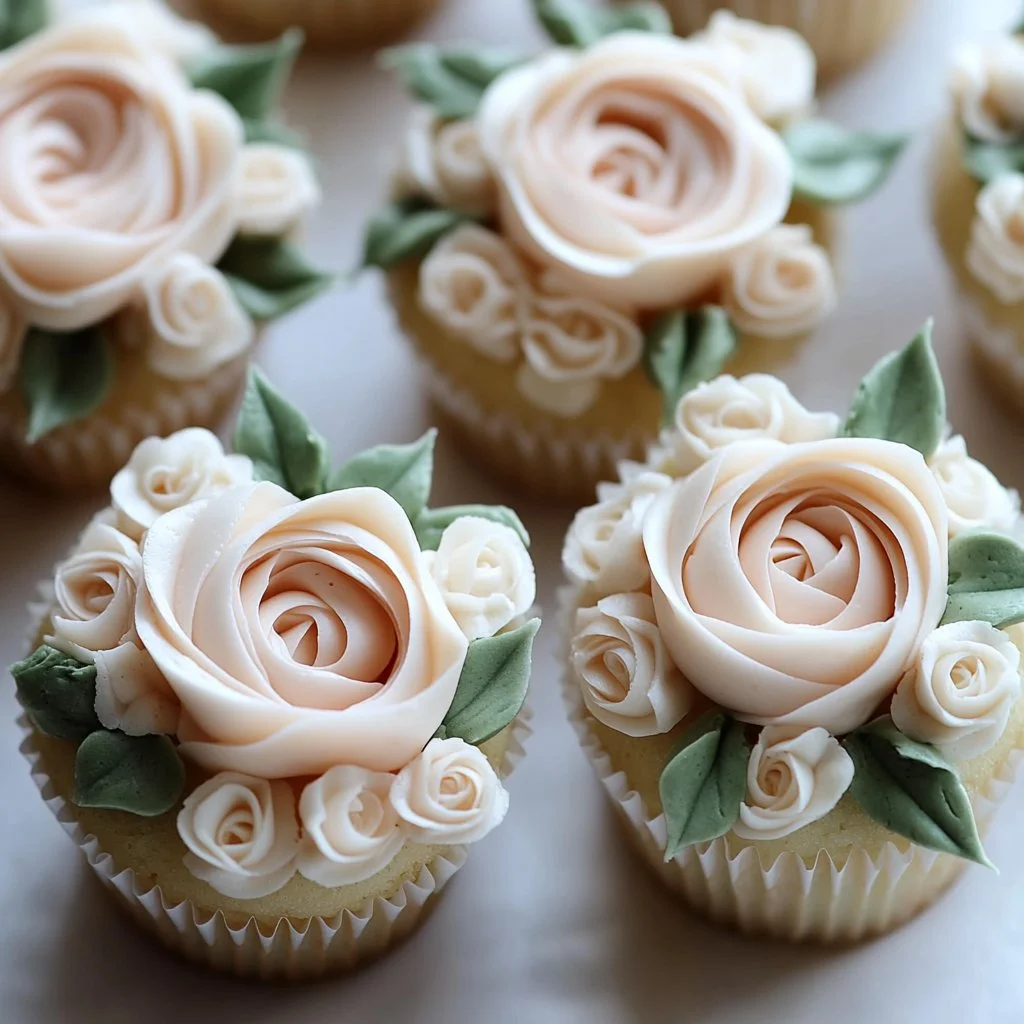
The technique of decorating your Mother’s Day cookies can turn a simple treat into a personal masterpiece. Royal icing is an excellent choice for achieving a smooth, professional look. It dries hard, allowing you to create intricate designs that hold their shape.
You can use piping bags or squeeze bottles to control the flow of icing. This technique makes it easy to write messages or create beautiful patterns. For a whimsical touch, sprinkle colored sugar or edible decorations on top before the icing dries. This adds a playful element and makes your cookies visually stunning.
Incorporating themes related to Mother’s Day can also enhance your decorating. Think flowers, hearts, or even simple messages like “Thank You” or “Mom.” Personalizing your cookies makes them even more special, showing the recipient how much you care.
Tips/Tricks
Here are a few baking tips and tricks to elevate your Mother’s Day cookie experience:
- Chill the dough before rolling it out. This helps maintain the shape during baking, preventing spreading.
- Experiment with flavors by adding citrus zest or almond extract along with vanilla. These small tweaks can yield delightful surprises.
- When cutting out cookies, dip your cookie cutters in flour to prevent sticking.
- Use a toothpick to add intricate details to your decorations. This tool can help smooth edges or create small designs.
- If baking in batches, rotate your baking sheets halfway through the baking time for even cooking.
These simple techniques and tricks can ensure your cookies not only taste great but also look stunning.
Achieving Perfect Results with Mother’s Day Cookies
Perfecting Results
Achieving perfectly baked Mother’s Day cookies involves a few essential practices. Keep an eye on your baking time; ovens can vary slightly. Watch for the edges turning golden, but be careful not to over-bake. The cookies should feel slightly soft in the center as they will continue to set outside the oven.
Cooling your cookies thoroughly before decorating is crucial. If they are warm, the icing will melt and lose its shape. Once cooled, you can unleash your creativity with the royal icing and sprinkles.
For added texture, consider experimenting with cookie shapes or sizes. Thicker cookies might require a longer baking time, while thinner ones will bake quickly. Finding the right balance for your preferred texture is part of the fun of baking.
Troubleshooting/Variations
Even with a reliable recipe, baking can sometimes surprise you. If you encounter problems like too-soft dough, consider adding a bit more flour. This adjustment can help the cookies hold their shape while baking.
If the cookies spread too much during baking, check your oven temperature with an oven thermometer. Failing to preheat can lead to undesirable results. Additionally, keeping the dough chilled can minimize spreading.
Variations can also breathe new life into your Mother’s Day cookies. Consider adding chocolate chips, nuts, or dried fruits for extra flavor. Customize the recipe to fit your style and preferences, making each batch unique.
Presenting and Storing for Mother’s Day Cookies
Serving/Presentation
Presentation can elevate any baked goods, making them feel special. Arrange your Mother’s Day cookies on a decorative platter or in a mason jar tied with a ribbon. This small touch adds a personal flair that elevates the gift.
If you’re serving them at a gathering, consider creating a cookie bar where guests can choose their favorites. Providing a variety of decorated cookies invites fun discussions and shared enjoyment.
Pairing these cookies with a hot beverage like tea or coffee creates a comforting atmosphere, enhancing the overall experience. Everyone loves a sweet treat, especially when it comes paired with delightful drinks.
Pairings/Storage
These Mother’s Day cookies can pair beautifully with a variety of beverages, enhancing the overall experience. Offer them alongside a refreshing glass of lemonade or a rich cup of coffee. However, do not pair them with wine or any of its variants as the focus here is purely on the cookies themselves.
Storing your cookies is straightforward. Keep them in an airtight container at room temperature to maintain freshness. If you want to keep them longer, consider freezing unbaked dough. This allows you to enjoy fresh cookies anytime. When the craving strikes, simply slice your dough and bake, creating an effortless treat that can brighten any day.
Creating these Mother’s Day cookies is not only a delightful baking experience but also an opportunity to share love and appreciation. The simple act of baking becomes a powerful gesture, reminding those in our lives just how special they are. Each cookie offers a taste of homemade comfort, carrying with it the essence of shared moments and cherished memories.
Print
Mother’s Day Cookies
- Prep Time: 15 minutes
- Cook Time: 12 minutes
- Total Time: 27 minutes
- Yield: 24 cookies
- Category: Dessert
- Method: Baking
- Cuisine: American
- Diet: Vegetarian
Description
Delightful cookies perfect for Mother’s Day, combining simple ingredients for a sweet treat that carries warmth and nostalgia.
Ingredients
- 2 cups all-purpose flour
- 1/2 cup granulated sugar
- 1 cup unsalted butter, softened
- 1/2 teaspoon vanilla extract
- 1/4 teaspoon salt
- Royal icing for decoration (optional)
- Colored sprinkles or edible decorations (optional)
Instructions
- Preheat the oven to 350°F (175°C).
- Cream together the softened butter and sugar until light and fluffy.
- Add the vanilla extract and mix well.
- Gradually add the flour and salt, mixing until the dough comes together.
- Roll the dough out on a floured surface to about 1/4 inch thick.
- Cut out cookie shapes using cookie cutters.
- Place the cookies on a baking sheet lined with parchment paper.
- Bake for 10-12 minutes or until the edges are lightly golden.
- Let the cookies cool completely.
- Decorate with royal icing and sprinkles if desired.
Notes
Chill the dough before rolling it out to maintain shape during baking. Experiment with flavors for unique twists.
