📑 Table of Contents ▶
- Homemade Apple Pie
- Creating a Homemade Apple Pie
- Fundamentals
- Preparation/Setup
- Mastering the Apple Pie Filling
- Technique
- Tips/Tricks
- Achieving the Perfect Pie
- Perfecting Results
- Troubleshooting/Variations
- Serving and Enjoying Your Creation
- Serving/Presentation
- Pairings/Storage
- Conclusion
- FAQs – Homemade Apple Pie
When I think of homemade apple pie, I’m instantly transported back to my grandmother’s cozy kitchen. The aroma of apples and spices filling the air was a sure sign that something magical was happening. Her pies were legendary in our family, each slice a perfect blend of sweet and tart, encased in a flaky, buttery crust. I remember watching her expertly roll the dough, her hands moving with practiced ease, and feeling a sense of awe at the delicious alchemy unfolding before me.
Her secret, she once confided, was in choosing the right apples. Granny Smiths were her go-to, their tartness providing a perfect counterbalance to the sugar. But she was also known to mix in Jonagolds or Golden Delicious for a nuanced flavor profile. This attention to detail was her way of ensuring every bite was as delightful as the last. Those afternoons spent baking together laid the foundation for my own culinary adventures and inspired me to share my passion through Yumoti.
At Yumoti, we celebrate the art of crafting a delicious homemade apple pie. Our goal is to bring people together over food that’s both simple and soul-stirring. Today, I invite you to join me on this culinary journey and discover the joy of creating your own masterpiece. With just a few ingredients and a bit of patience, you can transform ordinary apples into an extraordinary dessert that’s sure to become a family favorite.
Whether you’re reliving cherished memories or creating new traditions, making a homemade apple pie is a rewarding experience. The process itself is as comforting as the pie is delicious, offering a slice of nostalgia with every bite. So let’s dive into the essentials of crafting the perfect pie and savor the journey together.
Print
Homemade Apple Pie
- Prep Time: 30 minutes
- Cook Time: 80 minutes
- Total Time: 170 minutes
- Yield: 8
- Category: Dessert
- Method: Baking
- Cuisine: American
Description
Learn how to make a delicious homemade apple pie from scratch with this easy-to-follow recipe. Perfect for any occasion, satisfy your sweet tooth now!
Ingredients
- 3 pounds good cooking apples such as Granny Smith, Jonagold, Golden Delicious, Fuji, or Braeburn (about 6 to 8 apples, depending on the size of your apples and the size of your pie dish) (1361 g)
- 1 tablespoon lemon juice or apple cider vinegar (to toss with the sliced apples so they don’t brown as you slice them) (15 ml)
- 1/2 cup to 2/3 cup sugar, depending on how sweet you like your pie (100 to 133 g)
- 3 tablespoons all-purpose flour for thickening (23 g)
- 1/2 teaspoon cinnamon (2.5 ml)
- 1/4 teaspoon ground allspice (1.25 ml)
- 1/4 teaspoon ground nutmeg (1.25 ml)
- 1 tablespoon (15 ml) apple juice (Optional. By the way, if you have apple cider, use it!)
- 1 teaspoon vanilla extract (5 ml)
- 1 recipe double crust sour cream pie dough, OR all-butter crust, OR your favorite pie crust recipe
- 1 large egg yolk
- 1 tablespoon (15 ml) coconut cream
Instructions
- Remove the skins, cores, and cut the apples into slices or chunks about 1/4 to 1/2 inch thick. As you slice them, place the pieces in a large bowl and mix them with lemon juice or apple cider vinegar to prevent browning.
- For the filling, in a separate bowl, blend sugar, flour, and spices (cinnamon, allspice, nutmeg). Pour this dry mixture over the apple slices and use your hands to ensure the apples are evenly coated. Add vanilla extract and apple juice, if using, to the apples and mix thoroughly.
- Set your oven to 375°F. Position one rack at the bottom and place a large baking sheet on it to catch any spills from the pie. Place another rack one level above, still in the lower third of the oven.
- Take one portion of pie dough out of the fridge. Allow it to soften at room temperature for 5 to 10 minutes. On a lightly floured surface, roll the dough into a 12-inch round, approximately 1/8 inch thick. Ensure the dough doesn’t stick by lifting it gently and adding more flour if necessary. Place the rolled dough into a 9-inch pie plate, pressing it into the dish.
- Pile the apple mixture into the dough-lined pie dish, heaping the apples in the center.
- Roll out the second dough portion to the same size, about 12 inches. Place it gently over the apples. Trim the edges, leaving a 3/4 inch overhang, then tuck the dough under itself along the edge of the pan. Seal the edges by pinching or pressing with a fork.
- In a small bowl, blend the egg yolk and coconut cream. Use a brush to apply this mixture over the pie crust and edges. With a sharp knife, cut slits in the crust to allow steam to escape.
- Position the pie on an oven rack above the baking sheet. Bake at 375°F until the crust starts to brown, about 20 minutes, then lower the temperature to 350°F. Continue baking until the crust is golden and the filling is bubbling, which may take an additional hour or more, depending on the apples. If using a thermometer, the center should reach 200°F.
- Move the pie to a rack to cool for at least 1 hour. Serve warm or at room temperature, and enjoy it with vanilla ice cream if desired. Share your thoughts about the recipe in the comments!
Notes
- Experiment with different apple varieties to discover your preferred flavor and texture profile for the perfect pie.
- Consider enhancing the apple filling with a touch of apple cider for an extra burst of flavor.
- Brushing the crust with an egg yolk and coconut cream mixture ensures a beautifully golden finish for your pie.
Creating a Homemade Apple Pie
Fundamentals
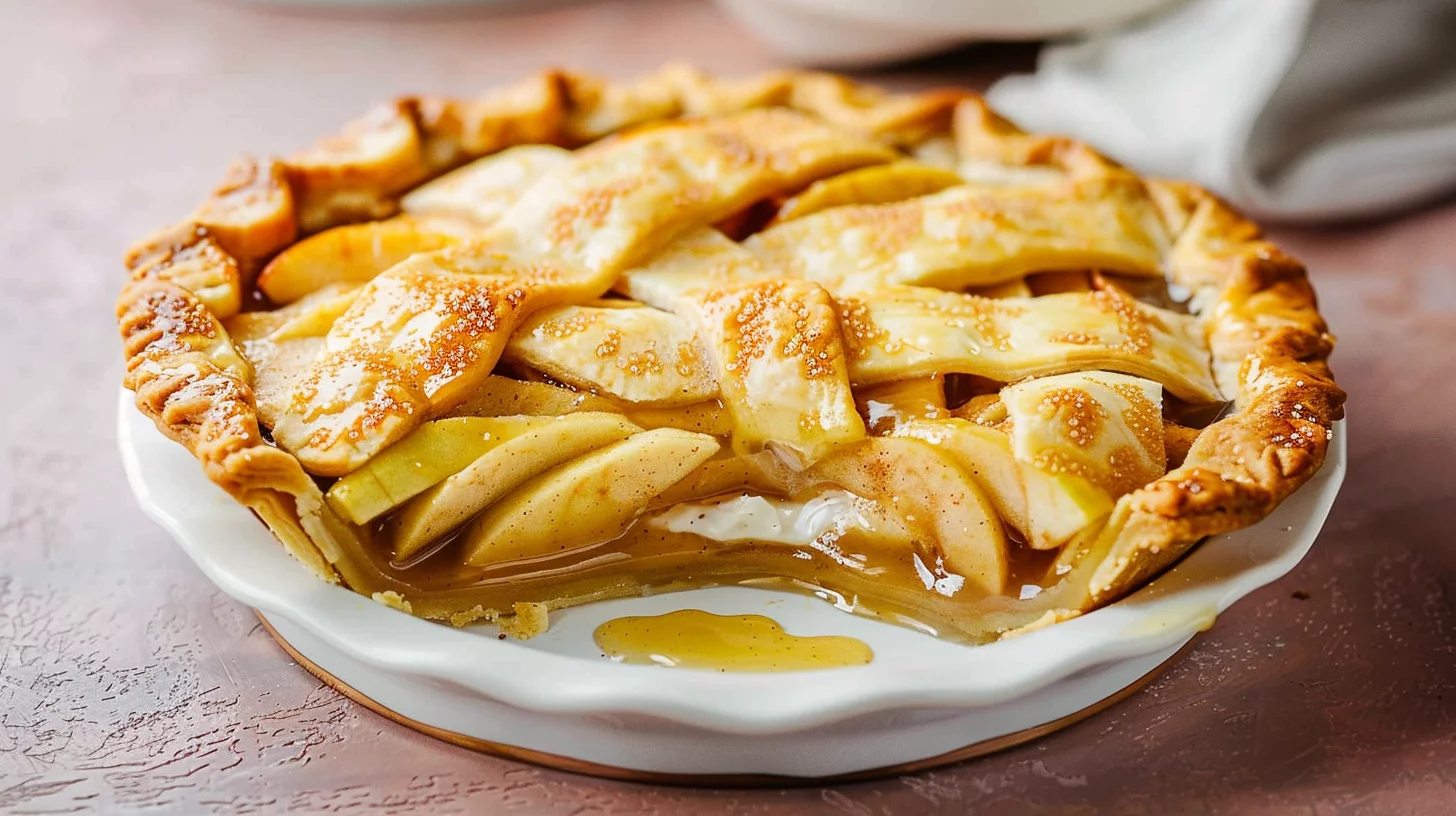
The heart of any great homemade apple pie is, of course, the apples. Selecting the right variety is crucial for achieving the ideal balance of sweetness and tartness. Granny Smith apples are a classic choice due to their firm texture and tangy flavor, which stands up well to baking. Mixing in other varieties like Jonagold or Fuji can add depth and complexity to the filling.
Equally important is the pie crust. Whether you prefer a double crust sour cream pie dough or an all-butter crust, the quality of the dough will greatly impact the final product. The crust should be tender yet sturdy enough to hold the juicy filling. Pay attention to the dough’s thickness when rolling it out; aim for about 1/8 inch to ensure even baking.
Preparation/Setup
Begin by preparing your apples. Peel, core, and slice them into even pieces, roughly 1/4 to 1/2 inch thick. As you work, toss the slices with a tablespoon of lemon juice or apple cider vinegar to prevent browning. This step ensures that your apples maintain their vibrant color and fresh taste.
Next, preheat your oven to 375°F and position a rack at the bottom with a baking sheet to catch any drips. Place another rack in the lower third of the oven for optimal heat distribution. Roll out your pie dough, allowing it to soften slightly at room temperature for easier handling. Line a 9-inch pie plate with the first portion of dough, pressing it gently into the dish.
Mastering the Apple Pie Filling
Technique
The filling is where the magic truly happens. In a bowl, combine sugar, flour, and spices—cinnamon, allspice, and nutmeg. These spices are the soul of the pie, infusing the apples with warmth and complexity. Pour this dry mixture over the apple slices and use your hands to ensure every piece is evenly coated. This step is crucial for distributing the spices and thickener throughout the filling.
Homemade Apple Pie
Add a teaspoon of vanilla extract to enhance the flavor profile, and if desired, a tablespoon of apple juice for added moisture. Toss everything together until the apples are well coated and the mixture is evenly distributed. This preparation ensures that your filling will be juicy, flavorful, and perfectly spiced.
Tips/Tricks
To achieve a perfectly baked pie, consider the moisture content of your apples. Some varieties release more juice than others, which can affect the pie’s consistency. If you find your filling too watery, you can increase the amount of flour slightly to help it thicken during baking.
Another trick is to pre-cook the apples slightly before assembling the pie. This step allows you to control the texture of the filling and ensures that the apples are tender without being mushy. Simply sauté the sliced apples with a bit of butter and sugar until they begin to soften, then drain any excess liquid before proceeding with the rest of the recipe.
Achieving the Perfect Pie
Perfecting Results
Once your filling is ready, pile it high into the prepared pie dish, mounding the apples in the center. Roll out the second portion of dough and carefully drape it over the apples. Trim the edges, leaving a 3/4 inch overhang, and tuck the dough under itself along the edge of the pan. You can seal the edges by pinching or pressing them with a fork.
To achieve a beautifully golden crust, blend a large egg yolk with a tablespoon of coconut cream in a small bowl. Brush this mixture over the top crust and edges before baking. This step not only enhances the color but also adds a subtle richness to the crust.
Troubleshooting/Variations
Common issues with apple pies include soggy crusts and undercooked fillings. To prevent these, ensure that your oven is properly preheated and maintain the correct baking temperature. If the crust browns too quickly, you can cover the edges with foil to prevent over-browning.
For variations, consider adding a crumb topping for a homemade Dutch apple pie twist, or experiment with different spice blends to create a unique flavor profile. You can also try incorporating a handful of raisins or nuts into the filling for added texture and taste.
Serving and Enjoying Your Creation
Serving/Presentation
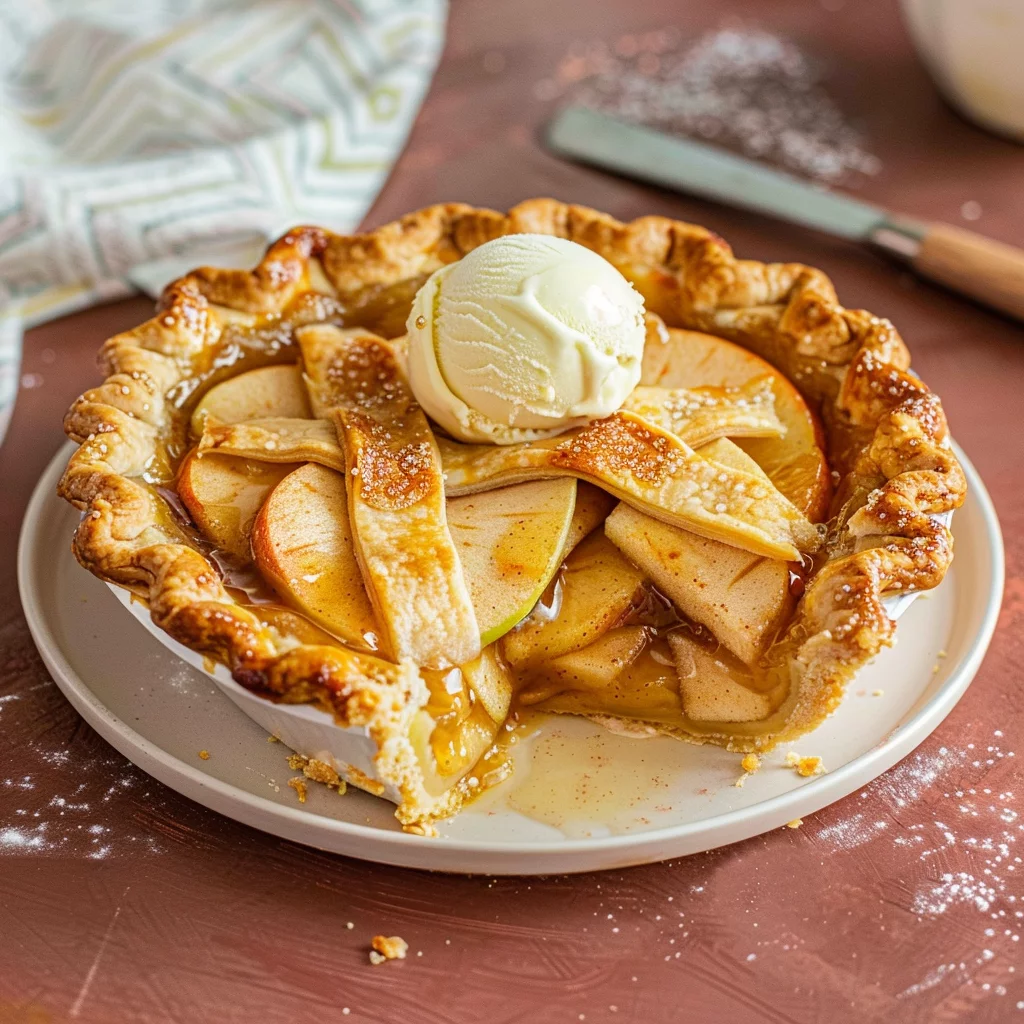
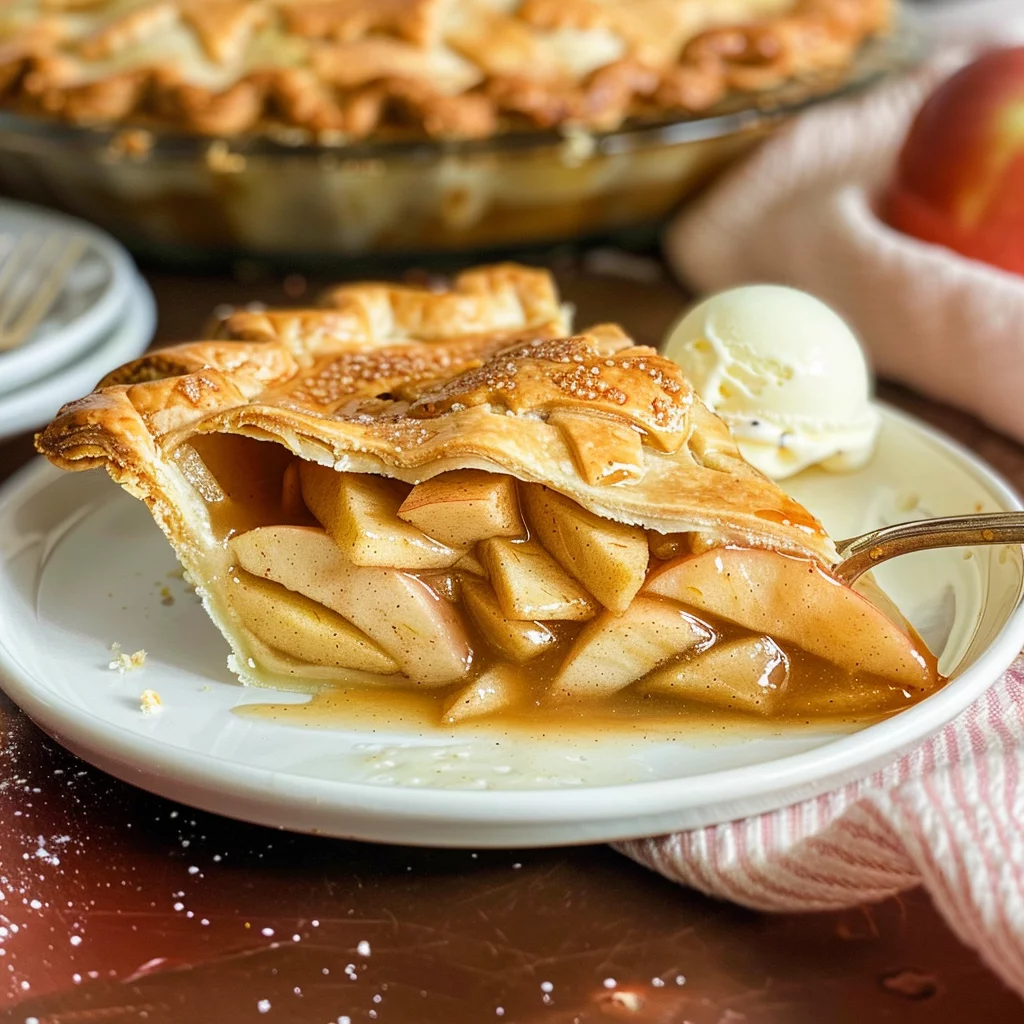
Allow the pie to cool for at least an hour before serving. This step is essential for setting the filling and making it easier to slice. A well-cooled pie will hold its shape beautifully when served, showcasing the layers of tender apples and flaky crust.
For a classic presentation, serve each slice with a scoop of vanilla ice cream or a dollop of whipped cream. The creaminess complements the tartness of the apples and adds a luxurious touch to the dessert. If you’re looking for more apple-inspired treats, consider trying apple custard impossible pie for a unique twist on the traditional recipe.
Homemade Apple Pie
Pairings/Storage
Store any leftover pie in the refrigerator for up to three days. To reheat, place slices in a preheated oven at 350°F for a few minutes until warmed through. This method helps maintain the crust’s flakiness and the filling’s texture.
If you love incorporating apples into your baking, you might also enjoy easy apple hand pies or homemade apple cobbler. These recipes offer delightful variations that are perfect for any occasion.
Conclusion
Crafting a homemade apple pie is a rewarding culinary endeavor that brings comfort and joy to any table. By selecting the right apples, mastering the filling, and perfecting the crust, you can create a dessert that’s both timeless and delicious. The process of making the pie is as satisfying as the end result, offering an opportunity to connect with tradition and share a slice of happiness with loved ones.
The versatility of apple pie allows for endless variations, ensuring there’s always something new to explore. Whether you’re serving it warm with ice cream or enjoying a slice on its own, this beloved dessert is sure to become a staple in your recipe collection. So gather your ingredients, roll up your sleeves, and experience the magic of homemade apple pie for yourself.
