
📑 Table of Contents ▶
- Traditional Apple Butter Recipe
- Mastering the Traditional Apple Butter Recipe
- Fundamentals
- Preparation/setup
- Refining Your Apple Butter Experience
- Technique
- Tips/tricks
- Perfecting the Traditional Apple Butter Recipe
- Perfecting results
- Troubleshooting/variations
- Serving and Storing Your Apple Butter
- Serving/presentation
- Pairings/storage
- Conclusion
- FAQs – Traditional Apple Butter Recipe
My culinary journey began long before I ever picked up a cookbook. Growing up, the kitchen was the heart of my home, filled with the aroma of herbs simmering and the sounds of laughter over shared meals. My grandmother was my biggest inspiration, crafting dishes that were simple yet soulful. Her Traditional Apple Butter Recipe was more than just a family favorite; it was a testament to her skill in turning ordinary ingredients into something extraordinary.
Watching her effortlessly create magic in the kitchen taught me that food is a language of love. The Traditional Apple Butter Recipe holds a special place in my heart, reminding me of those cherished moments spent learning from her. This recipe is not only about the end product but also about the journey of creating something with your own hands, a tradition I am proud to carry forward through Yumoti.com.
Yumoti was born from a desire to make cooking accessible and joyful, much like my grandmother’s approach to food. Whether you’re a beginner or a seasoned chef, the Traditional Apple Butter Recipe offers a delightful way to connect with loved ones through the art of cooking. Let’s dive into the process of making this timeless treat, ensuring that each step is as fulfilling as the last.

Traditional Apple Butter Recipe
- Prep Time: 30 minutes
- Cook Time: 60 minutes
- Total Time: 1 hour 30 minutes
- Yield: 8 cups
- Category: Dessert
- Method: Cooking
- Cuisine: American
Description
Learn how to make a delicious traditional apple butter with our easy recipe. Perfect for spreading on toast or using in baking. Try it today!
Ingredients
- 5 lbs (2.27 kg) green apples
- 2 cups (480 ml) water
- 3 cups (600 g) granulated sugar
- 1 cup (220 g) light brown sugar
- 1 1/2 tsp (8 ml) ground cinnamon
- 1/4 tsp (1 ml) ground cloves
Instructions
- Remove the skins and cores from the apples. Cut them into 1-inch chunks and place them in a large pot with the water. Cook over medium heat for 15 minutes or until they become soft, stirring now and then.
- Use an immersion blender to blend the cooked apples until they are completely smooth, or transfer them to a blender for the same result. Measure out 8 cups of this apple mixture and return it to the pot. If you have extra puree, add ½ cup of sugar for each cup of leftover puree.
- Introduce the sugars and spices into the apple mixture and cook on low to medium-low heat until it reaches the consistency you desire, which should take about 45-60 minutes. Stir often to prevent it from sticking or burning. You’ll know it’s ready when it holds its shape on the back of a spoon.
- Spoon the hot apple mixture into clean, sterilized jars, leaving ¼ inch of space at the top. Eliminate any air bubbles and clean the jar rims to remove any residue. Position the canning lid on the jar and tighten the band with your fingers. Allow the jars to cool, then tighten the bands further and store them in the refrigerator for up to one month.
- Put the apple pieces, water, sugar, and spices into a slow cooker. Set it to cook on LOW for 10 hours. Afterward, take off the lid and use an immersion blender to puree the contents. Switch the slow cooker to the HIGH setting and continue cooking, uncovered, until you reach your desired thickness. Stir occasionally to prevent it from burning on the bottom.
- If you plan to can the apple butter, prepare a water-bath canner by filling it with water and bringing it to a boil while making the apple butter. Once your jars are filled, place them on the rack and lower them into the boiling water. Ensure the water covers the jar tops by 1 inch. Process for 10 minutes for pint-sized jars or smaller. (If you live over 1,000 feet above sea level, consult the Altitude Adjustment Chart.) Turn off the heat and let the jars sit in the canner for 5 minutes. Remove the jars using a jar lifter and set them on a kitchen towel to cool for 12 hours. Check the seals and refrigerate any jars that did not seal correctly.
Notes
- Consider using an immersion blender for a smoother apple butter texture.
- Adjust sweetness with more sugar if needed, especially with extra puree.
- Ensure jars are thoroughly cleaned and sterilized before filling to prevent contamination.
Mastering the Traditional Apple Butter Recipe
Fundamentals
The Traditional Apple Butter Recipe is all about capturing the essence of autumn in a jar. Green apples are the star of the show, providing a tart yet sweet base. Combined with granulated sugar, light brown sugar, and warm spices like cinnamon and cloves, this recipe transforms simple ingredients into a rich, flavorful spread.
Understanding the role of each ingredient is crucial. Green apples offer a balance of tartness and sweetness, making them ideal for this recipe. The sugars not only sweeten the apple butter but also help in caramelizing and thickening the mixture. The spices add depth, creating a warm, inviting aroma that fills your kitchen as it cooks.
Preparation/setup
Begin by peeling and coring the apples, then chopping them into 1-inch chunks. This step ensures even cooking and a smooth texture. Place the apple pieces in a large pot with water, allowing them to soften over medium heat. As the apples cook, stir occasionally to prevent sticking and ensure even cooking.
Once the apples are soft, use an immersion blender to puree them until smooth. If you don’t have an immersion blender, a regular blender works just as well. Measure out 8 cups of this apple mixture, returning it to the pot for further cooking. Any extra puree can be sweetened and used as a delicious topping for various dishes.
Refining Your Apple Butter Experience
Technique
Cooking the apple butter slowly allows flavors to meld and intensify. Introduce the sugars and spices to the apple mixture, maintaining a low to medium-low heat. The key here is patience, letting the mixture thicken gradually as the sugars caramelize and the spices infuse the apples.
Stirring frequently prevents the mixture from sticking to the pot and ensures even cooking. You’ll know the apple butter is ready when it holds its shape on the back of a spoon. This stage is crucial for achieving the perfect texture and flavor balance.
Traditional Apple Butter Recipe
Tips/tricks
For those looking to save time, consider using a slow cooker. Simply combine the apple pieces, water, sugar, and spices, setting the cooker on LOW for 10 hours. This method allows for a hands-off approach, freeing up time for other activities while the apple butter develops its rich flavor.
After the initial cooking period, puree the contents and switch the slow cooker to HIGH, cooking uncovered until the desired thickness is reached. Stir occasionally to prevent burning, and enjoy the convenience of this alternative method.
Perfecting the Traditional Apple Butter Recipe
Perfecting results
Achieving the perfect apple butter involves paying attention to consistency and flavor. The final product should be smooth and spreadable, with a balance of sweetness and spice. Taste throughout the cooking process, adjusting the sugar and spices to suit your preferences.
If the apple butter seems too thick, a splash of water can help reach the desired consistency. Conversely, if it’s too thin, continue cooking to allow excess moisture to evaporate. These small adjustments ensure your apple butter is just right.
Troubleshooting/variations
If you encounter issues with the texture or flavor, don’t worry. Adding more cinnamon or cloves can enhance the spiciness, while additional sugar can sweeten the batch. For a different twist, consider incorporating other spices like nutmeg or allspice.
For those interested in exploring variations, try using different apple varieties or adding a splash of vanilla extract for added depth. These simple changes can offer new and exciting flavors, keeping your apple butter experience fresh and enjoyable.
Serving and Storing Your Apple Butter
Serving/presentation
Once your apple butter is ready, consider creative ways to serve it. Spread it on toast, mix it into oatmeal, or use it as a filling for pastries. Its versatility makes it a delightful addition to both sweet and savory dishes.
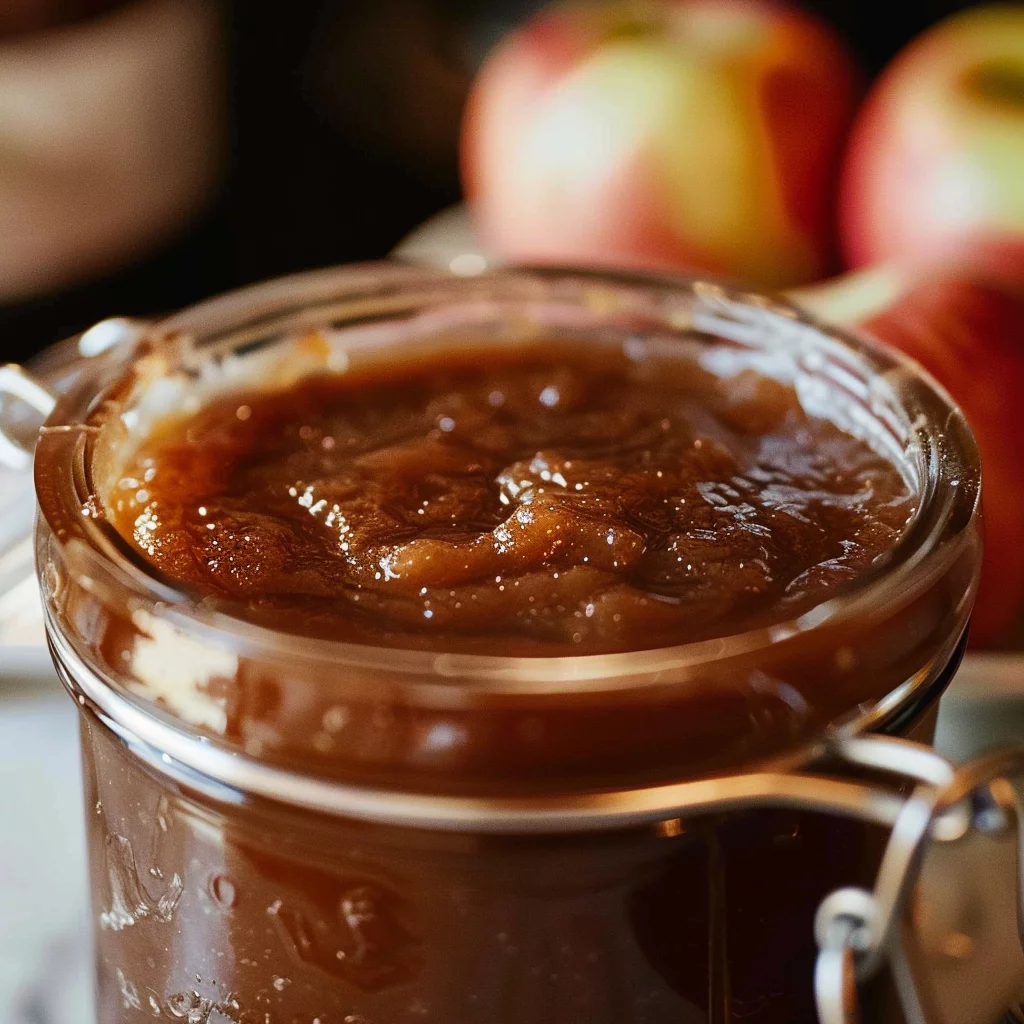
For a beautiful presentation, spoon the apple butter into clean, sterilized jars. This not only preserves its freshness but also makes for an attractive gift option. Ensure there’s ¼ inch of space at the top of each jar, eliminating air bubbles and cleaning the rims before sealing.

Traditional Apple Butter Recipe
Pairings/storage
Store the sealed jars in the refrigerator for up to one month, or consider canning for longer preservation. If you’re interested in canning, prepare a water-bath canner and process the jars for 10 minutes, adjusting for altitude if necessary.
Pair your apple butter with a variety of dishes, from breakfast staples to dessert creations. Its rich flavor complements everything from peanut butter granola apple rings to simple crackers, making it a versatile addition to any meal.
Conclusion
The Traditional Apple Butter Recipe is more than just a family favorite; it’s a celebration of flavors and memories. Through careful preparation and cooking, you can create a spread that captures the essence of autumn in every bite. Its versatility and rich taste make it a delightful addition to any kitchen.
From mastering the fundamentals to exploring new variations, this recipe offers endless possibilities. Whether you’re enjoying it yourself or sharing it with loved ones, apple butter is sure to bring warmth and joy to your table. Embrace the art of cooking with this timeless recipe, and let it inspire you to create new traditions in your own home.
