📑 Table of Contents ▶
Danish Butter Cookies Recipe
Creating perfect Danish butter cookies is a beautiful blend of simplicity and elegance. The story of my first encounter with these delightful treats still brings a smile to my face. I remember walking into my grandmother’s kitchen, where the warm aroma of butter mingled with the sweet scent of baked goods. She effortlessly prepared these cookies, each swirl a testament to her love and skill. The moment I tasted that first buttery morsel, I felt an instant connection to tradition and home.
Danish butter cookies evoke nostalgia and warmth. They come in delightful shapes and sizes, often adorned with colorful sprinkles or a rich layer of chocolate. Each bite delivers a rich buttery flavor, making them perfect for any occasion, from a casual afternoon snack to a festive gathering.
Let’s dive into the magic of these cookies, celebrating the wonderful flavors that make them so special. Follow along, and soon you will have a batch of these buttery delights to share with friends and family.
The Art of Danish Butter Cookies
Fundamentals
Making Danish butter cookies involves an understanding of a few simple fundamentals. The base of this recipe is unsalted butter, which contributes to the cookies’ rich, creamy texture. Room temperature butter is essential for achieving that light and airy consistency that characterizes these delightful treats.
Granulated sugar sweetens the dough while helping to create the perfect crispy exterior. Adding an egg provides structure and moisture, while vanilla extract infuses everything with warmth and flavor. Flour acts as the foundation, giving the cookies their structure, while a touch of salt enhances the sweetness.
Preparation/Setup
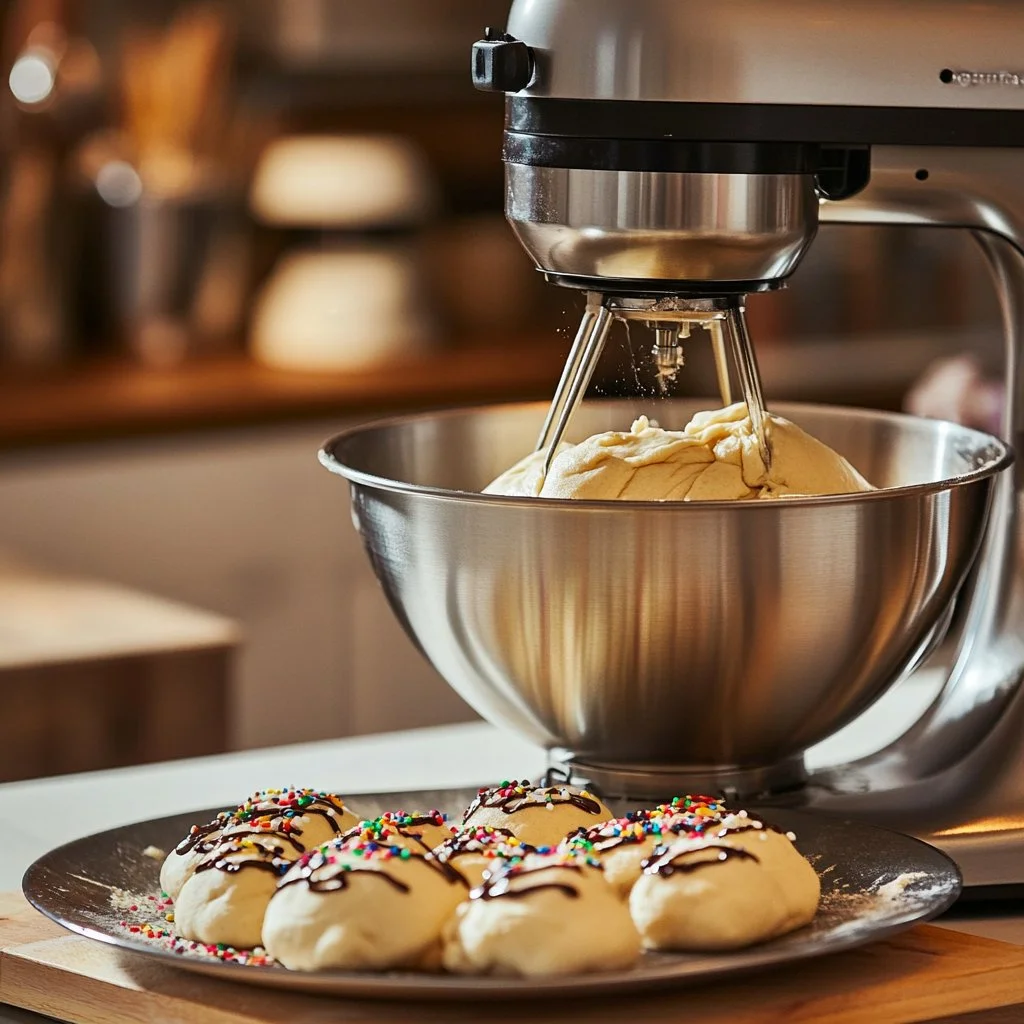
Setting up your workspace is crucial for success when baking Danish butter cookies. Ensure you have a clean, organized area with all your ingredients ready to go. Start by cubing the unsalted butter, allowing it to soften to room temperature — this step cannot be skipped.
Gather your tools as well; a stand mixer or hand mixer with a paddle attachment will help achieve a creamy dough. Piping bags with large tips are essential for shaping your cookies. Prepare your baking sheets by ensuring they are ungreased and ready to welcome the piped dough.
Ingredients
To create the perfect batch of Danish butter cookies, you will need the following ingredients:
- 1 cup unsalted butter (room temperature)
- 2/3 cup granulated sugar
- 1 large egg (room temperature)
- 1 teaspoon vanilla extract
- 2 cups all-purpose flour
- 1/4 teaspoon salt
- 2 teaspoons milk
- 3 oz semi-sweet or milk chocolate
- 3 tablespoons sprinkles
Directions
-
Using a stand mixer with a paddle attachment or a hand mixer, cream together 1 cup of room temperature butter and 2/3 cup of granulated sugar for a few minutes. The mixture should turn light and airy.
-
Add 1 large egg and 1 teaspoon of vanilla extract to the mixture. Mix until everything combines well.
-
Gradually incorporate 2 cups of all-purpose flour and 1/4 teaspoon of salt. Mix at low speed until just combined.
-
Add 2 teaspoons of milk to the dough, mixing until it reaches a pipeable consistency. Be careful not to make it too runny, adding additional milk only if necessary.
-
Transfer the dough into a piping bag fitted with a large piping tip.
-
Pipe 2-inch swirls onto your ungreased baking sheet, keeping them 3 inches apart.
-
Place the baking sheet with piped cookies in the refrigerator for 15-20 minutes. This helps maintain their shape during baking.
-
Preheat your oven to 350°F (175°C).
-
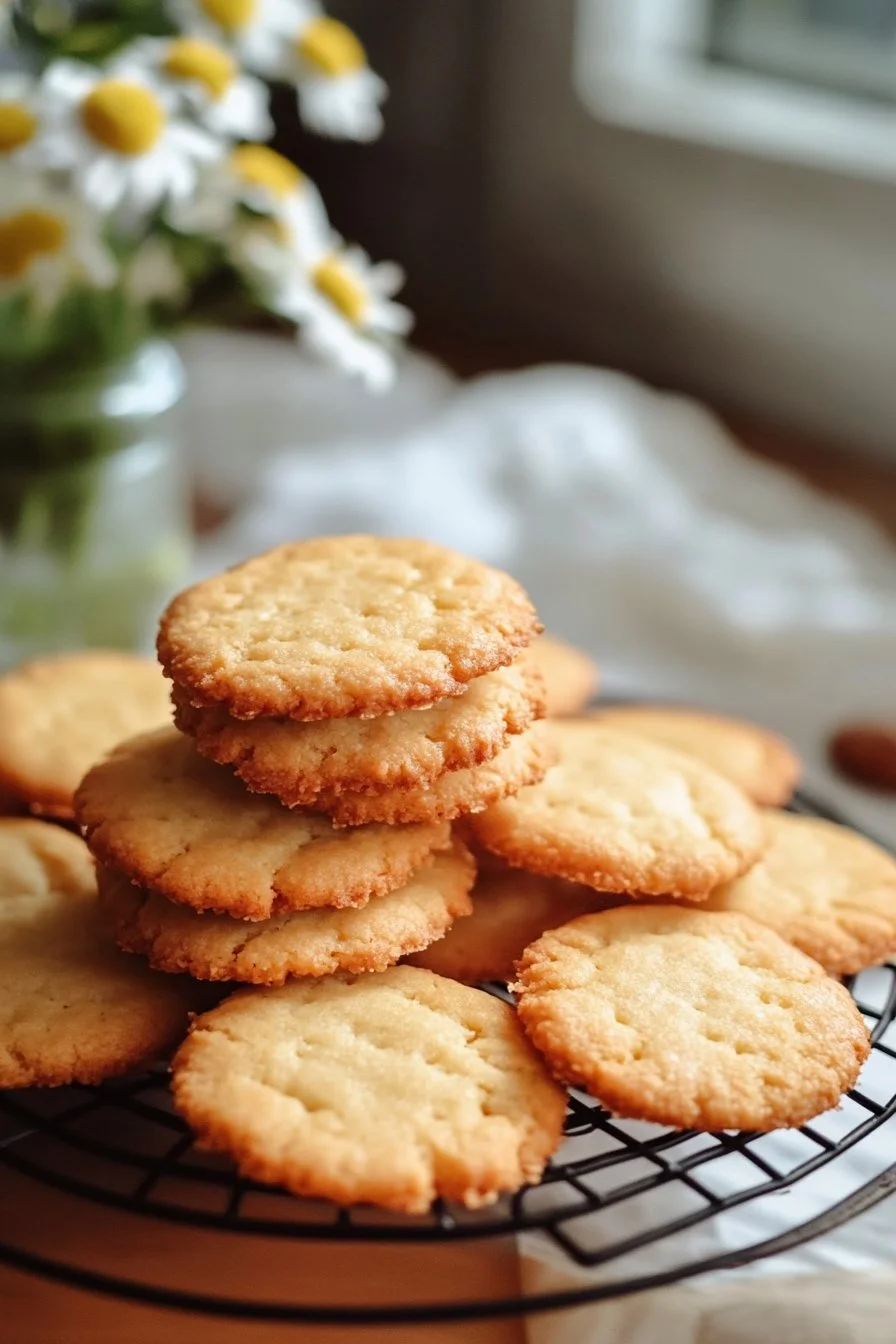
Bake the cookies for about 15 minutes, or until they are golden brown around the edges.
-
Once finished, remove the cookies from the oven and let them rest on the baking sheet for about 10 minutes. Then, transfer them to a wire rack to cool completely.
-
While the cookies cool, prepare the chocolate. Melt the chopped chocolate in a medium heat-proof bowl using a double boiler or a microwave. Microwave in 20-second increments, stirring after each interval.
-
Dip 2/3 of the cooled cookies into the melted chocolate and place them on parchment paper. Sprinkle with festive decorations, allowing the chocolate to set completely.
Crafting the Ideal Cookie Experience
Technique
Perfecting your technique is essential to achieving beautifully crafted Danish butter cookies. It all begins with the creaming process — ensuring the butter and sugar blend thoroughly will create a light, fluffy dough. This step lays the foundation for texture and taste.
Piping the dough requires practice. Hold the piping bag vertically and apply even pressure to create consistent swirls. If the dough feels too stiff, a tiny additional splash of milk can help achieve the right consistency.
Tips and Tricks
A few tried-and-true tips can elevate your Danish butter cookies to the next level. Always start with room temperature ingredients; this ensures a proper blend.
When melting chocolate, monitor closely. Stir diligently to avoid scorching, as burnt chocolate can ruin the visual appeal of your cookies. Finally, feel free to experiment with toppings — different types of sprinkles or nuts add texture and flavor.
Enhancing Your Baking Skills
Perfecting Results
Achieving perfectly baked Danish butter cookies requires attention to detail. The baking time is crucial; keep an eye on the cookies toward the end of the duration. You want them light golden brown on the edges and soft in the center.
If you prefer crispier cookies, leave them in the oven for an extra minute. However, if you’re looking for a softer texture, monitor closely to pull them out just as they start to brown.
Troubleshooting and Variations
If your cookies don’t turn out quite right, adjustments can help. Too dry? Consider adding a tad more milk in your dough. If the cookies spread too much while baking, try chilling the dough longer before piping or ensure your butter is not overly soft during the creaming stage.
Consider variations as well. Feel free to experiment by adding zest of citrus to add a refreshing note, or mix in chopped nuts for added crunch.
Presentation and Enjoyment
Serving and Presentation
Once your Danish butter cookies cool and the chocolate sets, it’s time to present them. Arrange the cookies on a decorative platter to create an inviting display. The contrast of colors from the chocolate and sprinkles enhances their appeal.
For special occasions, consider packaging these cookies as gifts. Wrapping them in clear bags tied with a lovely ribbon adds a personal touch.
Pairings and Storage
These delightful cookies pair beautifully with a variety of beverages. Consider serving them with a steaming cup of coffee or tea for a satisfying afternoon treat.
Storing your cookies should keep them fresh for days. Store in an airtight container to help retain their crispness. If you wish to prolong their shelf life, you can also freeze the unbaked piped dough for future use.
Delicious Danish butter cookies, with their buttery goodness and vibrant toppings, bring joy to any gathering. By following these steps, you will create a batch that reflects tradition and love. Enjoy every delightful bite.
Print
Danish Butter Cookies
- Prep Time: 15 minutes
- Cook Time: 15 minutes
- Total Time: 30 minutes
- Yield: 24 cookies
- Category: Dessert
- Method: Baking
- Cuisine: Danish
- Diet: Vegetarian
Description
Delightful buttery cookies with a rich flavor, perfect for any occasion.
Ingredients
- 1 cup unsalted butter (room temperature)
- 2/3 cup granulated sugar
- 1 large egg (room temperature)
- 1 teaspoon vanilla extract
- 2 cups all-purpose flour
- 1/4 teaspoon salt
- 2 teaspoons milk
- 3 oz semi-sweet or milk chocolate
- 3 tablespoons sprinkles
Instructions
- Cream together 1 cup of room temperature butter and 2/3 cup of granulated sugar until light and airy.
- Add 1 large egg and 1 teaspoon of vanilla extract, mixing until combined.
- Gradually incorporate 2 cups of all-purpose flour and 1/4 teaspoon of salt, mixing at low speed until just combined.
- Add 2 teaspoons of milk, mixing until the dough reaches a pipeable consistency.
- Transfer the dough to a piping bag fitted with a large tip.
- Pipe 2-inch swirls onto an ungreased baking sheet, keeping them 3 inches apart.
- Refrigerate the piped cookies for 15-20 minutes.
- Preheat your oven to 350°F (175°C).
- Bake for about 15 minutes, or until golden brown around the edges.
- Let cool on the baking sheet for 10 minutes, then transfer to a wire rack to cool completely.
- Melt chocolate in a medium heat-proof bowl and dip 2/3 of the cooled cookies in the melted chocolate and sprinkle with decorations.
Notes
Use room temperature ingredients for best results. Store in an airtight container.
