
📑 Table of Contents ▶
Buttery Melt-in-Your-Mouth Cookies
Creating the perfect cookie is an art form, and buttery melt-in-your-mouth cookies represent this art beautifully. The experience of biting into a soft, tender cookie brings back cherished memories of baking with loved ones. The delightful aroma wafting through the house sets the stage for warmth and connection, reminding us of laughter and shared moments.
Baking cookies in my kitchen feels like an invitation to joy. As a child, I often joined my grandmother, who made these buttery treats effortlessly. We would gather around her kitchen, her hands working magic as we mixed buttery dough. With every batch, I fell more in love with how food can unite us, creating bonds through shared recipes. Each cookie held the promise of sweetness, and the anticipation melted away any worries of the day.
These buttery melt-in-your-mouth cookies are simple yet sensational. With just a few basic ingredients, you can recreate those joyful moments. The combination of buttery flavor, a hint of vanilla, and a satisfying sweetness brings a classic, comforting treat to the table. Whether you enjoy them solo with a cup of tea or share them with family, these cookies always bring a smile.
Part 1 — Buttery Cookies: The Basics
Fundamentals
Understanding the fundamental elements of these cookies makes all the difference. The star ingredient, softened unsalted butter, plays a central role. It not only adds richness but also contributes to that melt-in-your-mouth texture that we all adore. The inclusion of powdered sugar ensures a delightful sweetness without overwhelming the palate.
All-purpose flour provides the necessary structure, allowing the cookies to hold their shape while maintaining a tender crumb. The occasional pinch of salt enhances the overall flavor and balances the sweetness. Vanilla extract infuses these cookies with warmth and depth, capturing the essence of homemade goodness.
Preparation/Setup
Preparation for these buttery melt-in-your-mouth cookies begins with straightforward steps. Preheat your oven to 350°F (175°C) to ensure even baking. This initial step is crucial, as it allows you to bake the cookies to perfection.
Gather your ingredients in one area of your kitchen to streamline the process. This not only saves time but also keeps things organized. Prepare your baking sheet by lining it with parchment paper. This small detail ensures that your cookies won’t stick, making cleanup a breeze.
Ingredients
The ingredients list may appear modest, but the flavors shine brightly. Here’s what you need:
- 1 cup unsalted butter, softened
- 1/2 cup powdered sugar
- 1 teaspoon vanilla extract
- 2 cups all-purpose flour
- 1/4 teaspoon salt
These simple, easy-to-find components make the journey to delicious cookies accessible to everyone.
Directions
When it’s time to bake, follow these straightforward directions:
- Preheat your oven to 350°F (175°C).
- In a bowl, cream together the softened butter and powdered sugar until smooth.
- Stir in the vanilla extract.
- Gradually add flour and salt; mix until just combined.
- Roll the dough into small balls and place them on a baking sheet.
- Flatten each ball slightly with a fork.
- Bake for 12-15 minutes or until the edges are lightly golden.
- Let cool on a wire rack before serving.
Part 2 — Mastering the Technique
Technique
Baking these cookies may seem straightforward, but mastering the technique can elevate your results. Allow the butter to soften properly; it works best when it’s at room temperature. This step helps create a smooth, fluffy mixture when creaming with powdered sugar.
Incorporating the flour slowly is another important technique. Adding it gradually prevents lumps from forming, ensuring a consistent dough. Lastly, don’t overmix after adding the flour. Mixing until just combined creates that tender texture that characterizes melt-in-your-mouth cookies.
Tips/Tricks
A few baking tips can enhance your results. First, keep an eye on the baking time. Since ovens vary, start checking the cookies at the 10-minute mark. You want to remove them when they just begin to turn golden at the edges.
Chill the dough for about 30 minutes if you prefer thicker cookies. This extra step prevents them from spreading too much during baking, allowing for a delightful chewy center. Alternatively, try rolling the cookies in sugar before baking for an extra touch of sweetness and crunch.
Part 3 — Perfecting the Results
Perfecting Results
By paying close attention to your techniques, you can achieve bakery-level cookies. Make sure to use fresh ingredients; expired baking items can lead to less-than-ideal results. Softening the butter evenly is crucial, as inconsistent temperatures can yield varying textures.
Consider variations in your cookie size. For smaller cookies, roll the dough into less than one-inch balls. For larger versions, increase the dough to approximately one-and-a-half inches in diameter. Ensuring uniformity in size leads to consistent baking, resulting in beautifully browned edges while keeping the centers soft.
Troubleshooting/Variations
If you encounter spread during baking, ensure your butter wasn’t too warm. It’s also essential to measure your flour correctly; too much can lead to a dense texture. If the dough feels too crumbly, adding an extra teaspoon of softened butter helps bind it together.
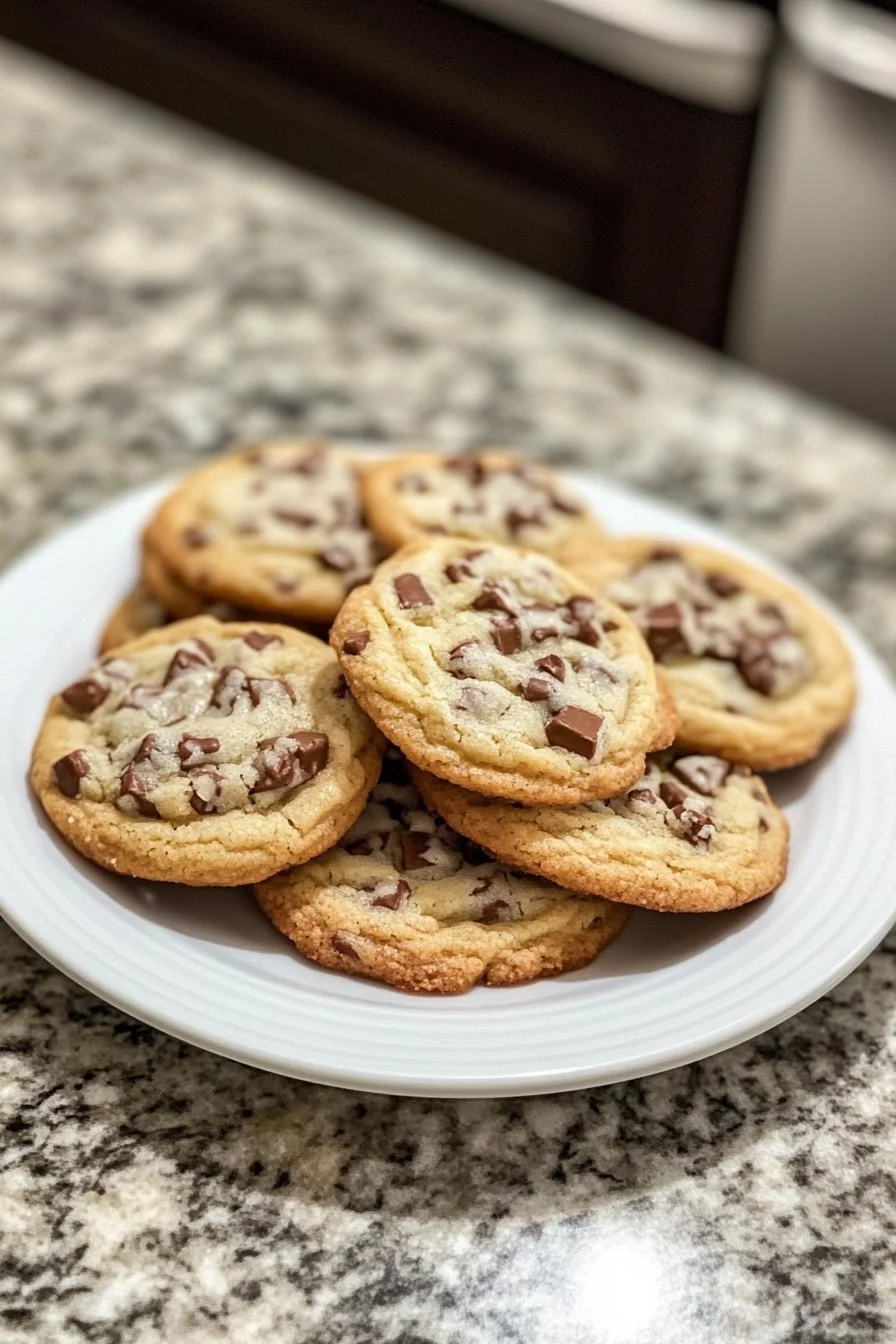
For a twist to your buttery cookies, consider adding mini chocolate chips or chopped nuts. These additions give your cookies another layer of flavor while remaining true to that melt-in-your-mouth quality.
Part 4 — Serving and Storage
Serving/Presentation
Present your buttery cookies in a lovely manner to impress guests or family. Arrange them on a decorative platter, garnish with a sprinkle of powdered sugar, or serve with a side of fresh fruit for a pop of color.
These cookies stand alone beautifully, but they also shine when paired with a warm beverage like herbal tea or hot chocolate. Serve them during gatherings or special occasions to create lasting memories with loved ones.
Pairings/Storage
Store these cookies in an airtight container at room temperature for up to a week. If you wish to keep them fresh for longer, consider freezing them. Ensure they cool completely before freezing to maintain texture and flavor.
When you want to enjoy these cookies again, simply thaw them at room temperature for a few hours. Refresh them in a warm oven for a couple of minutes to bring back that delightful melt-in-your-mouth sensation.
Creating buttery melt-in-your-mouth cookies takes you into the heart of baking, where simple ingredients blend into extraordinary moments. These cookies offer a taste of nostalgia and invite warmth to any setting, reminding us that good food truly brings people together.
Print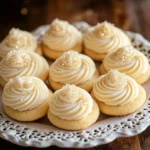
Buttery Melt-in-Your-Mouth Cookies
- Prep Time: 15
- Cook Time: 15
- Total Time: 30
- Yield: 24 cookies
- Category: Dessert
- Method: Baking
- Cuisine: American
- Diet: Vegetarian
Description
Delight in these soft, tender cookies that melt in your mouth, bringing warmth and nostalgia to every bite.
Ingredients
- 1 cup unsalted butter, softened
- 1/2 cup powdered sugar
- 1 teaspoon vanilla extract
- 2 cups all-purpose flour
- 1/4 teaspoon salt
Instructions
- Preheat your oven to 350°F (175°C).
- In a bowl, cream together the softened butter and powdered sugar until smooth.
- Stir in the vanilla extract.
- Gradually add flour and salt; mix until just combined.
- Roll the dough into small balls and place them on a baking sheet.
- Flatten each ball slightly with a fork.
- Bake for 12-15 minutes or until the edges are lightly golden.
- Let cool on a wire rack before serving.
Notes
For thicker cookies, chill the dough for about 30 minutes before baking.
