📑 Table of Contents ▶
- Strawberry Cake Filling: The Essentials
- Fundamentals
- Preparation/Setup
- Directions
- Elevating Your Strawberry Cake Filling
- Technique
- Tips/Tricks
- Perfecting Results with Strawberry Cake Filling
- Perfecting Results
- Troubleshooting/Variations
- Showcasing Your Strawberry Cake Filling
- Serving/Presentation
- Pairings/Storage
Strawberry Cake Filling
A beloved childhood memory includes bright sunlit afternoons in my grandmother’s kitchen. The scent of freshly sliced strawberries filled the air, mingling with the sweet anticipation of homemade treats. Every time she made her famous strawberry cake filling, the kitchen transformed into a vibrant gathering spot. Friends and family would come together, eager to taste her delightful creation, made with love and simplicity.
Strawberry cake filling quickly became a staple in our home. It turned ordinary cakes into something spectacular and every slice into a celebration. The luscious blend of fresh strawberries and sweetness added a burst of flavor that I can still recall vividly. Making this filling captured an essence of joy and creativity, an experience I want to share with others.
Creating your own strawberry cake filling allows you to carry that sense of warmth and togetherness into your kitchen. With just a few simple ingredients, this filling can elevate any cake and turn a regular dessert into a cherished memory. Embrace this recipe, and you too can create delightful moments in your kitchen, bringing your loved ones closer one slice at a time.
Strawberry Cake Filling: The Essentials
Fundamentals
Strawberry cake filling serves as a delicious, vibrant addition to cakes, tarts, and even pancakes. This simple yet flavorsome filling requires minimal ingredients, making it accessible to any home baker. The foundation of this filling revolves around fresh or frozen strawberries, sugar, cornstarch, and water. Each component plays a crucial role in achieving the right balance of flavors and texture.
The strawberries provide natural sweetness and color, while sugar enhances their flavor. Cornstarch acts as a thickening agent, ensuring a smooth, spreadable consistency. Water helps to dissolve the cornstarch and bind all the ingredients together. You can also add a hint of lemon juice and vanilla for extra depth of flavor. For those who prefer a little more saltiness, a pinch can enhance the sweetness of the strawberries.
Preparation/Setup
Before diving into the cooking process, gather all your ingredients. Having everything at hand streamlines the preparation and ensures efficiency. You’ll need 16 ounces or about 2 ½ to 3 cups of fresh or frozen strawberries, sliced. Measure out ¾ cup of water and prepare 3 tablespoons of cornstarch. For sweetness, grab ⅔ cup of sugar, adjusting more or less to suit your taste preferences. Optional ingredients include 2 tablespoons of lemon juice, 1 teaspoon of vanilla, and a pinch of salt.
Start by washing the strawberries, slicing them if you haven’t done so already. For freshest flavor, use in-season strawberries whenever possible. If you’re using frozen strawberries, ensure they are completely thawed before beginning. This ensures even cooking and no extra water in your filling.
Ingredients
- 16 oz (2 ½ to 3 cups) fresh or frozen strawberries, sliced
- ¾ cup water
- 3 tablespoons cornstarch
- ⅔ cup sugar (adjust to taste)
- 2 tablespoons lemon juice (optional)
- 1 teaspoon vanilla (optional)
- Pinch salt (optional)
Directions
- In a medium saucepan, whisk together the water and cornstarch. Ensure the mixture is fully blended and free from lumps.
- Add in the sliced strawberries, sugar, and any optional ingredients like lemon juice, vanilla, or salt.
- Place the saucepan over medium to medium-high heat, and bring the mixture to a boil.
- Allow it to boil for 30-60 seconds, but no longer than one minute. Overboiling can cause the cornstarch to lose its thickening ability, impacting the final texture.
- Watch as the filling changes from an opaque milky pink color to a deeper red that becomes more transparent. This visual cue indicates that it is ready to simmer.
- Immediately reduce the heat to medium-low and allow the mixture to simmer for 8-10 minutes.
- Your filling should be thick enough to coat a spatula without dripping off. It will thicken more as it cools.
- Remove from heat and let it cool completely before using in your favorite dessert.
Elevating Your Strawberry Cake Filling
Technique
Creating strawberry cake filling requires attention to both the ingredients and the cooking method. The main technique involves balancing the thickness and sweetness to complement your dessert. Start by ensuring that your cornstarch is fully dissolved in water to avoid any clumping while cooking. During the cooking process, continuously stir the mixture for an even texture.
Consider mashing the strawberries slightly with a fork after they cook to create a more homogenous filling. This technique helps to blend the flavors, ensuring the strawberries meld beautifully with the sugar and any optional ingredients.
Tips/Tricks
For an extra special touch, choose fresh strawberries that are ripe and fragrant. If using frozen, select high-quality, unsweetened varieties. Adjust the sugar according to the natural sweetness of the strawberries; fresher strawberries usually require less sugar. Incorporating lemon juice brightens the overall flavor, providing a lovely contrast to the sweetness.
Experiment with other flavors as well. Try adding fresh herbs like mint for a unique twist. You could also consider swapping vanilla extract for a splash of almond extract for deeper undertones.
Perfecting Results with Strawberry Cake Filling
Perfecting Results
To achieve the perfect strawberry cake filling, keep an eye on the simmering process. The texture should be thick enough to spread easily but not so thick that it’s unmanageable. If your filling turns out too thin, return it to the heat and simmer longer, stirring continuously. If it’s too thick, add a splash of water to adjust the consistency.
Cooling times are also critical. Allow your filling to cool completely before using. This thickening process will ensure a better spreadability and flavor intensity, enhancing your cakes or pastries.
Troubleshooting/Variations
If your filling doesn’t thicken as expected, check the cooking time. Remember, if you boil too long, you risk losing thickening power. On the flip side, if it’s too thick, simply add more water and heat gently to achieve the desired consistency.
Variations can also come from integrating different fruits. Consider combining strawberries with blueberries or raspberries for a mixed berry filling. This not only introduces fresh flavors but adds visual appeal.
Showcasing Your Strawberry Cake Filling
Serving/Presentation
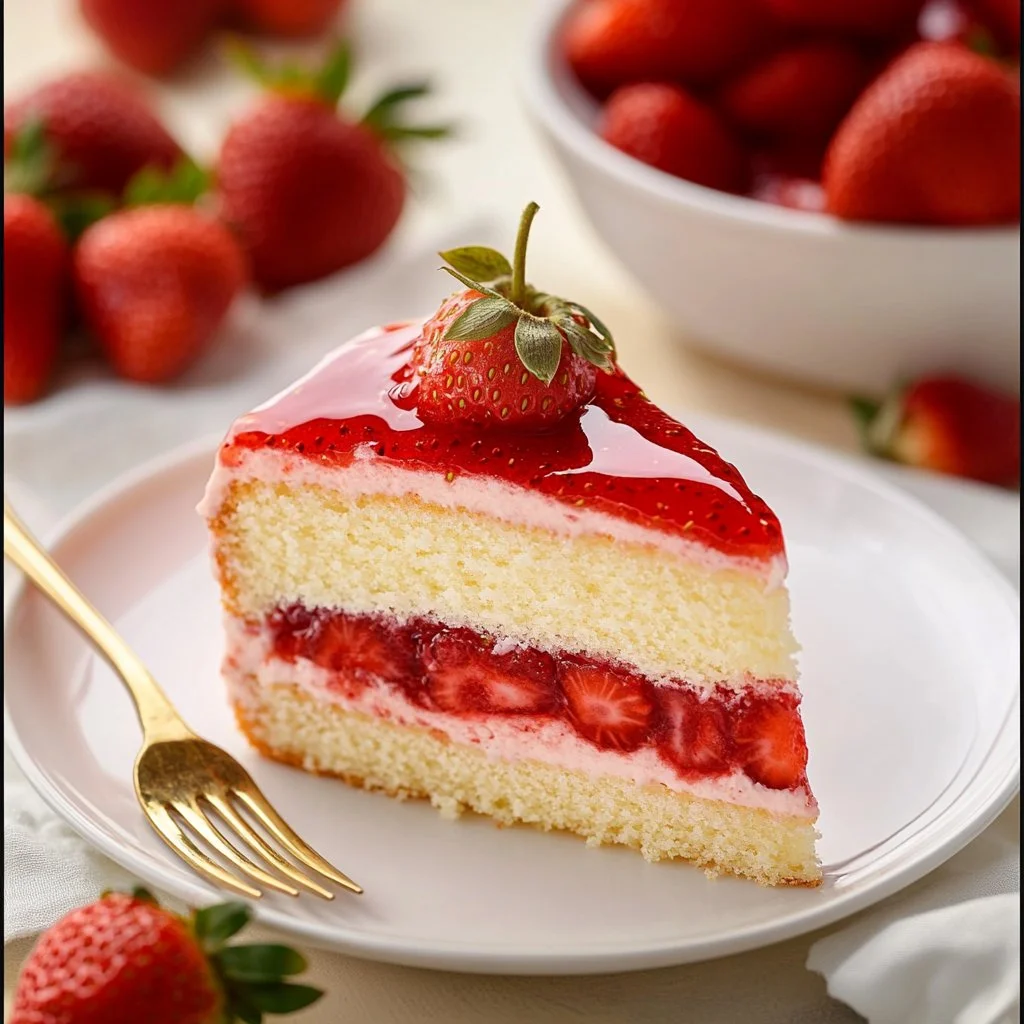
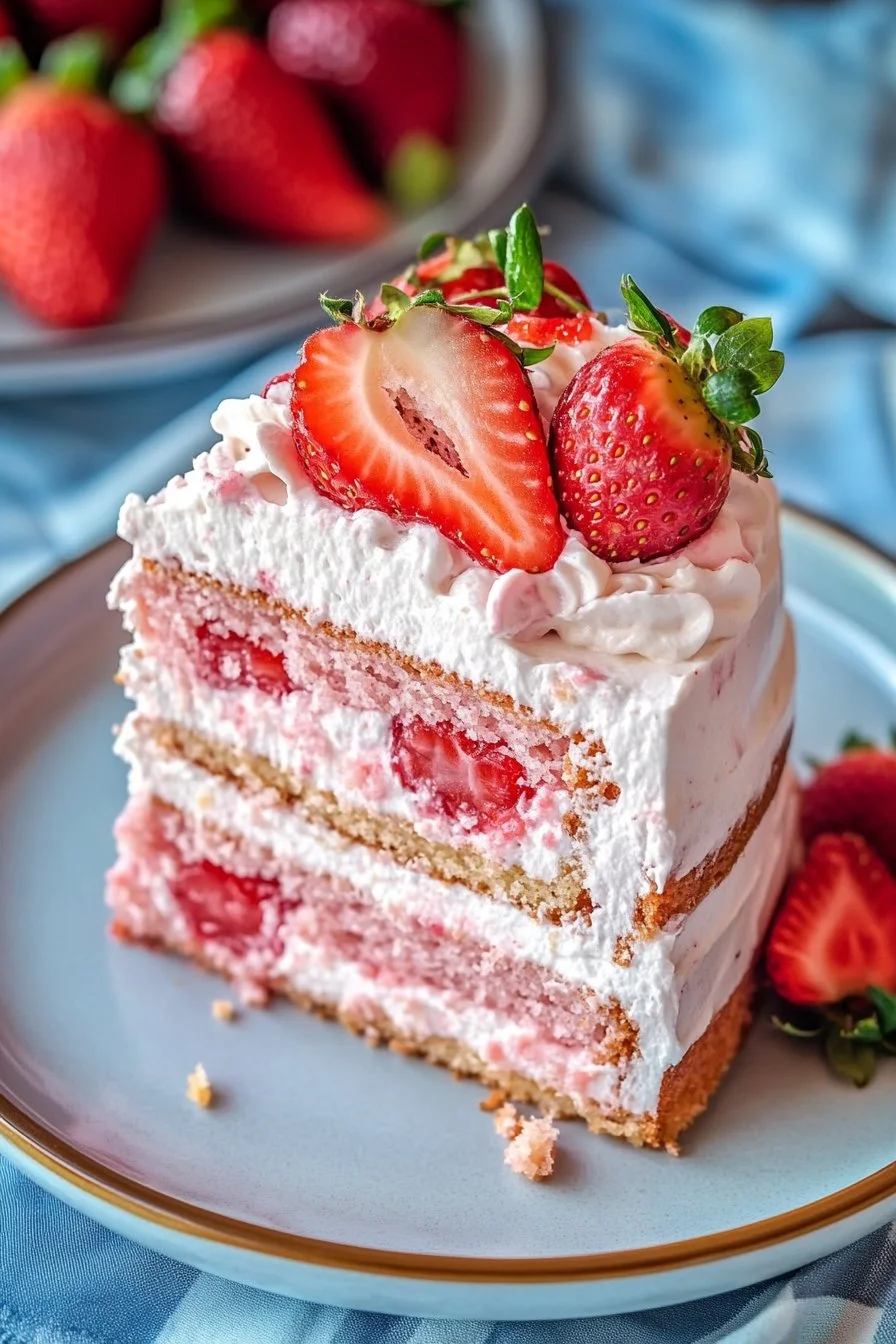
Once your strawberry cake filling is ready, the presentation matters. Spread it generously between layers of cake, allowing it to peek from the sides for an inviting look. To top it off, garnish with additional fresh strawberries or a sprinkle of powdered sugar.
For a casual gathering, you can also serve it as a topping for pancakes, waffles, or even yogurt bowls. Try piping some over a slice of cheesecake for a beautiful contrast in color and flavor.
Pairings/Storage
Strawberry cake filling pairs perfectly with various desserts. Use it as a layer in cakes or a topping for ice cream, turning simple scoops into dessert masterpieces. However, it’s not advisable to pair it with alcohol-based items.
To store, place the filling in an airtight container and keep it in the refrigerator. It will remain fresh for about a week, allowing you to enjoy your creation for multiple desserts or breakfast treats. If you want to freeze it, use a freezer-safe container, and it will keep well for up to three months.
Strawberry cake filling captures the essence of love, creativity, and deliciousness. Embrace your culinary skills and create lasting memories with each of your dessert adventures. Just like my grandmother taught me, good food is all about sharing joy and togetherness.
Print
Strawberry Cake Filling
- Prep Time: 10 minutes
- Cook Time: 15 minutes
- Total Time: 25 minutes
- Yield: 2 cups
- Category: Dessert
- Method: Cooking
- Cuisine: American
- Diet: Vegetarian
Description
A delightful strawberry cake filling that transforms any dessert into a celebration with its vibrant flavor.
Ingredients
- 16 oz (2 ½ to 3 cups) fresh or frozen strawberries, sliced
- ¾ cup water
- 3 tablespoons cornstarch
- ⅔ cup sugar (adjust to taste)
- 2 tablespoons lemon juice (optional)
- 1 teaspoon vanilla extract (optional)
- Pinch of salt (optional)
Instructions
- In a medium saucepan, whisk together the water and cornstarch until fully blended and free from lumps.
- Add in the sliced strawberries, sugar, and any optional ingredients like lemon juice, vanilla, or salt.
- Place the saucepan over medium to medium-high heat and bring the mixture to a boil.
- Allow it to boil for 30-60 seconds.
- Reduce the heat to medium-low and let it simmer for 8-10 minutes until thickened.
- Remove from heat and let it cool completely before using.
Notes
Ensure that the cornstarch is fully dissolved to avoid clumping. Experiment with other fruits for variations.
