📑 Table of Contents ▶
Sourdough Bread
Crafting sourdough bread feels like a dance with nature. I often recall my first loaf, the kitchen fragrant with the earthy aroma of baking bread. I mixed the ingredients, guided by the perfect balance of flour, water, and my beloved sourdough starter. Each step brought me deeper into this world, where patience and fermentation unite to create something magical.
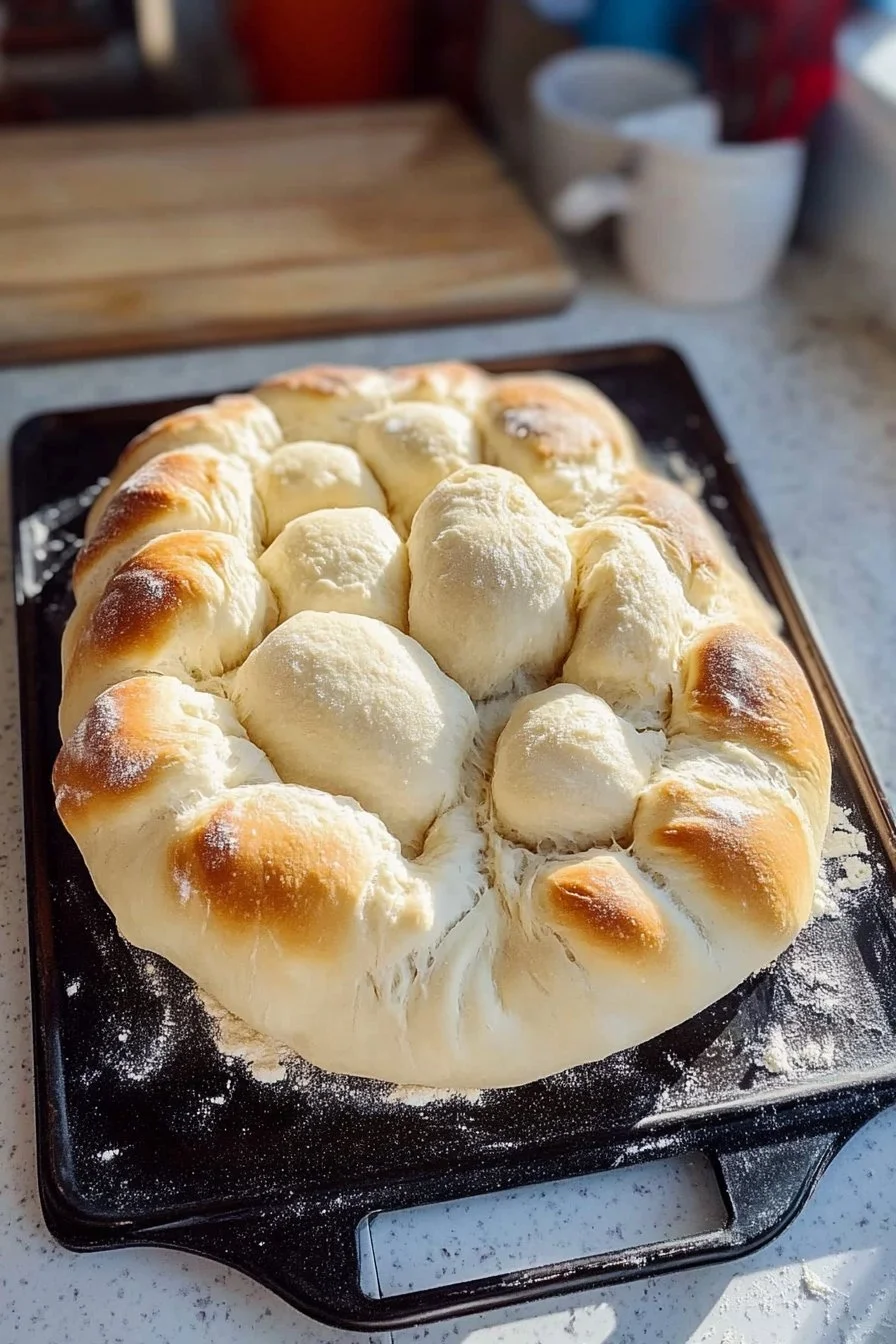
The joy of pulling a crusty loaf from the oven resonates with anyone who bakes. That golden-brown exterior hides a soft, airy interior that makes my heart sing. Sourdough bread is not merely food; it’s a journey that deeply connects us to our roots. Each bite carries a story, filled with memories of sharing and warmth.
Baking sourdough is more than following a recipe. It’s about understanding the process, experimenting, and enjoying the unique flavors that develop over time. The art of sourdough comes alive when you embrace simplicity while allowing the ingredients to shine. Let’s delve into the fundamentals and craft a nourishing loaf that celebrates the beauty of sourdough.
Understanding Sourdough Bread
Fundamentals
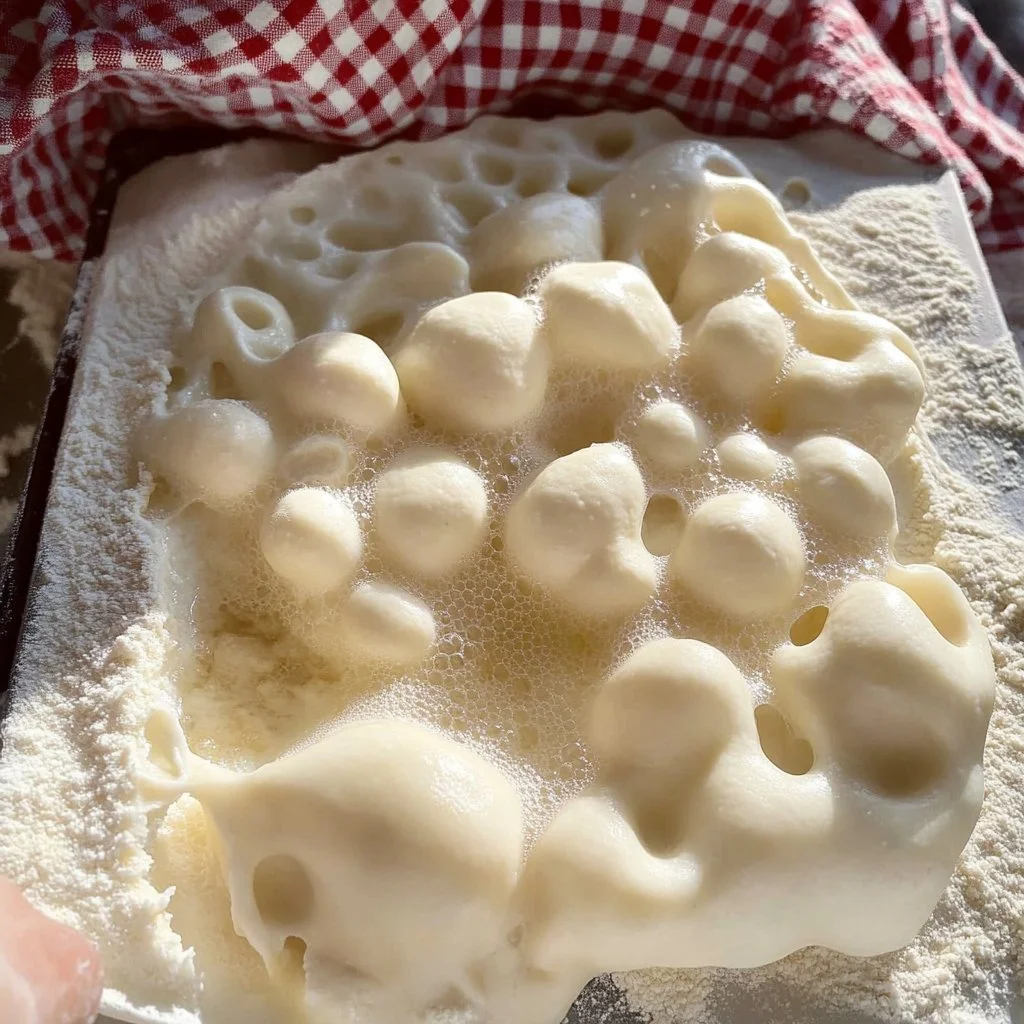
Sourdough bread relies on natural fermentation, utilizing wild yeast from the environment, along with the guidance of a sourdough starter. This process differs from traditional bread-making that often relies on commercial yeast. The charm of sourdough lies in its tangy flavor, chewy texture, and beautiful crust.
Bread flour provides the perfect protein content needed for structure and chewiness. Water hydrates the flour, allowing gluten to develop, creating desirable elasticity in the dough. The sourdough starter introduces complexity to the bread, while instant yeast gives an extra lift, ensuring a reliable rise.
Salt enhances flavor and strengthens the gluten in the dough. Extra virgin olive oil introduces a subtle richness, creating a golden crust and adding moisture to the crumb.
Preparation/setup
To begin, gather your ingredients and tools. You need a large bowl, a lightly floured surface for kneading, and a greased bowl for the dough to rise. A proofing basket is essential for the final rise, allowing the dough to retain its shape as it expands.
Start by measuring the ingredients accurately. Use a kitchen scale for precise measurements, ensuring that your bread turns out consistently delicious.
Ingredients
- 370g bread flour
- 296g water
- 93g sourdough starter
- 1g instant yeast
- 8g salt
- 12g extra virgin olive oil
Directions
- In a large bowl, mix the bread flour, water, sourdough starter, instant yeast, and salt until a rough dough forms.
- Knead the dough on a lightly floured surface for about 10 minutes, until smooth.
- Incorporate the extra virgin olive oil and continue kneading until fully absorbed.
- Place the dough in a greased bowl, cover it, and let it rise for about 4-6 hours at room temperature or until doubled in size.
- Gently deflate the dough and shape it into a loaf or round.
- Place the shaped dough in a proofing basket and let it rise for another hour.
- Preheat the oven to 450°F (232°C) with a Dutch oven inside.
- Once preheated, carefully transfer the dough into the hot Dutch oven, cover, and bake for 30 minutes.
- Remove the lid and bake for an additional 15-20 minutes until golden brown.
- Cool on a wire rack before slicing.
Elevating the Craft of Sourdough
Technique
The technique behind sourdough is all about nurturing the dough. Pay close attention to how it feels as you knead. You want a smooth and elastic texture, indicating that gluten has developed appropriately. As the dough rises, observe the changes—it should puff up and feel light when gently pressed.
Managing the temperature also plays a crucial role. A warm environment encourages fermentation, while cooler conditions slow it down. Keep your dough in a cozy spot, away from drafts, which can help achieve a consistent rise.
Tips/tricks
Consider using digital thermometers to check the temperature. The ideal dough temperature for optimal fermentation hovers around 75°F to 80°F. If your kitchen is too cold, place the dough in a warm spot or even inside a turned-off oven with the light on to create a cozy environment.
Another pro tip is to experiment with hydration levels. Higher hydration doughs can yield a more open crumb structure. If you’re comfortable with the handling, play with varying water amounts slightly to find the perfect balance for your preference.
Perfecting Your Sourdough
Perfecting results
Achieving a perfect loaf of sourdough requires practice and attention. The first time may not be flawless, but each bake teaches you something new. Focus on the dough’s responsiveness and adjust your methods based on the results you experience.
Observe the crust color. A good loaf is golden brown, indicating proper caramelization. If your results vary, consider the humidity and room temperature, as these factors influence fermentation times.
Troubleshooting/variations
If your bread fails to rise, check the activity of your sourdough starter. An active starter should be bubbly and double in size shortly after feeding. If not, give it more time or refresh it.
For those wanting to add variety, consider incorporating seeds or herbs into the dough. Mix in sunflower seeds, flaxseeds, or chopped fresh rosemary for added flavor. These inclusions can elevate your sourdough experience further.
Serving Your Sourdough Masterpiece
Serving/presentation
When serving your sourdough, presentation adds charm. Slice the loaf with a serrated knife, revealing the gorgeous open crumb. Consider placing it on a wooden cutting board, accompanied by a small bowl of olive oil or a sprinkle of sea salt for dipping. This adds a rustic touch that entices everyone at the table.
Pairings/storage
Sourdough pairs perfectly with a variety of spreads and toppings. Enjoy it alongside creamy butter, artisanal cheeses, or even your favorite spreads. Use it to craft delightful sandwiches or savory toast creations.
For storage, wrap your bread in a clean kitchen towel and keep it at room temperature. This helps maintain its crusty exterior while keeping the interior soft. If you need it to last longer, consider freezing the slices. Just make sure to seal them in an airtight bag.
Conclusion
Crafting sourdough bread invites you into a world of flavors and experiences. With patience and practice, you develop skills that enhance not only your baking but also create cherished moments in your kitchen. Each loaf celebrates the journey of transforming simple ingredients into a masterpiece of flavor and texture. Embrace the traditions of sourdough, and let it weave its story into your culinary adventures.
Print
Sourdough Bread
- Prep Time: 10 minutes
- Cook Time: 45 minutes
- Total Time: 55 minutes
- Yield: 1 loaf
- Category: Baking
- Method: Baking
- Cuisine: American
- Diet: Vegetarian
Description
A fragrant and flavorful journey of crafting sourdough bread using natural fermentation and simple ingredients.
Ingredients
- 370g bread flour
- 296g water
- 93g sourdough starter
- 1g instant yeast
- 8g salt
- 12g extra virgin olive oil
Instructions
- In a large bowl, mix the bread flour, water, sourdough starter, instant yeast, and salt until a rough dough forms.
- Knead the dough on a lightly floured surface for about 10 minutes, until smooth.
- Incorporate the extra virgin olive oil and continue kneading until fully absorbed.
- Place the dough in a greased bowl, cover it, and let it rise for about 4-6 hours at room temperature or until doubled in size.
- Gently deflate the dough and shape it into a loaf or round.
- Place the shaped dough in a proofing basket and let it rise for another hour.
- Preheat the oven to 450°F (232°C) with a Dutch oven inside.
- Once preheated, carefully transfer the dough into the hot Dutch oven, cover, and bake for 30 minutes.
- Remove the lid and bake for an additional 15-20 minutes until golden brown.
- Cool on a wire rack before slicing.
Notes
Consider experimenting with hydration levels and incorporating seeds or herbs for added flavor.
