📑 Table of Contents ▶
How to Make the Perfect Cakesicles Tutorial!
A passion for creating delightful desserts often starts with playful experimentation in the kitchen. Cakesicles, those charming cake popsicles, emerged as a fun and trendy treat. They blend the joy of ice cream with the indulgence of cake, making them perfect for any celebration. The first time I made cakesicles, I experienced a thrilling mixture of anticipation and creativity. Each layer offered an opportunity for flavor exploration.
As I crafted my cakesicles, friends gathered to witness the transformation of simple ingredients into delightful creations. The laughter and joy surrounding these little treats reminded me of the connections food can foster. Each time I pulled a cake from the mold, excitement filled the air. Memories of decorating them with sprinkles and icing took me back to my childhood, making the process feel even more special.
Perfecting cakesicles has become a fun journey, filled with different flavors, colors, and textures. The methods I developed have paved the way for delicious creations anyone can make. Follow this guide to make the perfect cakesicles, bringing joy to your kitchen and smiles to those around you.
How to Make Perfect Cakesicles
Creating cakesicles requires an understanding of a few key fundamentals. First, the choice of cake flavor provides the foundation. Consider your favorite cake recipes, as these provide the primary flavor profile. The cake needs to be moist to work well for cakesicles, ensuring that each bite remains delightful and satisfying.
You can use crumbled cake, frosting, and a coating to construct the cakesicles. A variety of cake flavors and coatings can help to create fun combinations to suit any celebration. Preparation plays a crucial role, as does the setup of your workspace before beginning the process.
Fundamentals
Start with your choice of cake, whether it’s chocolate, vanilla, or something more adventurous like red velvet. The key here is a moist texture that can easily bind together when crumbled. Avoid overly dry cakes, as they won’t yield the best results for cakesicles.
Once you select your cake, gather your materials. You’ll need popsicle molds, a mixing bowl, and a baking sheet lined with parchment paper. Don’t forget the coating materials, perhaps chocolate or candy melts, and sprinkle options for that fun finish.
Preparation/Setup
Before mixing your cake, ensure all ingredients are at room temperature. This helps with the blending process. Crumble your cake into fine pieces using your hands or a food processor. Aim for a texture that’s not too coarse but also not too fine; you want it to hold together well.
Once crumbled, incorporate frosting or any other binding agent into the cake. Mix until you achieve a dough-like consistency, making it easier to mold into shapes. Next, prepare your popsicle molds by lightly greasing them to prevent sticking.
Ingredients
- 1 prepared cake of your choice
- 1 cup frosting (store-bought or homemade)
- Chocolate or candy melts for coating
- Sprinkles or edible decorations
Directions
- Crumble the prepared cake into a bowl.
- Mix in the frosting, ensuring the mixture binds together.
- Pack the mixture tightly into the prepared popsicle molds.
- Insert popsicle sticks and freeze until solid, typically for 4-6 hours.
- After the cakesicles are frozen, carefully remove them from the molds.
- Melt the chocolate or candy melts in a microwave-safe bowl following the package instructions.
- Dip each cakesicle into the melted chocolate, allowing excess to drip off before placing them on a parchment-lined baking sheet.
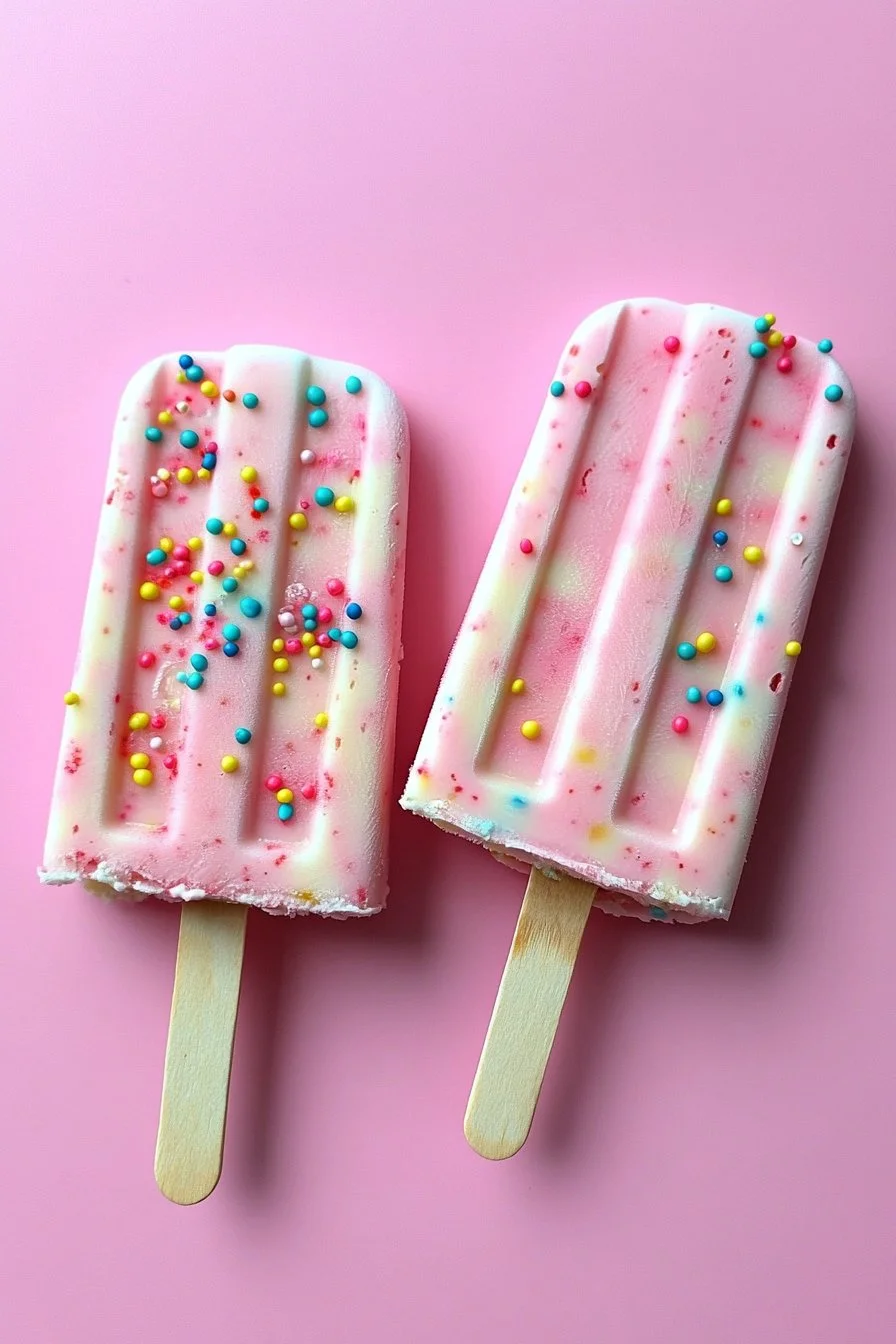
- Immediately add sprinkles or edible decorations, as the coating will set quickly.
Techniques for Perfect Cakesicles
Mastering the art of cakesicle creation involves knowing a few specific techniques. Each step contributes to the overall texture and flavor, ensuring every bites bursts with joy. Mixing techniques can dramatically affect the final outcome, as can the temperature of your ingredients during preparation.
Technique
When mixing the cake and frosting, use your hands to feel the texture. This tactile approach allows you to determine the right consistency for mold fillings. If the mixture feels too crumbly, add a bit more frosting to help it stick together better. However, too much frosting can make the cakesicles overly sweet or cause them to lose their shape.
Freezing the cakesicles properly is crucial. Ensure you provide ample time for them to set. If they’re not cold enough, the coating will not adhere properly, and the structure may break apart upon dipping.
Tips/Tricks
- Substitute different types of frosting for varied flavor profiles. Cream cheese frosting enhances chocolate cakes, while buttercream adds sweetness to vanilla cakes.
- For a healthier option, consider using fruit puree as a binding agent.
- Experiment with different coatings—dark, milk, and white chocolates all provide unique flavor experiences.
- Work quickly when dipping and decorating to ensure the coating adheres well before it cools and hardens.
Perfecting Your Cakesicles
Achieving the perfect cakesicles requires attention to detail during the preparation and assembly. Preventing common issues guarantees that your creations maintain their appealing shape and delightful taste. Some creative variations offer interesting ways to elevate your cakesicles even further.
Perfecting Results
Monitor the temperature of your kitchen while working. Warm conditions can soften your cakesicles too much prior to coating. If your kitchen feels warm, consider chilling the cakesicles for a short while before dipping into melted chocolate. This can help maintain the integrity of the cakesicle shape.
Another tip for perfection involves the coating process. Mix melted chocolate thoroughly for a smooth finish. If you notice any lumps, strain or re-melt to ensure a silky coating that adheres evenly to each cakesicle.
Troubleshooting/Variations
Sticking can occur when releasing cakesicles from molds. If you encounter this issue, try placing the mold in warm water for a few seconds, which may help them release easier. Should your cakesicles crumble during the dipping process, simply re-mold them slightly before the final freeze, returning them to their proper shape.
Use creative flavor combinations for a unique spin. Consider adding zest, flavored extracts, or crushed cookies to the batter for an interesting surprise. Alternate between chocolate and fruit coatings for visual appeal that impresses guests.
Serving and Storing Cakesicles
Presenting cakesicles can be a fun part of the process. Create a beautiful display to showcase the joyful colors and tempting textures of each treat. When storing your cakesicles, follow a few guidelines to maintain freshness and quality.
Serving/Presentation
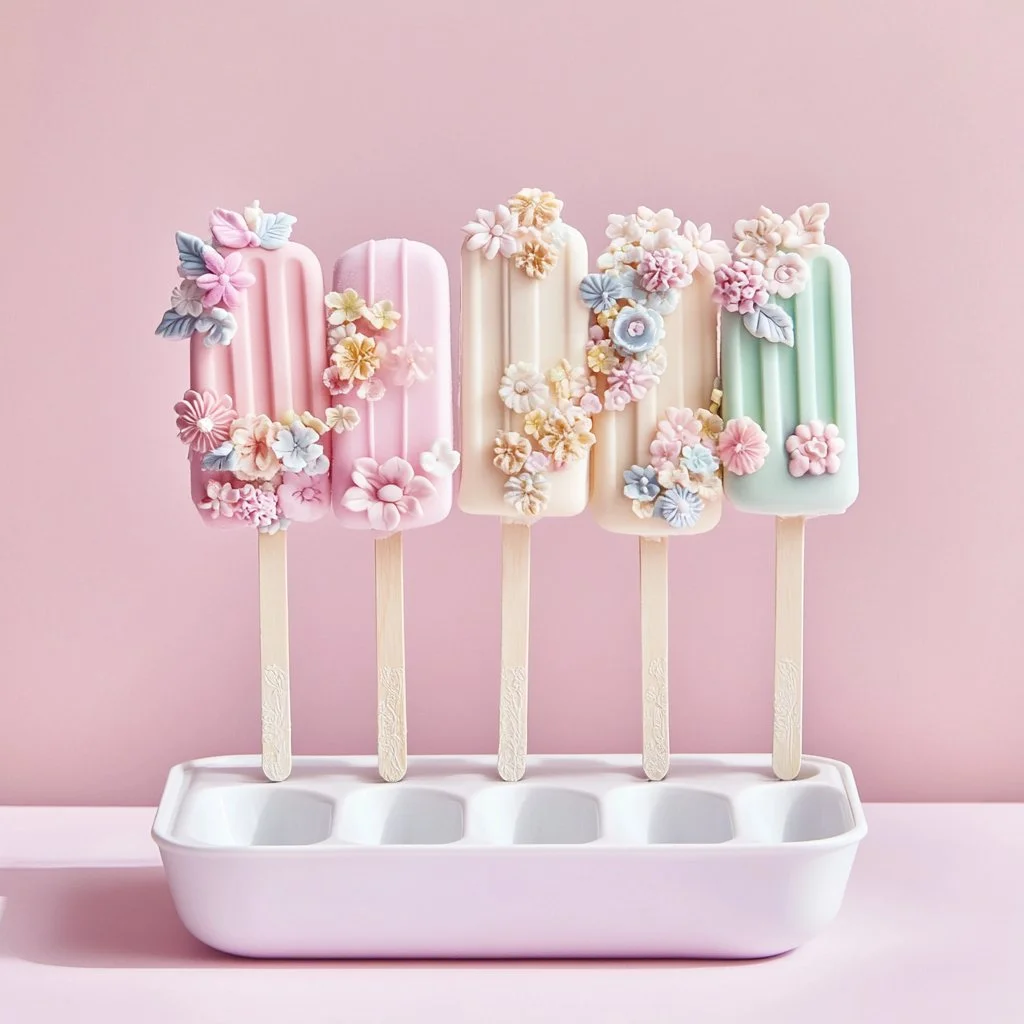
Arrange cakesicles on a decorative platter or stand for an eye-catching presentation. Consider standing them upright in a block of floral foam or in a tall glass for a playful look. Mixing different colors and sprinkles creates an appealing visual display that captures attention at any gathering.
For special occasions, consider garnishing with edible flowers, whipped cream, or fruit slices for added flair. The bright colors and textures bring energy to any dessert table, inviting excitement.
Pairings/Storage
Cakesicles pair beautifully with fresh fruits like berries or a side of creamy dips like yogurt. Avoid flavor overlaps with your cakesicles to maintain distinct tastes. Store any leftover cakesicles in an airtight container in the freezer to keep them fresh.
Ensure they lie flat in containers to prevent them from sticking together. Properly wrapped, cakesicles can last up to a month, making them a delightful treat ready for any impromptu gathering or planned celebration.
Cakesicles offer the perfect blend of creativity and flavor, ensuring a delightful experience with every bite. Whether for a child’s birthday, a holiday celebration, or a simple afternoon treat, these charming desserts bring joy and togetherness to the table.
Print
Perfect Cakesicles
- Prep Time: 15 minutes
- Cook Time: 360 minutes
- Total Time: 375 minutes
- Yield: 10 cakesicles
- Category: Dessert
- Method: Freezing
- Cuisine: American
- Diet: Vegetarian
Description
Delightful cakesicles blend the joy of ice cream with cake, perfect for any celebration.
Ingredients
- 1 prepared cake of your choice
- 1 cup frosting (store-bought or homemade)
- Chocolate or candy melts for coating
- Sprinkles or edible decorations
Instructions
- Crumble the prepared cake into a bowl.
- Mix in the frosting, ensuring the mixture binds together.
- Pack the mixture tightly into the prepared popsicle molds.
- Insert popsicle sticks and freeze until solid, typically for 4-6 hours.
- After the cakesicles are frozen, carefully remove them from the molds.
- Melt the chocolate or candy melts in a microwave-safe bowl following the package instructions.
- Dip each cakesicle into the melted chocolate, allowing excess to drip off before placing them on a parchment-lined baking sheet.
- Immediately add sprinkles or edible decorations, as the coating will set quickly.
Notes
For a healthier option, consider using fruit puree as a binding agent. Work quickly when dipping and decorating to ensure the coating adheres well.
