📑 Table of Contents ▶
Homemade Chocolate Chip Cookies
Baking homemade chocolate chip cookies always brings back fond memories of family gatherings. The aroma of freshly baked cookies fills the air, creating an atmosphere of warmth and happiness. Each batch of cookies holds the promise of delight, encouraging everyone to gather around and share stories.
Watching the chocolate chips melt into gooey goodness evokes feelings of nostalgia. Those moments spent in the kitchen crafting cookies with loved ones shape memories that last a lifetime. Homemade chocolate chip cookies symbolize comfort, joy, and the simple pleasures life has to offer.
Crafting these delicious treats doesn’t need to be daunting. With just a few simple ingredients, you can elevate your baking skills while creating something delightful. The blend of buttery goodness and the sweetness of chocolate makes every bite a memorable experience. Dive into the world of homemade chocolate chip cookies, and let the joy of sharing them bring smiles to your loved ones.
Homemade Chocolate Chip Cookies
Fundamentals
Understanding the science behind baking cookies makes the process even more rewarding. The foundation of a great cookie lies in the balance of ingredients. Each component plays a crucial role in achieving the desired texture and flavor. Flour provides structure, while butter adds richness. Sugar sweetens and helps create a tender crumb. Eggs bind everything together, creating that perfect chewy texture.
Baking powder and baking soda act as leavening agents, giving the cookies that lovely rise. The type of chocolate chips you choose can also influence the overall taste. Semisweet chocolate offers a balanced sweetness, while milk chocolate adds a touch of creaminess that pleases many palates. Quality ingredients are key; they truly elevate the final product.
Gather your tools to ensure a smooth baking experience. An electric mixer makes the creaming process effortless, while a reliable baking sheet or parchment paper prevents sticking. These simple tools enhance your baking journey and lead to perfect chocolate chip cookies.
Preparation/Setup
Before starting, preheat your oven to 350°F (180°C). This step ensures even baking, giving your cookies that golden-brown edge. While the oven warms up, it’s time to prepare your ingredients.
In a small bowl, whisk together 2 1/4 cups of all-purpose flour and 1/2 teaspoon of baking soda. Set this mixture aside for later use. The flour provides the structure, while the baking soda will help elevate your cookies as they bake.
In a large mixing bowl, cream together 1 cup of unsalted butter and the sugars. Use 1/2 cup of granulated sugar and 1 cup of packed light-brown sugar. Beat this combination until light and fluffy, typically around 2-3 minutes using an electric mixer on medium speed. This process incorporates air into the mixture, leading to a light cookie texture.
Ingredients
The star ingredients for your homemade chocolate chip cookies include:
- 2 1/4 cups all-purpose flour
- 1/2 teaspoon baking soda
- 1 cup unsalted butter, at room temperature
- 1/2 cup granulated sugar
- 1 cup packed light-brown sugar
- 1 teaspoon salt
- 2 teaspoons pure vanilla extract
- 2 large eggs
- 2 cups semisweet and/or milk chocolate chips
Each ingredient plays a unique role in bringing your cookies to life. The butter not only adds flavor but also contributes to a tender crumb. Vanilla extract enhances the sweet notes, while eggs provide structure and richness.
Don’t forget, the chocolate chips create the mouthwatering surprise in each bite. You can mix and match between semisweet and milk chocolate to find your perfect combo.
Directions
With your ingredients ready, it’s time to combine them. Begin by adding salt, vanilla extract, and the two large eggs to your creamed butter and sugars. Beat until everything is well combined. The vanilla’s sweet aroma will enhance your cookie dough, tantalizing your taste buds.
Next, gradually add the flour mixture to this wet mixture. Mix until just combined, avoiding overmixing, which can lead to tough cookies. Incorporate the chocolate chips by gently folding them in. This step ensures an even distribution of chocolate throughout the dough.
Now comes the fun part. Using rounded tablespoons, drop dough onto baking sheets lined with parchment paper. Leave ample space between the cookie mounds, allowing them to spread while baking. Bake in the preheated oven for about 10-12 minutes. Keep an eye on them; you want them golden brown around the edges but still soft in the center.
After baking, allow your cookies to cool on the sheet for a few minutes. Then, transfer them to wire racks to cool completely. The anticipation builds as you wait for that first warm bite.
Perfecting Your Homemade Cookies
Technique
Perfecting your homemade chocolate chip cookies comes with practice and a few essential techniques. Watching the dough as it mixes can improve your intuition about texture. Aim for a dough that holds its shape but isn’t too stiff; it should feel slightly tacky in your hands.
Experimenting with chilling the dough can yield different results. By chilling the dough for 30 minutes to an hour, you can enhance the chocolate flavor and prevent excessive spreading.
Even the way you scoop your dough matters! Use a cookie scoop or rounded tablespoon for uniform cookies that bake evenly. Consistency in size helps achieve that perfect doneness across all cookies.
Tips/Tricks
A few handy tips can take your cookies from great to unforgettable. First, use room temperature butter to ensure smooth mixing. Cold butter won’t cream well, leading to a denser texture.
Consider adding a pinch more salt to balance the sweetness. Salt enhances flavors and rounds out the overall taste.
You can also experiment with add-ins. Nuts, coconut, or dried fruit can provide a fun twist to the classic recipe. Just remember to keep the balance between wet and dry ingredients in check.
Lastly, storing your cookies in an airtight container keeps them fresh. Always separate layers with parchment paper to avoid sticking.
Customizing Your Cookies
Perfecting Results
Consistency is essential for delivering perfect cookies every time. Write down your observations and adjustments after each bake. Noticing how certain changes affect your results will guide your future endeavors.
Oven temperatures can vary, even between different models. Keep an eye on your cookies as they bake. If they spread too much, consider lowering the baking time or chilling the dough beforehand.
You can also experiment with variations in baking time. Soft, chewy cookies will take less time, while crispy ones may require a few additional minutes in the oven.
Troubleshooting/Variations
If your cookies don’t turn out as expected, don’t fret. A few troubleshooting tips can help. If they spread too thin, try chilling the dough longer or adding a little more flour. If they lack flavor, adjusting the vanilla or salt can enhance the overall taste.
For thicker cookies, increase the flour slightly or decrease the sugar. This adjustment helps maintain moisture while adding structure to the final product. Baking can be a fun trial-and-error process. Embrace the little mistakes, as they often lead to unexpected discoveries.
Serving and Enjoying Your Cookies
Presentation
How you plate your homemade chocolate chip cookies can elevate their appeal. Use a simple white plate or a rustic wooden board to showcase the beauty of your cookies. Arrange them in neat stacks or a casual pile for an inviting look.
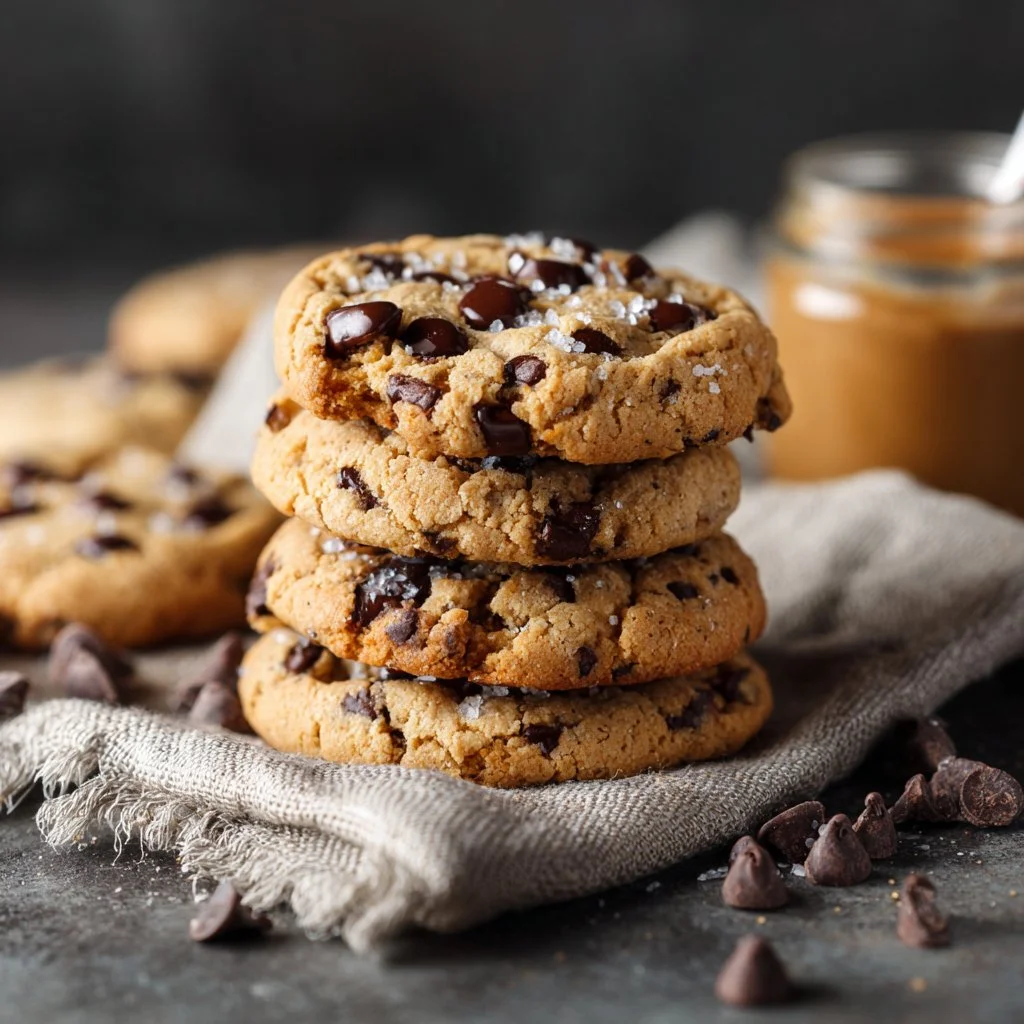
You can add a sprinkle of flaky sea salt on top of warm cookies for a gourmet touch. The contrast of salty and sweet is irresistible. Use colorful napkins or a cozy setting to create a welcoming atmosphere.
Pairings/Storage
Enjoy your homemade chocolate chip cookies warm or at room temperature. They pair wonderfully with a glass of milk, offering a nostalgic delight. Consider serving them alongside coffee or tea for an adult twist.
Store your cookies in an airtight container at room temperature. They will stay fresh for up to a week. You can also freeze cookie dough balls for future cravings. This way, you can bake fresh cookies at a moment’s notice!
Conclusion
Baking homemade chocolate chip cookies brings joy, warmth, and cherished memories into your life. From selecting quality ingredients to mastering the techniques, each step adds layers of fulfillment. Embrace the process, enjoy the scents wafting through your kitchen, and anticipate those first delicious bites. Let your creativity shine, and share the results with your loved ones. The experience of baking these cookies transcends mere cooking; it becomes a celebration of togetherness.
Print
Homemade Chocolate Chip Cookies
- Prep Time: 15 minutes
- Cook Time: 12 minutes
- Total Time: 27 minutes
- Yield: 24 servings
- Category: Dessert
- Method: Baking
- Cuisine: American
- Diet: Vegetarian
Description
Delicious homemade chocolate chip cookies that bring warmth and joy to every gathering.
Ingredients
- 2 1/4 cups all-purpose flour
- 1/2 teaspoon baking soda
- 1 cup unsalted butter, at room temperature
- 1/2 cup granulated sugar
- 1 cup packed light-brown sugar
- 1 teaspoon salt
- 2 teaspoons pure vanilla extract
- 2 large eggs
- 2 cups semisweet and/or milk chocolate chips
Instructions
- Preheat your oven to 350°F (180°C).
- In a small bowl, whisk together the flour and baking soda; set aside.
- Cream together the butter and sugars in a large mixing bowl until light and fluffy.
- Add the salt, vanilla extract, and eggs to the creamed mixture; beat until well combined.
- Gradually add the flour mixture to the wet mixture and mix until just combined.
- Fold in the chocolate chips gently.
- Using rounded tablespoons, drop the dough onto baking sheets lined with parchment paper, leaving space between each cookie.
- Bake in the preheated oven for about 10-12 minutes until golden brown around the edges but still soft in the center.
- Allow cookies to cool on the sheet for a few minutes before transferring them to wire racks to cool completely.
Notes
For added flavor, consider chilling the dough for 30 minutes before baking.
