📑 Table of Contents ▶
- Haunted House Gingerbread Cookies
- Creating Haunted House Gingerbread Cookies
- Fundamentals
- Preparation/setup
- Mastering the Art of Haunted House Gingerbread Cookies
- Technique
- Tips/tricks
- Perfecting Your Haunted House Gingerbread Cookies
- Perfecting results
- Troubleshooting/variations
- Presenting and Storing Your Haunted House Gingerbread Cookies
- Serving/presentation
- Pairings/storage
- Conclusion
- FAQs – Haunted House Gingerbread Cookies
I started baking Haunted House Gingerbread Cookies during my childhood, and it quickly became a beloved tradition. Each autumn, my grandmother and I would gather in her cozy kitchen, surrounded by the intoxicating aroma of spices like ginger and cinnamon. These moments, filled with laughter and creativity, were about more than just baking; they were about connecting and making memories.
Haunted House Gingerbread Cookies capture the essence of those cherished times. The spices perfectly blend together, creating a warm and inviting scent that fills the entire house. Adding orange zest to the dough adds a refreshing twist, making these cookies a family favorite. This tradition is not just about the final product but the joy of creating something special with loved ones.
At Yumoti, I aim to share that same joy and connection through cooking. Like my grandmother taught me, the best recipes are simple, soulful, and full of flavor. Haunted House Gingerbread Cookies are a testament to that philosophy, offering a delicious treat that brings people together, ignites creativity, and turns ordinary days into festive celebrations.
Whether you’re a seasoned baker or just starting, these Haunted House Gingerbread Cookies provide a fun, interactive way to enjoy the season. As we explore this delightful recipe, let’s dive into the fundamentals, techniques, and tips that make these cookies a must-try for anyone looking to embrace the spirit of fall.
Print
Haunted House Gingerbread Cookies
- Prep Time: 30 minutes
- Cook Time: 12 minutes
- Total Time: 42 minutes
- Yield: Varies based on cookie size
- Category: Dessert
- Method: Baking
- Cuisine: American
Description
Discover how to make spooky Haunted House Gingerbread Cookies that will delight your taste buds and impress your guests. Perfect for Halloween!
Ingredients
- 600 grams all-purpose flour (2 1/2 cups (600 ml))
- 2 1/2 teaspoons (13 ml) ground ginger
- 1 1/2 teaspoons (8 ml) ground cinnamon
- 1 teaspoon (5 ml) ground allspice
- 1/2 teaspoon (3 ml) ground white pepper
- 1 teaspoon (5 ml) baking soda
- 1/2 teaspoon (3 ml) salt
- 200 grams (1 cup (240 ml)) vegetable oil
- 200 grams granulated sugar
- Zest of two oranges
- 1 egg, at room temperature
- 120 ml (1/2 cup) molasses
- 120 ml (1/2 cup) honey
- 2 Tablespoons (30 ml) white distilled vinegar
- 900 grams powdered sugar (2 pounds (907 g))
- 155 grams pasteurized egg whites
- 1/2 teaspoon (3 ml) cream of tartar
Instructions
- In a large mixing bowl, combine the flour, spices, baking soda, and salt using a whisk. Set this mixture aside.
- In a stand mixer with a paddle attachment, beat the orange zest and sugar for half a minute to extract the oils from the zest. Incorporate the vegetable oil and blend until thoroughly mixed. Introduce the egg and beat on medium-high until the mixture becomes light and airy. Make sure to scrape down the sides of the bowl at least twice during this process.
- Pour in the molasses, honey, and vinegar, then mix thoroughly.
- Turn off the mixer, add roughly half of the dry mixture, and blend on low speed until just combined. Add the remaining dry ingredients and mix until just incorporated.
- Shape the dough into a ball, then divide and flatten it into two disks. Wrap each disk in plastic wrap and refrigerate for about 3 hours, or until the dough is firm enough to roll without sticking.
- Set your oven to 375°F and prepare baking sheets with parchment paper or silicone mats.
- Roll the dough on a lightly floured surface to a thickness of 3/16 inch. Use your preferred cookie cutters or a gingerbread house template to cut out shapes. Carefully transfer the cut shapes to the prepared baking sheets using an offset spatula or dough scraper to maintain their shape.
- Bake the cookies until they are firm to the touch and slightly browned at the edges, with baking time varying based on size and thickness. A three-inch round cookie will take approximately 8 to 10 minutes. Allow them to cool completely before decorating or assembling with royal icing.
- For the royal icing, place the powdered sugar and cream of tartar in a stand mixer bowl and whisk to combine. Add the egg whites and gently stir with a rubber spatula until the powdered sugar is moistened.
- Attach the whisk to the stand mixer and whip the mixture for 1 to 2 minutes until it becomes smooth and bright white.
- Use the icing to assemble your gingerbread house. To thin the icing for outlining shapes or cookies, place about 1 cup of royal icing in a small bowl, add about ½ teaspoon water, and stir until smooth, adding more water if necessary.
- For flooding cookies inside an outline, place about 1 cup of royal icing in a small bowl, add about 1 teaspoon of water, and stir until smooth, adding more water if needed.
- Tint the icing as desired.
Notes
- – Ensure the powdered sugar for the royal icing is sifted to prevent lumps.
- – Lift and move the dough while rolling to prevent sticking.
- – Adjust royal icing consistency by gradually adding water until desired thickness is reached.
Creating Haunted House Gingerbread Cookies
Fundamentals
Understanding the fundamentals of baking Haunted House Gingerbread Cookies is crucial for achieving the perfect texture and flavor. The combination of all-purpose flour and spices like ginger, cinnamon, and allspice forms the backbone of the recipe. Ground white pepper adds a subtle heat, enhancing the cookie’s complexity.
The orange zest not only brightens the flavor but also complements the molasses and honey, contributing to the cookie’s rich, deep color. Baking soda acts as a leavening agent, ensuring the cookies rise just enough without losing their shape. The balance of these ingredients results in a dough that’s easy to work with and bakes to perfection.
Preparation/setup
Begin by preparing your dry ingredients. In a large mixing bowl, whisk together the flour, spices, baking soda, and salt. This step ensures even distribution of flavors throughout the dough. Set this mixture aside as you move on to the next phase.
In your stand mixer, use the paddle attachment to beat the sugar and orange zest, releasing the zest’s oils for maximum flavor. Incorporate the vegetable oil, followed by the egg, beating until the mixture is light and airy. This step is crucial for achieving the right consistency in your cookies.
Next, add the molasses, honey, and vinegar, blending thoroughly. Slowly introduce the dry ingredients in two batches, mixing until just combined. Divide the dough into two disks, wrap them, and refrigerate. Chilling the dough is essential for maintaining shape during baking and preventing excess spreading.
Mastering the Art of Haunted House Gingerbread Cookies
Technique
Rolling and cutting the dough requires precision to achieve uniform cookies. Roll out the chilled dough on a lightly floured surface to about 3/16 inch thickness. Using cookie cutters or a gingerbread house template, cut out shapes, transferring them carefully to prepared baking sheets. An offset spatula or dough scraper helps maintain the integrity of each shape.
Bake the cookies at 375°F until firm and slightly browned at the edges. The baking time will vary based on size and thickness, but a three-inch cookie typically takes 8 to 10 minutes. Allow the cookies to cool completely before moving on to decorating, ensuring they hold up under the weight of the icing.
Haunted House Gingerbread Cookies
Tips/tricks
For a professional finish, use royal icing to decorate your Haunted House Gingerbread Cookies. Whisk powdered sugar and cream of tartar before adding pasteurized egg whites. Mix until the icing becomes smooth and bright white. Adjust the consistency with water as needed for different decorating techniques.
To keep the dough from sticking, ensure your rolling surface is lightly floured and work quickly to prevent the dough from warming up. If you’re new to decorating, practice piping on parchment paper before applying icing to the cookies. This practice helps build confidence and allows you to perfect your technique.
Perfecting Your Haunted House Gingerbread Cookies
Perfecting results
Achieving the perfect batch of Haunted House Gingerbread Cookies involves attention to detail and patience. Ensure your dough is well-chilled before rolling to prevent it from sticking and losing shape. Monitor baking times closely, as overbaking can result in overly hard cookies.
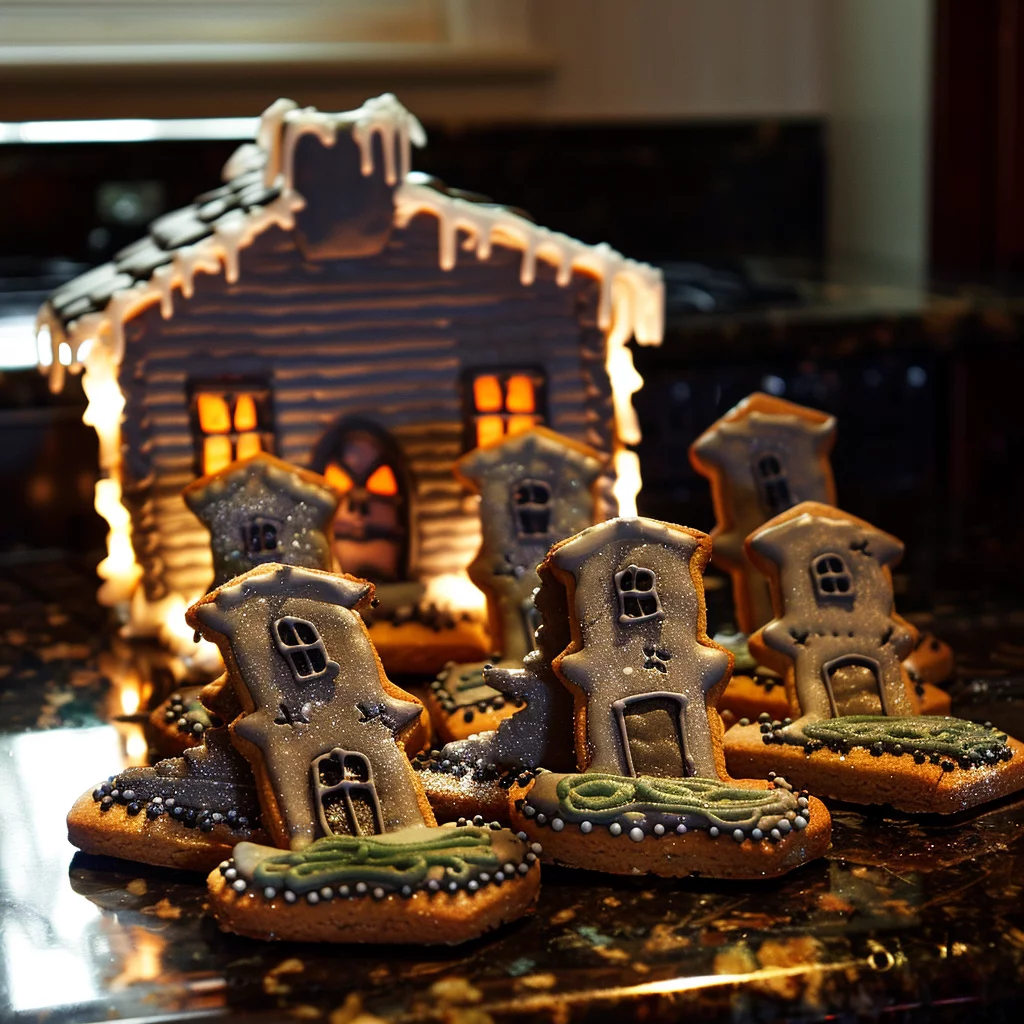
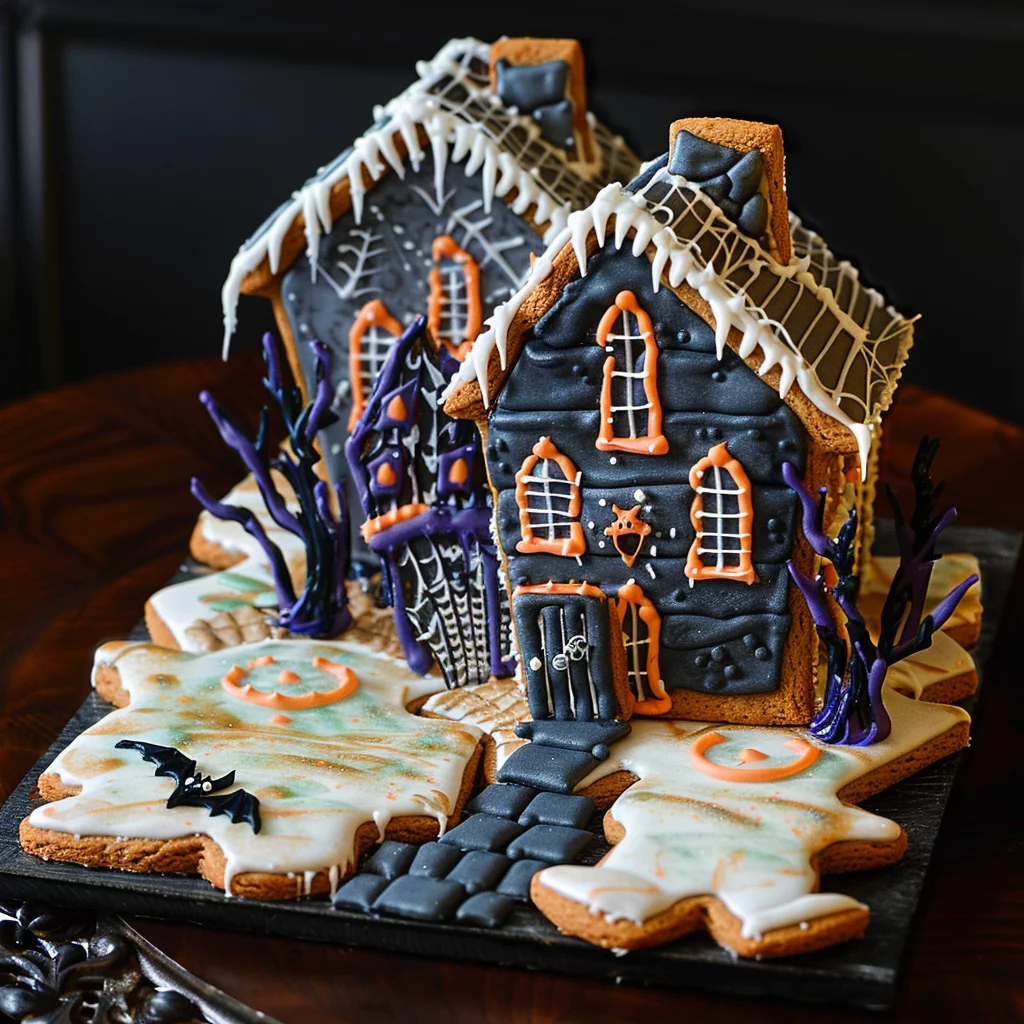
Adding personal touches, like varying icing colors or incorporating edible decorations, enhances the visual appeal of your cookies. By experimenting with different piping techniques, you can create intricate designs that capture the essence of a haunted house.
Troubleshooting/variations
If your dough is too sticky, consider chilling it longer or adding a touch more flour during rolling. For a softer cookie, reduce the baking time slightly and monitor closely. To switch up flavors, experiment with additional spices or extracts, such as nutmeg or vanilla.
Should your cookies spread too much during baking, ensure your dough is sufficiently chilled and your oven temperature is accurate. Using parchment paper or silicone mats on your baking sheets also helps prevent spreading, maintaining the shape of your cookies.
Presenting and Storing Your Haunted House Gingerbread Cookies
Serving/presentation
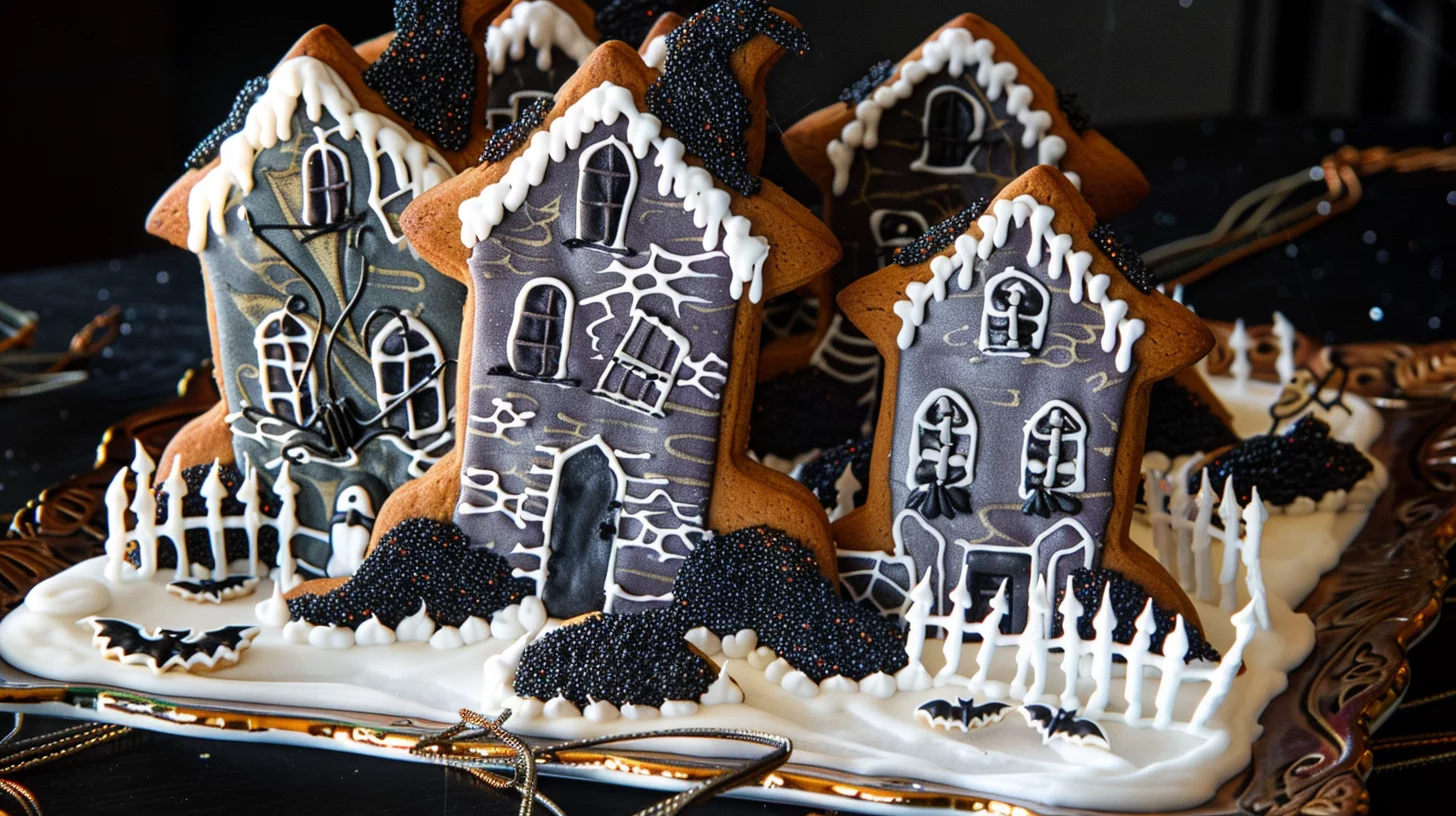
Serve your Haunted House Gingerbread Cookies on a festive platter, showcasing their intricate designs. Adding edible decorations like candy corn or sprinkles can enhance the haunting theme. These cookies make a delightful centerpiece for any fall gathering or party.
For a fun family activity, set up a decorating station with various icing colors and toppings. Allow guests to personalize their cookies, creating a memorable and interactive experience that everyone will enjoy.
Pairings/storage
Pair your cookies with a warm beverage like hot cocoa or spiced cider, complementing the rich, spicy flavors. Store the cookies in an airtight container to maintain freshness, separating layers with parchment paper to prevent sticking.
If you love baking and decorating cookies, you might also enjoy exploring other recipes like witches hat cookies. These recipes offer similar creative opportunities and are perfect for the holiday season.
Haunted House Gingerbread Cookies
For those interested in classic cookie recipes, consider trying the timeless delight of toll house cookies. These cookies provide a nostalgic taste that complements any homemade treat collection.
Conclusion
Making Haunted House Gingerbread Cookies is a delightful way to celebrate the fall season. The process combines creativity, tradition, and delicious flavors, resulting in a treat that everyone can enjoy. From preparing the dough to decorating with royal icing, each step offers an opportunity to connect with loved ones and create lasting memories.
These cookies are more than just a seasonal treat; they embody the joy of baking and sharing with others. Whether you’re hosting a party or enjoying a quiet evening at home, Haunted House Gingerbread Cookies add a touch of whimsy and warmth to any occasion.
The recipe is versatile, allowing for personalization and experimentation. By understanding the fundamentals and techniques, you can perfect your baking skills and create cookies that are as beautiful as they are delicious. Explore other creative cookie options like drop butter cookies to further expand your culinary repertoire.
