📑 Table of Contents ▶
Halloween Cake Pops
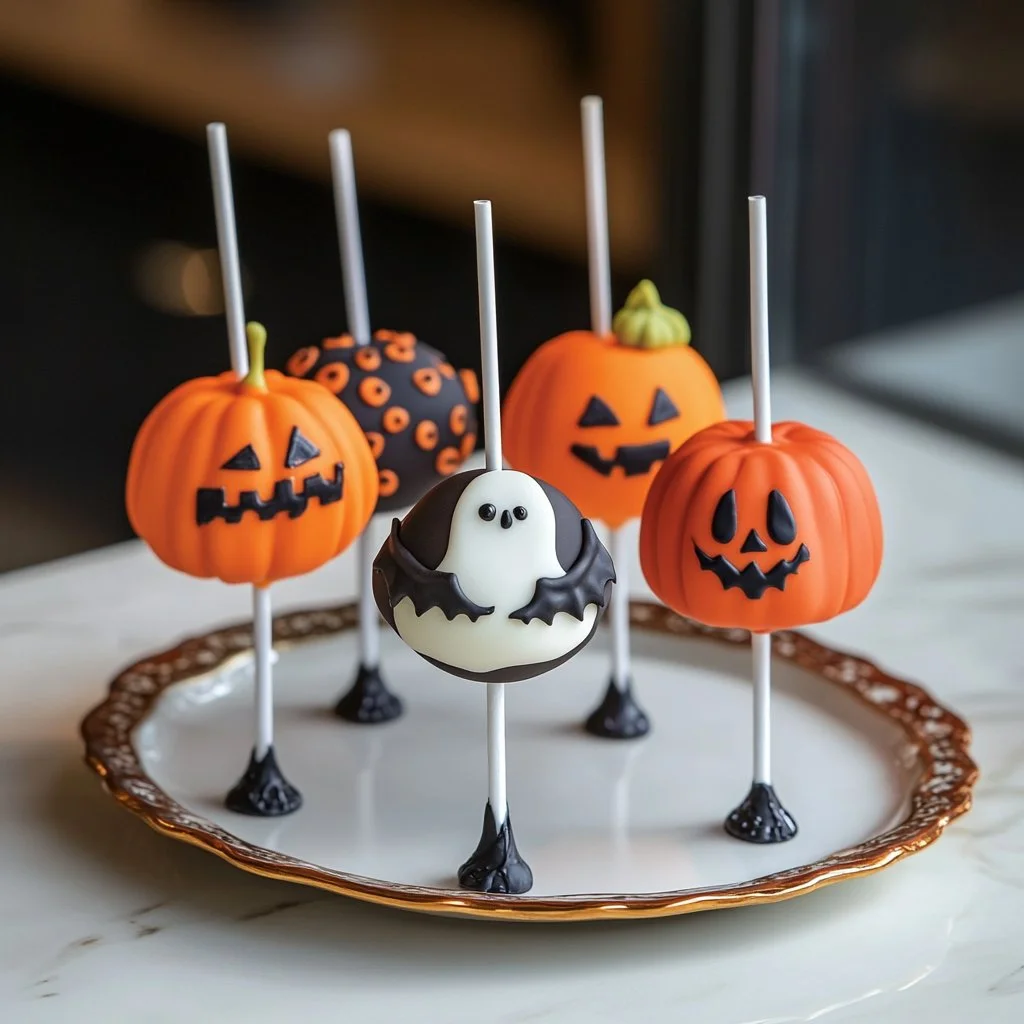
During Halloween, the charm of festive treats fills the air and brings a delightful thrill, especially for kids—and adults who share their excitement. Halloween cake pops shine as a perfect blend of spookiness and sweetness, making them a favorite at gatherings and parties. Their vibrant colors and fun decorations embody the spirit of the holiday, offering an edible canvas to unleash creativity.
Imagine the satisfaction of biting into a cake pop that combines a moist cake core with a luscious coating. The flavors burst in your mouth while the fun decorations add an element of surprise. Halloween cake pops are not only a feast for the taste buds but also a pleasure for the eyes.
The process of creating these whimsical treats can be just as enjoyable as devouring them. Gather your family or friends, and dive into this fun recipe that turns a simple box cake mix into a memorable dessert. Let’s explore how to create these delightful Halloween cake pops step by step!
Creating Spooktacular Halloween Cake Pops
Fundamentals
Halloween cake pops begin with a solid base made from cake mix, which simplifies the process and reduces prep time. You can choose any flavor, but chocolate and red velvet are oftentimes the most popular choices for Halloween festivities. The key lies in following the instructions on the cake mix box, ensuring a moist foundation to support this fabulous treat.
Preparation/Setup
Start by preheating your oven according to the instructions on the cake mix box. While the oven warms up, gather all necessary ingredients and tools. Make sure to have a mixing bowl, lined baking sheet, and a refrigerator or freezer ready for chilling the cake balls. This preparation sets the stage for fun and efficient baking.
Ingredients
For the cake base:
- 1 box of cake mix (your choice)
- Eggs, oil, and water as required by the box
For assembly:
- ½ to 1 cup frosting (cream cheese or chocolate)
- 12 oz of candy melts or chocolate (choose orange, black, white, or green)
- 24 lollipop sticks
For decoration:
- Candy eyeballs
- Halloween sprinkles
- Colored sugar (orange, black, or purple)
- Gel food coloring (for tinting white chocolate, if desired)
- Red gel icing (for adding eyeball veins)
- Green frosting or fondant (to create pumpkin stems)
Directions
- Bake the Cake: Prepare and bake the cake mix according to the package instructions. Allow the cake to cool completely on a wire rack.
- Crumble and Mix: Once cooled, crumble the cake into a large mixing bowl until fine crumbs form. Gradually add frosting, starting with ½ cup, and mix until the texture resembles soft, sticky dough. Be careful not to overmix.
- Roll Into Balls: Scoop the mixture and roll it into 1-inch balls. Place these cake balls on a lined baking sheet. Refrigerate for 1–2 hours, or freeze for 30 minutes until firm.
- Insert Sticks: Melt a small amount (about 2 oz) of candy melts. Dip one end of each lollipop stick into the melted chocolate, then insert it into each chilled cake ball. Chill again for about 10 minutes.
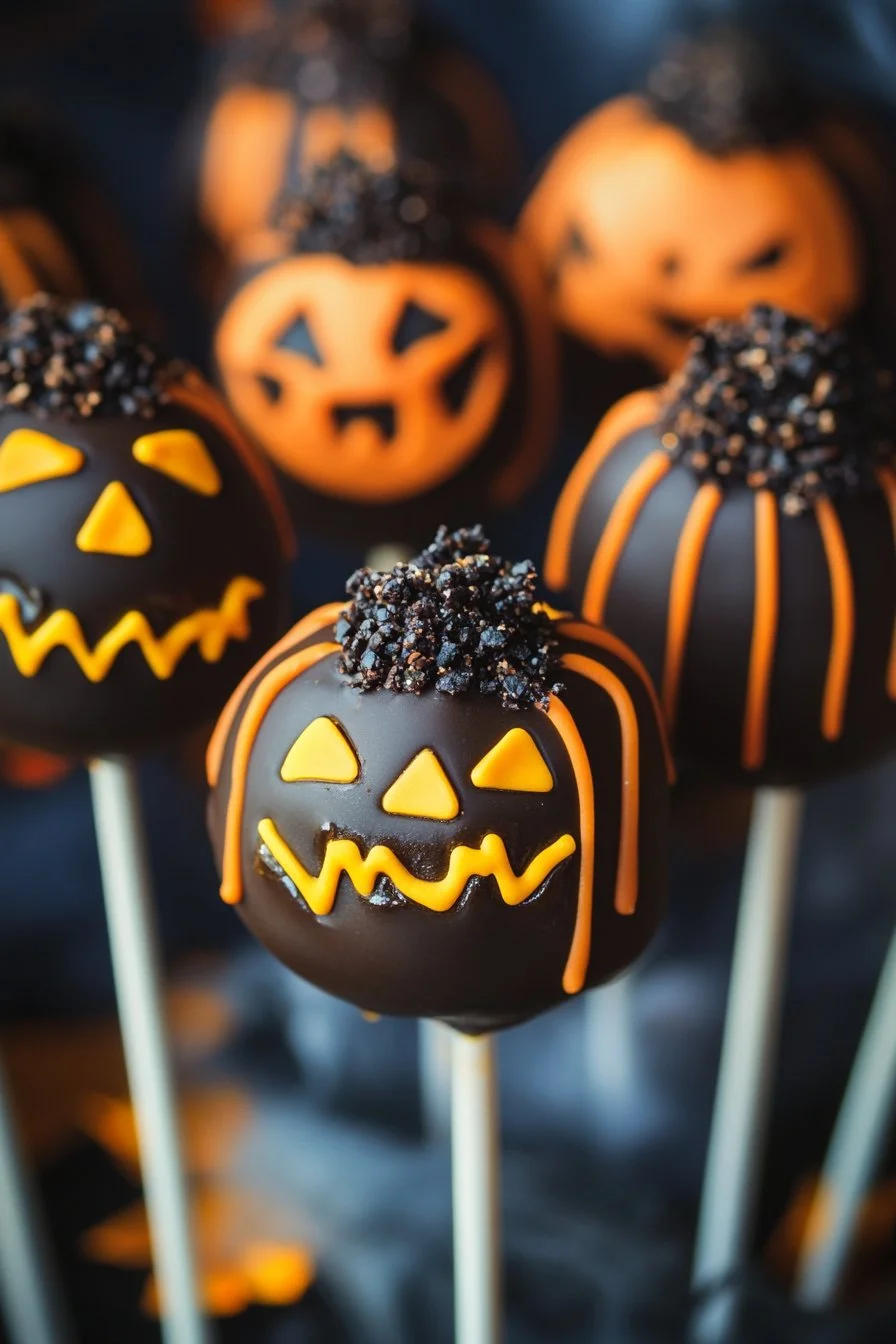
- Dip and Decorate: Melt the remaining candy melts. Dip each cake pop fully into the melted chocolate, gently tapping off the excess. While the coating is still wet, sprinkle with Halloween decorations like candy eyeballs, sprinkles, or colored sugar.
- Let Set: Place the cake pops upright into a Styrofoam block or into a box with holes poked in it. Allow them to dry completely at room temperature (about 15 to 20 minutes) or in the refrigerator (about 10 minutes).
Mastering the Art of Cake Pops
Technique
Creating Halloween cake pops successfully involves mastering a few essential techniques. Start by ensuring your cake balls are firm enough; this makes dipping and decorating much easier. Additionally, coating each cake pop with melted chocolate in a smooth, even layer adds to their visual appeal.
Tips/Tricks
To elevate your Halloween cake pops, consider experimenting with various flavor combinations and decorative styles. You can mix different candy melts to create unique colors or use various sprinkles to add texture. Using gel food coloring can give your white chocolate coatings deeper, richer colors; however, be careful not to add too much, or it might affect the consistency.
Perfecting Your Halloween Cake Pops
Perfecting Results
Aim for consistent size when rolling the cake balls. Using a cookie scoop can help maintain uniformity, ensuring even baking and coating times. Chill the cake pops adequately before dipping; this prevents them from falling apart and allows for a perfect dip into the melted chocolate.
Troubleshooting/Variations
If you find the chocolate coating is too thick, try adding a small amount of vegetable oil or shortening to the melted candy melts. This will create a smoother coating. If you want to create themed pops, you can mold the cake into different shapes like pumpkins or bats using cookie cutters or cake molds.
Serving Your Cake Pops
Serving/Presentation
Once the cake pops are dry, display them in a festive way. Arrange them in a grouping to create a fun centerpiece for your Halloween gathering. Garnishing with more sprinkles or Halloween-themed items like mini plastic spiders can enhance the overall presentation.
Pairings/Storage
Store your Halloween cake pops in an airtight container at room temperature for up to a week. If you need to keep them longer, refrigerating them will help maintain their freshness. When serving, consider pairing them with hot cider, pumpkin spice lattes, or any seasonal treats to complement the festive atmosphere.
The excitement surrounding Halloween cake pops can always bring joy to gatherings and celebrations. Each step, from baking to decorating, adds an element of fun and creativity that can make the Halloween experience even more thrilling. Enjoy making, sharing, and, of course, indulging in this delightful treat!
Print
Halloween Cake Pops
- Prep Time: 30 minutes
- Cook Time: 30 minutes
- Total Time: 120 minutes
- Yield: 24 servings
- Category: Dessert
- Method: Baking
- Cuisine: American
- Diet: Vegetarian
Description
Spooktacular Halloween cake pops made from cake mix, decorated with festive toppings, perfect for parties and gatherings.
Ingredients
- 1 box of cake mix (your choice)
- Eggs, oil, and water as required by the box
- ½ to 1 cup frosting (cream cheese or chocolate)
- 12 oz of candy melts or chocolate (choose orange, black, white, or green)
- 24 lollipop sticks
- Candy eyeballs
- Halloween sprinkles
- Colored sugar (orange, black, or purple)
- Gel food coloring (for tinting white chocolate, if desired)
- Red gel icing (for adding eyeball veins)
- Green frosting or fondant (to create pumpkin stems)
Instructions
- Prepare and bake the cake mix according to the package instructions. Allow the cake to cool completely on a wire rack.
- Once cooled, crumble the cake into a large mixing bowl until fine crumbs form. Gradually add frosting, starting with ½ cup, and mix until the texture resembles soft, sticky dough. Be careful not to overmix.
- Scoop the mixture and roll it into 1-inch balls. Place these cake balls on a lined baking sheet. Refrigerate for 1–2 hours, or freeze for 30 minutes until firm.
- Melt a small amount (about 2 oz) of candy melts. Dip one end of each lollipop stick into the melted chocolate, then insert it into each chilled cake ball. Chill again for about 10 minutes.
- Melt the remaining candy melts. Dip each cake pop fully into the melted chocolate, gently tapping off the excess. While the coating is still wet, sprinkle with Halloween decorations like candy eyeballs, sprinkles, or colored sugar.
- Place the cake pops upright into a Styrofoam block or into a box with holes poked in it. Allow them to dry completely at room temperature (about 15 to 20 minutes) or in the refrigerator (about 10 minutes).
Notes
Experiment with various flavor combinations and decorative styles for unique cake pops. Use a cookie scoop for uniform size.
