
📑 Table of Contents ▶
CHOCOLATE PEANUT BUTTER CAKE POPS
Chocolate peanut butter cake pops bring joy to any gathering. The combination of rich chocolate and creamy peanut butter creates an irresistible treat that delights both kids and adults. Remember those times when you craved something special, and this sweet combination tempted you?
The allure of chocolate peanut butter cake pops speaks to those delightful moments. These treats not only satisfy your sweet tooth, but they also offer a fun way to enjoy your favorite flavors. Picture a party bustling with laughter, where guests share stories while indulging in these delectable bites.
Each bite transports you to memories filled with joy, laughter, and companionship. Chocolate peanut butter cake pops truly capture the essence of what it means to bring people together. Let’s dive into this tempting dessert that promises to forge new memories and rekindle old ones. Get ready to discover how to master this delicious recipe that will soon adorn your table.
Chocolate Peanut Butter Cake Pops: Fundamentals
Creating chocolate peanut butter cake pops involves understanding the essential components that make them a cherished dessert. This section covers the key fundamentals of baking and the necessary equipment you will need to get started.
Preparation/Setup
Before you begin baking, ensure that you have prepared your workspace. Gather your tools and ingredients to streamline the process. For cake pops, you will need a mixing bowl, spatula, baking pan, and a pipping bag. Additionally, you will require lollipop sticks and a Styrofoam cake block for stability when placing the finished pops.
Ingredients
The following ingredients comprise the foundation of your chocolate peanut butter cake pops:
- 2 cups sugar
- 1 3/4 cups all-purpose flour
- 3/4 cup unsweetened cocoa powder
- 2 teaspoons baking soda
- 1 teaspoon baking powder
- 1 teaspoon salt
- 2 eggs
- 1 cup buttermilk
- 1 cup strong black coffee
- 1/2 cup vegetable oil
- 2 teaspoons vanilla extract
- 1 lb. dark melting chocolate
- 1 1/4 cups peanut butter (Skippy is a fantastic choice)
- 1/4 cup mini chocolate chips
Gathering these ingredients will help you create the ultimate treat. Each element plays a crucial role in achieving the rich, decadent flavor of chocolate peanut butter cake pops.
Directions
- Preheat your oven to 350°F (175°C) and grease your baking pan.
- In a large mixing bowl, combine the sugar, flour, cocoa powder, baking soda, baking powder, and salt.
- In another bowl, whisk together the eggs, buttermilk, strong black coffee, vegetable oil, and vanilla extract.
- Gradually add the wet ingredients to the dry ingredients, mixing until well combined.
- Pour the batter into the prepared baking pan and bake for 30-35 minutes, or until a toothpick inserted in the center comes out clean.
- While the cake cools, melt the dark chocolate in a microwave or double boiler.
- Once the cake has cooled, crumble it into fine pieces in a large bowl.
- Add the peanut butter and mini chocolate chips into the crumbled cake, mixing until fully incorporated.
- Form small balls of the cake mixture and insert lollipop sticks into each.
- Dip each cake pop into the melted chocolate, ensuring complete coverage and letting any excess drip off.
- Place the finished cake pops upright in the Styrofoam block to set until the chocolate hardens.
Chocolate Peanut Butter Cake Pops: Technique
Understanding the techniques behind chocolate peanut butter cake pops will elevate your baking experience. These methods ensure that you achieve the best possible results, making your treats a standout confection.
Tips/Tricks
- Maintain the correct temperature during baking. An oven thermometer can ensure your settings are accurate.
- Don’t rush the cooling process. A well-cooled cake crumbles more easily and uniformly, which is essential for formulating perfect cake pops.
- When using the pipping bag, fit it with a small round pipping tip to allow controlled coverage of the cake pops. This horn will help manage the amount of melted chocolate used.
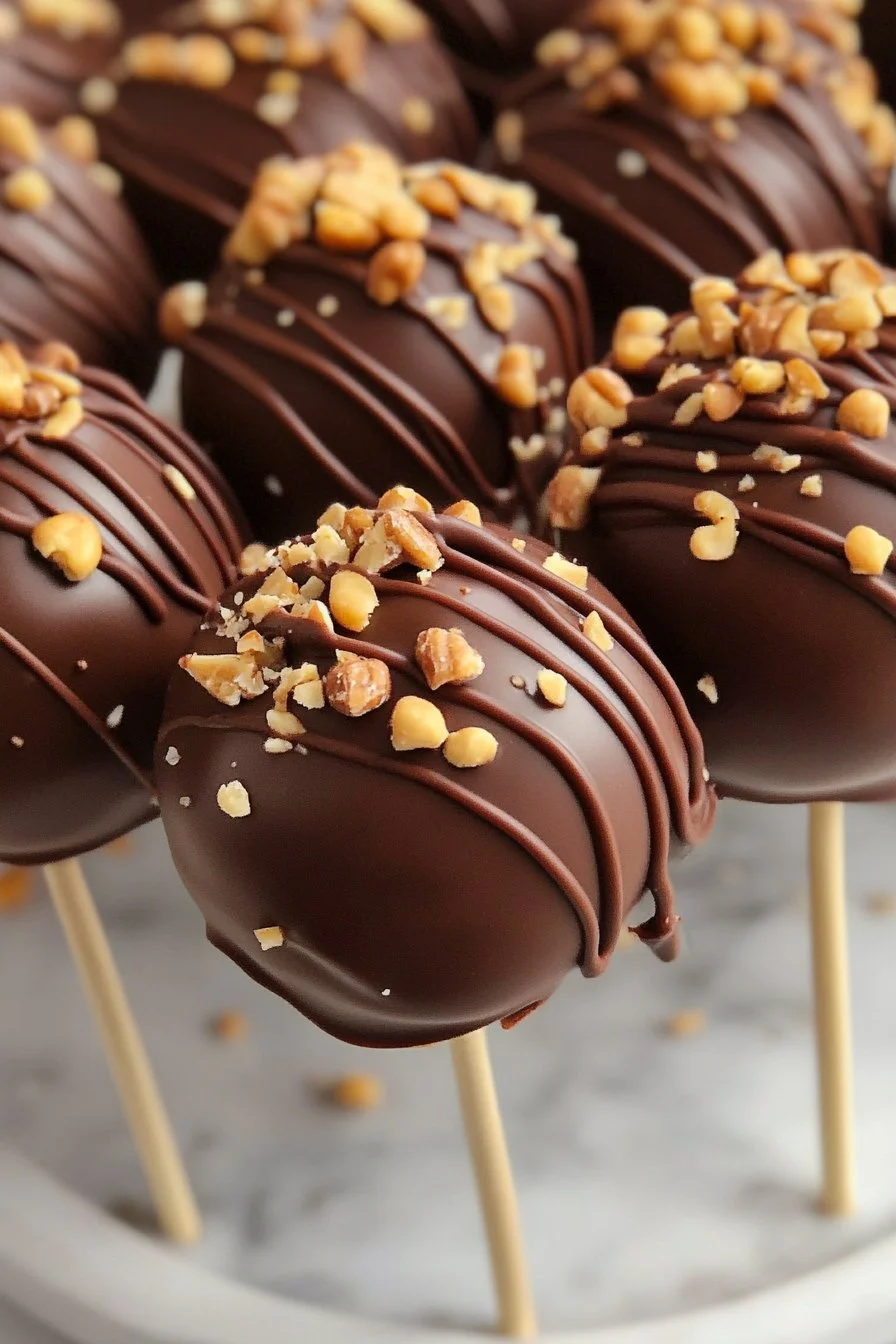
Experiment with different coatings and toppings for your pops. While dark chocolate complements the rich flavor, consider sprinkles or crushed nuts as additional decorations when the chocolate hardens.
Chocolate Peanut Butter Cake Pops: Perfecting Results
Perfecting your chocolate peanut butter cake pops involves fine-tuning your approach. This section focuses on achieving the best texture, flavor, and presentation.
Troubleshooting/Variations
If your cake pops don’t turn out as expected, identify possible issues. If they crumble or fall apart, you may need to adjust the amount of peanut butter added for better adhesion.
If the chocolate coating appears too thick, try tempering the chocolate for a smoother texture. A well-tempered chocolate coats more evenly and creates a beautiful shine on the pops.
Don’t hesitate to experiment! Substituting ingredients such as gluten-free flour or alternative nut butters can yield delightful variations, maintaining the core appeal of chocolate peanut butter flavor.
Chocolate Peanut Butter Cake Pops: Serving and Presentation
How you present your chocolate peanut butter cake pops plays a crucial role in the overall experience. Captivating aesthetics create a delightful first impression.
Pairings/Storage
To complement your pops, consider serving them with fresh fruit, such as strawberries or bananas. These pair beautifully and balance the dessert’s indulgence. For storage, keep your cake pops in an airtight container at room temperature for up to a week.
Refrigerating them may alter the texture, making them less enjoyable. If you need to store them for longer, freeze them for up to three months without the chocolate coating. When ready to enjoy, thaw and dip in melted chocolate.
Conclusion
Chocolate peanut butter cake pops celebrate the beauty of simple ingredients coming together to create something extraordinary. Mastering the technique offers you a delightful baking adventure that yields delicious memories. Keep experimenting with flavors and presentation to bring your unique touch to these charming treats.
Print
Chocolate Peanut Butter Cake Pops
- Prep Time: 15 minutes
- Cook Time: 35 minutes
- Total Time: 50 minutes
- Yield: 20 servings
- Category: Dessert
- Method: Baking
- Cuisine: American
- Diet: Vegetarian
Description
Irresistible chocolate peanut butter cake pops perfect for any gathering, combining rich chocolate and creamy peanut butter.
Ingredients
- 2 cups sugar
- 1 3/4 cups all-purpose flour
- 3/4 cup unsweetened cocoa powder
- 2 teaspoons baking soda
- 1 teaspoon baking powder
- 1 teaspoon salt
- 2 eggs
- 1 cup buttermilk
- 1 cup strong black coffee
- 1/2 cup vegetable oil
- 2 teaspoons vanilla extract
- 1 lb. dark melting chocolate
- 1 1/4 cups peanut butter
- 1/4 cup mini chocolate chips
Instructions
- Preheat your oven to 350°F (175°C) and grease your baking pan.
- In a large mixing bowl, combine the sugar, flour, cocoa powder, baking soda, baking powder, and salt.
- In another bowl, whisk together the eggs, buttermilk, strong black coffee, vegetable oil, and vanilla extract.
- Gradually add the wet ingredients to the dry ingredients, mixing until well combined.
- Pour the batter into the prepared baking pan and bake for 30-35 minutes, or until a toothpick inserted in the center comes out clean.
- While the cake cools, melt the dark chocolate in a microwave or double boiler.
- Once the cake has cooled, crumble it into fine pieces in a large bowl.
- Add the peanut butter and mini chocolate chips into the crumbled cake, mixing until fully incorporated.
- Form small balls of the cake mixture and insert lollipop sticks into each.
- Dip each cake pop into the melted chocolate, ensuring complete coverage and letting any excess drip off.
- Place the finished cake pops upright in the Styrofoam block to set until the chocolate hardens.
Notes
Experiment with different coatings, such as sprinkles or crushed nuts, for added flavor and decoration.
