
📑 Table of Contents ▶
- Creamy Chocolate Pudding Cups
- Creating Creamy Chocolate Pudding Cups
- Fundamentals
- Preparation/setup
- Crafting Your Chocolate Pudding Cups
- Technique
- Tips/tricks
- Enhancing Your Chocolate Pudding Experience
- Perfecting results
- Troubleshooting/variations
- Serving and Storing Your Pudding Cups
- Serving/presentation
- Pairings/storage
- Conclusion
- FAQs – Creamy Chocolate Pudding Cups
I’m Laloti Karla, and I believe that a good recipe has the power to bring people together, spark joy, and turn ordinary moments into cherished memories. I created Yumoti.com as a place where food lovers of all kinds can find recipes that are simple, soulful, and always full of flavor. My love for cooking started long before I ever picked up a cookbook. I was raised in a home where the kitchen was the heart of everything.
The clatter of pots, the smell of herbs simmering, and the warmth of shared meals are some of my earliest and fondest memories. My grandmother was my biggest inspiration—she didn’t need fancy ingredients or complicated techniques to make magic happen. Her meals were a reflection of care, patience, and creativity. Watching her cook taught me that food is more than sustenance—it’s a language of love.
Those moments planted the seed that would eventually grow into Yumoti. Yumoti was born out of a deep desire to make cooking feel less intimidating and more joyful. I know how it feels to stand in the kitchen, unsure where to begin or how to turn scattered ingredients into something special. I also know the pride that comes with cooking a meal your loved ones truly enjoy.
So I created this platform not just to share recipes, but to build confidence and excitement around everyday cooking. Whether you’re a beginner learning your way around the stove, a busy parent looking for quick meal ideas, or an experienced home chef in search of fresh inspiration—Yumoti is for you.
Print
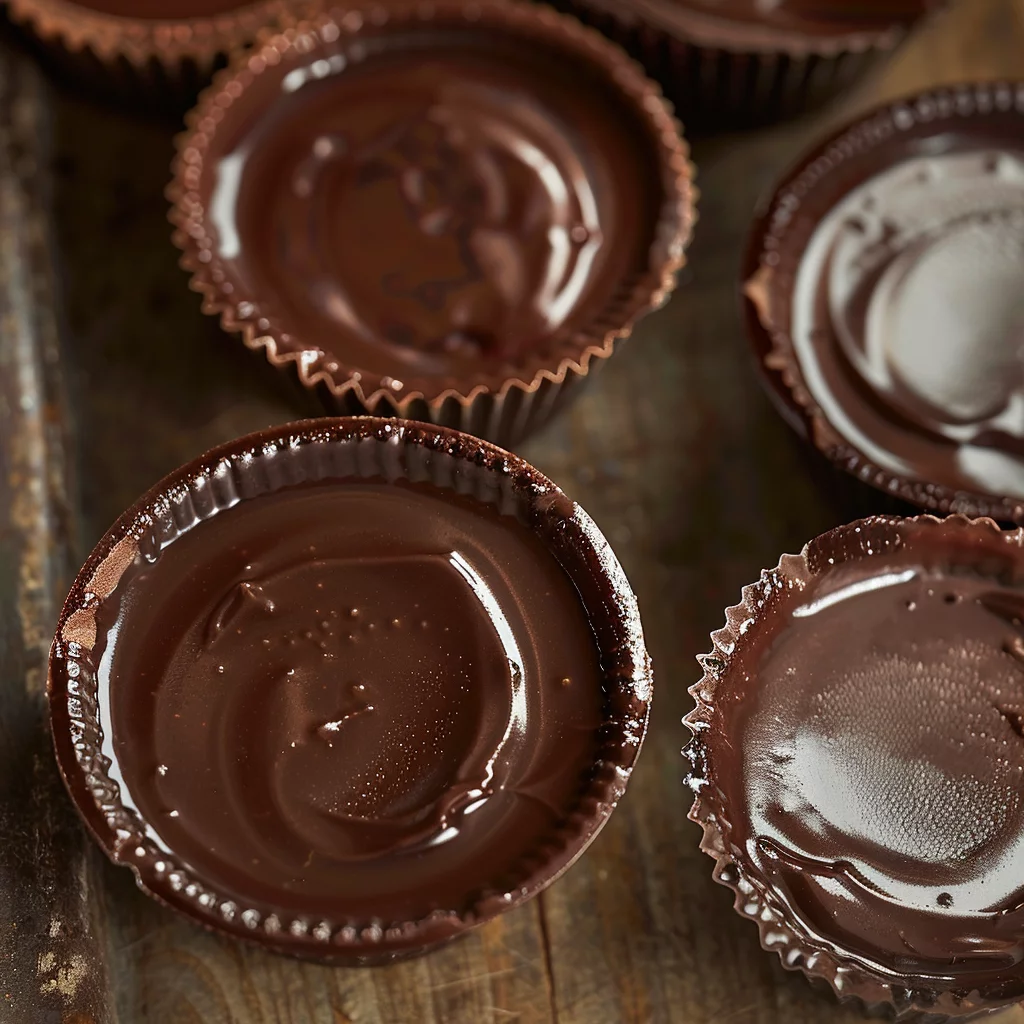
Creamy Chocolate Pudding Cups
- Prep Time: 10 minutes
- Cook Time: 10 minutes
- Total Time: 20 minutes
- Yield: 4 servings
- Category: Dessert
- Method: Microwaving
- Cuisine: American
Description
Indulge in the rich and creamy goodness of homemade creamy chocolate pudding cups with this easy recipe. Learn how to make this decadent treat today!
Ingredients
- 1/3 cup sugar (80 ml)
- 1/4 cup cocoa powder (30 g)
- 3 Tbsp cornstarch (24 g)
- 1/4 tsp (1 ml) salt
- 2 1/4 cups milk (540 ml)
- 2 Tbsp vegetable oil (28 g)
- 1 tsp (5 ml) vanilla extract
- whipped topping (optional)
Instructions
- In a large microwave-safe bowl, blend together the sugar, cocoa powder, cornstarch, and salt; slowly incorporate the milk while stirring.
- Heat in the microwave on full power for 7 to 10 minutes until the mixture reaches a full boil, stirring every couple of minutes.
- Mix in the vegetable oil and vanilla extract. Transfer into serving dishes and enjoy as desired.
Notes
- Use whole milk for a more decadent flavor.
- Sprinkle a bit of cinnamon or nutmeg for a cozy touch.
- Top with crushed nuts or chocolate shavings for extra crunch and taste.
Creating Creamy Chocolate Pudding Cups
Fundamentals
Creating creamy chocolate pudding cups is about simplicity and indulging in rich flavors. The fundamentals lie in carefully selecting each ingredient and understanding their key roles in achieving that perfect creamy texture. The sugar, cocoa powder, cornstarch, and salt work harmoniously to set the base, while the milk binds everything together, offering a silky finish.
When crafting these creamy chocolate pudding cups, precision is crucial. Each measurement should be accurate to ensure the pudding sets well without becoming too thick or too runny. The choice of cocoa powder greatly influences the depth of flavor, making it the star ingredient in these delightful dessert cups.
Preparation/setup
Begin by organizing all ingredients within reach. Use a large microwave-safe bowl to blend the sugar, cocoa powder, cornstarch, and salt. Slowly incorporate the milk while stirring to create a smooth mixture. This method ensures the cornstarch dissolves completely, preventing any lumps in your pudding.
Once the mixture is well-blended, prepare your microwave to handle the task. Ensure the bowl is suitable for high heat and that you have a spoon or whisk ready for intermittent stirring. This setup guarantees that your pudding cooks evenly and achieves the right consistency.
Crafting Your Chocolate Pudding Cups
Technique
Mastering the technique for creamy chocolate pudding cups involves a balance of timing and attention. Start by heating the mixture in the microwave on full power for 7 to 10 minutes. Stir every couple of minutes to prevent scorching and ensure even cooking. This step is crucial for the pudding to reach a full boil, setting the stage for thickening.
Creamy Chocolate Pudding Cups
As the pudding heats, you will notice it gradually thickens. This transformation is a result of the cornstarch interacting with heat, creating that desired creamy consistency. Once the pudding reaches a full boil, it’s time to add the finishing touches.
Tips/tricks
For an extra layer of richness, incorporate the vegetable oil and vanilla extract after boiling. These ingredients not only enhance the flavor but also add a glossy finish to your creamy chocolate pudding cups. Stir thoroughly to ensure the oil is well-integrated, giving the pudding a smooth, luxurious texture.
Consider experimenting with different cocoa powders to find your preferred flavor profile. Whether you enjoy a dark, intense taste or a milder, sweeter version, the choice of cocoa can personalize your dessert. Remember, the key is to maintain a balance that complements the other ingredients.
Enhancing Your Chocolate Pudding Experience
Perfecting results
To perfect your creamy chocolate pudding cups, pay attention to the cooling process. Once the pudding is done, transfer it into serving dishes. Allow it to cool at room temperature before refrigerating. This step prevents condensation, which can affect the texture.
For a more sophisticated presentation, layer your pudding with whipped topping. This addition not only looks appealing but also adds a light, airy contrast to the dense pudding. You can also sprinkle some cocoa powder or chocolate shavings for an elegant touch.
Troubleshooting/variations
If your pudding turns out too thick, add a splash of milk and stir until the desired consistency is achieved. For a runny pudding, return it to the microwave for a few minutes, stirring frequently until it thickens properly. Variations can also be introduced by adding a hint of coffee or orange zest to the mix, offering a delightful twist on the classic flavor.
Some might enjoy a nutty crunch in their creamy chocolate pudding cups. In such cases, sprinkling chopped nuts like almonds or hazelnuts can provide a satisfying texture and flavor contrast. Remember, the goal is to enhance the pudding while maintaining its creamy essence.
Serving and Storing Your Pudding Cups
Serving/presentation
When serving your creamy chocolate pudding cups, focus on elegance and simplicity. Use clear glass cups to showcase the luscious color and texture. Top with a dollop of whipped topping and a sprinkle of cocoa powder for a classic look. For special occasions, consider adding edible flowers or gold leaf for a touch of sophistication.
To create a memorable dessert experience, consider pairing your pudding cups with other treats. You might enjoy trying some silky chocolate mousse cups or explore mini tiramisu dessert cups for variety. These complementary options can turn a simple dessert moment into a delightful feast.

Creamy Chocolate Pudding Cups
Pairings/storage
Storing your creamy chocolate pudding cups correctly ensures they remain fresh and delicious. Cover each cup with plastic wrap to prevent a skin from forming on the surface. Store in the refrigerator for up to three days. For longer storage, consider freezing the pudding in airtight containers, though the texture might slightly change upon thawing.
Pair your pudding with other creamy delights like creamy mushroom and rice casserole or creamy Tuscan shrimp for a well-rounded meal. Alternatively, elevate your dessert game with chocolate dirt pie cups or no-bake peanut butter cheesecake cups with chocolate shell.
Conclusion
Crafting creamy chocolate pudding cups is an art of simplicity and indulgence. With careful attention to technique and ingredient quality, you can create a dessert that not only satisfies but delights. The richness of the cocoa, the smoothness of the milk, and the subtle sweetness of the sugar come together to form a treat that is both comforting and elegant.
These pudding cups offer versatility, allowing for customization and creativity in serving. Whether enjoyed alone or paired with other desserts, their creamy texture and rich flavor make them a perfect choice for any occasion. By mastering the basics and experimenting with variations, you can make this classic dessert your own.
