📑 Table of Contents ▶
- Chocolate Protein Banana Bread: The Basics
- Fundamentals
- Preparation/setup
- Directions
- Mastering Chocolate Protein Banana Bread
- Technique
- Tips/tricks
- Refine Your Chocolate Protein Banana Bread
- Perfecting results
- Troubleshooting/variations
- Presenting Your Chocolate Protein Banana Bread
- Serving/presentation
- Pairings/storage
- Conclusion
Chocolate Protein Banana Bread
Ripe bananas hold a special place in many kitchens. Their sweet aroma and soft texture evoke memories of family gatherings and cozy mornings. Particularly in my journey as a home cook, I found that ripe bananas transformed mere ingredients into something magical, especially when baking. I often recall my grandmother’s kitchen, filled with the sweetness of overripe bananas being mashed for her famous banana bread.
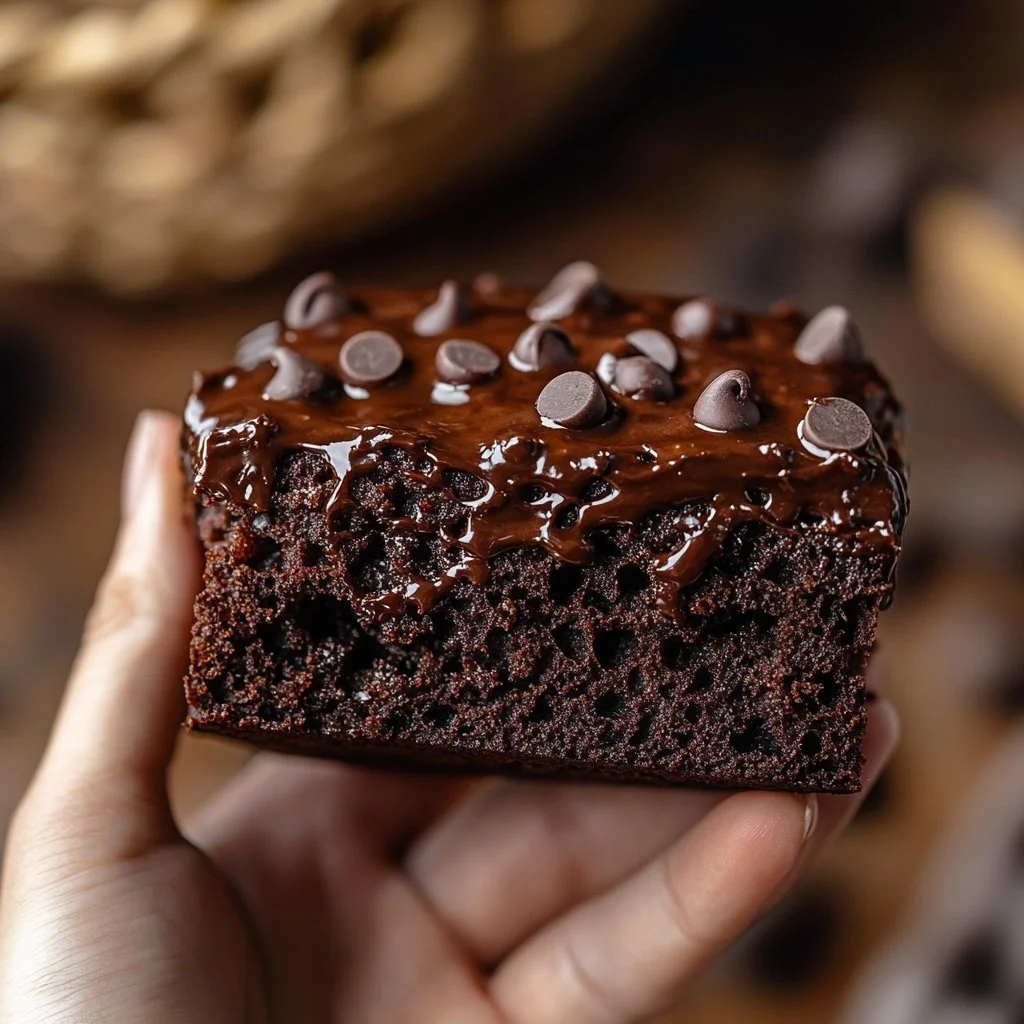
This Chocolate Protein Banana Bread encapsulates that joy. The brilliant combination of sweet bananas and rich chocolate creates a delightful treat that’s both satisfying and healthy. Not only does this recipe harness the natural sweetness of ripe bananas, but it also packs a protein punch with added protein powder. This balancing act makes the bread a perfect snack or a post-workout treat, and who could resist the tempting melt of chocolate chips throughout the loaf?
Let’s dive into the rich, cocoa-infused world of Chocolate Protein Banana Bread. In this recipe, the mix of flavors and textures brings forth a comforting delight that invites everyone to enjoy a slice. You’ll experience the essence of home baking, where simple ingredients blend flawlessly into a nostalgic experience.
Chocolate Protein Banana Bread: The Basics
Fundamentals
Understanding the key components of Chocolate Protein Banana Bread is essential for success. Bananas serve as a base, and their ripeness directly influences the sweetness of the final product. Each banana contributes moisture and richness, making the loaf soft and tender. This protein-packed treat also utilizes maple syrup, which adds a natural, rich sweetness without overwhelming the flavor.
Further, using black cocoa powder is a game-changer. Unlike regular cocoa powder, black cocoa lends a deep, dark color and an intense chocolate flavor, which heightens the overall taste experience. The inclusion of protein powder not only boosts the nutrition profile but also enhances the texture, creating a delightful bread that feels indulgent without being overly sweet.
Preparation/setup
To prepare for baking, start by gathering all ingredients and tools. Preheating the oven gets the temperature right from the start, ensuring even baking throughout. Always choose a loaf pan and ensure it’s lined and greased; this prevents sticking and makes for easier cleanup. Having every ingredient measured and ready to go streamlines the process, reducing any chance for chaos as you begin mixing.
Creating the batter is a simple process. Focus on mixing the wet ingredients thoroughly before adding the dry ones. Gentle folding brings everything together while keeping the batter light and fluffy. Avoid over-mixing, as it can lead to a denser texture in the final loaf. The balance of careful assembly and the right baking time produces a loaf that looks impressive and tastes even better.
Ingredients
Gather the following ingredients to create a rich and nutritious Chocolate Protein Banana Bread:
- 3 ripe bananas
- 1/4 cup maple syrup
- 1 egg
- 2 tbsp canola oil
- 2 scoops protein powder (any flavor, though Cookies n Cream gives a unique twist)
- 1/4 cup black cocoa powder (substitute with regular cocoa powder if necessary)
- 3/4 cup all-purpose flour
- 1/2 tsp baking soda
- 1/2 tsp baking powder
- 1/4 tsp salt
- 1/2 cup chocolate chips
Directions
- Preheat your oven to 350°F (175°C).
- In a large bowl, take your ripe bananas and mash them until smooth. The riper the bananas, the sweeter and more flavorful your bread will be.
- Add the maple syrup, egg, and canola oil to the mashed bananas. Mix well until all the wet ingredients are thoroughly combined.
- Add in the protein powder, black cocoa powder, all-purpose flour, baking soda, baking powder, and salt into the bowl. Gently fold the ingredients together until just combined. Be careful not to over-mix, as this can result in a dense bread.
- Mix in the chocolate chips. Pro tip: use chopped chocolate instead of chocolate chips — these will melt better and create delicious pockets of chocolaty goodness throughout the bread.
- Pour the batter into a lined and greased loaf pan.
- Place the loaf pan in the preheated oven and bake for 45-55 minutes. To check for doneness, insert a toothpick into the center of the bread. If it comes out clean or with a few crumbs clinging to it, your banana bread is ready.
- Once baked, remove the banana bread from the oven and allow it to cool in the pan for 10-15 minutes. This helps it set and become easier to slice.
- After cooling slightly, transfer the banana bread to a wire rack to cool completely.
Mastering Chocolate Protein Banana Bread
Technique
Creating the perfect Chocolate Protein Banana Bread revolves around a simple yet effective technique. The key lies in the bananas: use them when they are spotty and brown to harness the natural sweetness. A simple fork or potato masher does the trick when it comes to mashing. You’ll want to assume a smooth consistency without any large chunks; this aids in even mixing later on.
Be mindful when mixing the batter. Start by blending the wet ingredients thoroughly before you introduce the dry ones. Once you combine the two, use gentle folds rather than vigorous stirring. This method ensures the bread maintains a light and airy texture, providing a delightful bite in every slice.
Tips/tricks
Here are some essential tips for achieving optimal results with your Chocolate Protein Banana Bread:
- Banana Selection: The ripeness of bananas matters! Dark, spotty bananas create the best flavor.
- Preparation: Measure your ingredients ahead of time for a smooth workflow. This preparation prevents any last-minute scrambles.
- Cooling: Allow the loaf to cool appropriately; this ensures the structure sets well, making slicing easier without crumbling.
- Custom Flavor Variations: Have fun with flavors! Consider adding nuts or varying your choice of protein powder for a unique twist.
Refine Your Chocolate Protein Banana Bread
Perfecting results
Baking can sometimes feel finicky. If you find that your Chocolate Protein Banana Bread isn’t coming out as expected, adjusting a few details can make all the difference. Using fresh baking powder and baking soda ensures proper rising. Aging ingredients can lead to a more dense product, so keep them fresh.
You might want to monitor your baking time closely. Ovens can vary greatly in temperature accuracy, so checking on the bread halfway through baking is wise. You can also rotate the pan for even baking if your oven has hot spots.
Troubleshooting/variations
If you’ve encountered dense bread or uneven texture, don’t fret! Dense results often result from over-mixing or too much flour. Ensure you measure accurately and stop mixing as soon as everything is combined.
Consider experimenting with different protein powders! A vanilla flavor might complement the chocolate perfectly, or go with a fruity flavor for a unique touch. Adjust the sweetness if needed—add a tablespoon of honey for extra sweetness or decrease the maple syrup if desired.
Presenting Your Chocolate Protein Banana Bread
Serving/presentation
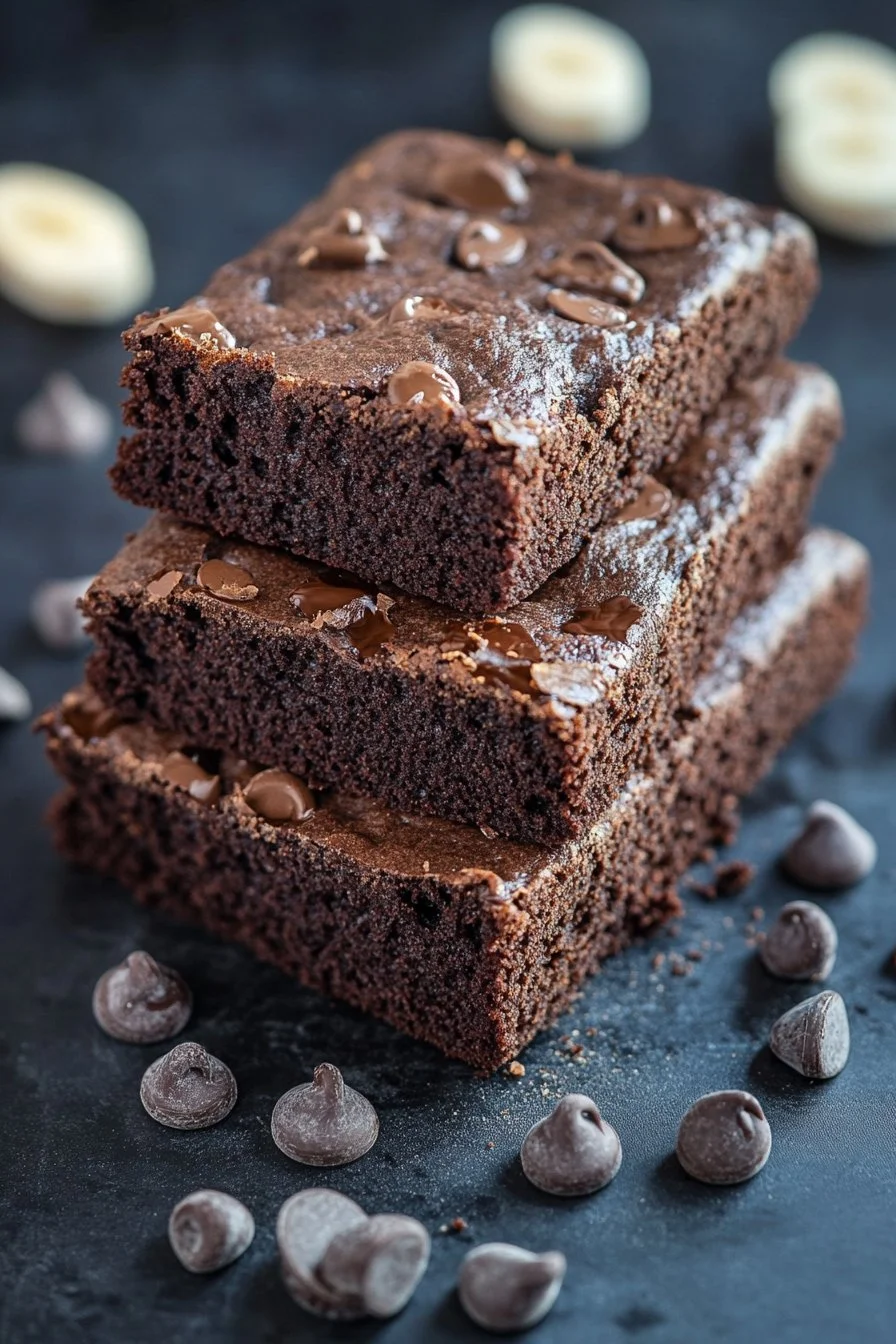
When it comes to serving Chocolate Protein Banana Bread, presentation can elevate the experience. Slice the loaf into generous pieces and arrange them on a pretty platter. A sprinkle of powdered sugar or a drizzle of melted dark chocolate adds a sophisticated touch, making it look bakery-worthy.
Pair your banana bread with a pat of butter or a dollop of nut butter for an extra indulgent treat. This will enhance the flavor, making it perfect for breakfast or an afternoon snack.
Pairings/storage
While pairing may not typically include beverages, consider your options for storage and enjoyment. Chocolate Protein Banana Bread keeps well at room temperature for up to three days in an airtight container. Alternatively, refrigerate it to extend its shelf life to a week.
If you want to enjoy it later, this bread freezes wonderfully! Slice it before freezing for easy retrieval, and simply toast individual pieces when you want to savor a delicious bite.
Conclusion
The journey of creating Chocolate Protein Banana Bread celebrates the rich flavors of ripe bananas and the delightful twist of chocolate. Bringing together wholesome ingredients provides a nutritious yet indulgent treat that satisfies cravings without guilt. Whether enjoyed fresh from the oven or stored for later, this bread enhances any moment. Dive into this recipe, embrace the chocolatey goodness, and let your kitchen fill with the sweet aroma of homemade delight.
Print
Chocolate Protein Banana Bread
- Prep Time: 10 minutes
- Cook Time: 55 minutes
- Total Time: 65 minutes
- Yield: 1 loaf (about 8 servings)
- Category: Dessert
- Method: Baking
- Cuisine: American
- Diet: Vegetarian
Description
A delightful and nutritious banana bread packed with protein and rich chocolate flavor, perfect as a snack or post-workout treat.
Ingredients
- 3 ripe bananas
- 1/4 cup maple syrup
- 1 egg
- 2 tbsp canola oil
- 2 scoops protein powder (any flavor)
- 1/4 cup black cocoa powder (or regular cocoa powder)
- 3/4 cup all-purpose flour
- 1/2 tsp baking soda
- 1/2 tsp baking powder
- 1/4 tsp salt
- 1/2 cup chocolate chips
Instructions
- Preheat your oven to 350°F (175°C).
- Mash the ripe bananas in a large bowl until smooth.
- Add maple syrup, egg, and canola oil to the bananas and mix well.
- Gently fold in the protein powder, black cocoa powder, all-purpose flour, baking soda, baking powder, and salt until just combined.
- Mix in the chocolate chips.
- Pour the batter into a lined and greased loaf pan.
- Bake for 45-55 minutes, checking for doneness with a toothpick.
- Allow the bread to cool in the pan for 10-15 minutes before transferring to a wire rack to cool completely.
Notes
For an extra chocolaty experience, consider using chopped chocolate instead of chocolate chips.
