📑 Table of Contents ▶
Butterfinger Balls
Creating Butterfinger balls fills the kitchen with warmth and nostalgia. I remember experimenting with recipes as a child, inspired by the delightful treats my grandmother used to make. Her influence still resonates in every batch of these treats. These Butterfinger balls not only evoke memories but also bring everyone together for special moments. The rich flavor of creamy peanut butter combined with the crunch of Butterfinger candy bars creates a deliciously satisfying dessert.
Every time I whip up a batch of Butterfinger balls, I feel like I’m continuing a legacy of joy and creativity. It’s amazing how just a few ingredients can turn into something that sparks such delight. The process feels both simple and magical. As I mix, shape, and coat these candies in chocolate, I relish the anticipation of seeing smiles light up my family’s faces when they take that first bite.
Butterfinger balls stand as a testament that sweet treats don’t need to be complicated to be memorable. This recipe offers a delightful combination of sweet and savory flavors, perfect for gatherings or a cozy night in. The charm of Butterfinger balls lies not just in their taste but also in the shared experiences they create.
The Magic of Butterfinger Balls
Fundamentals
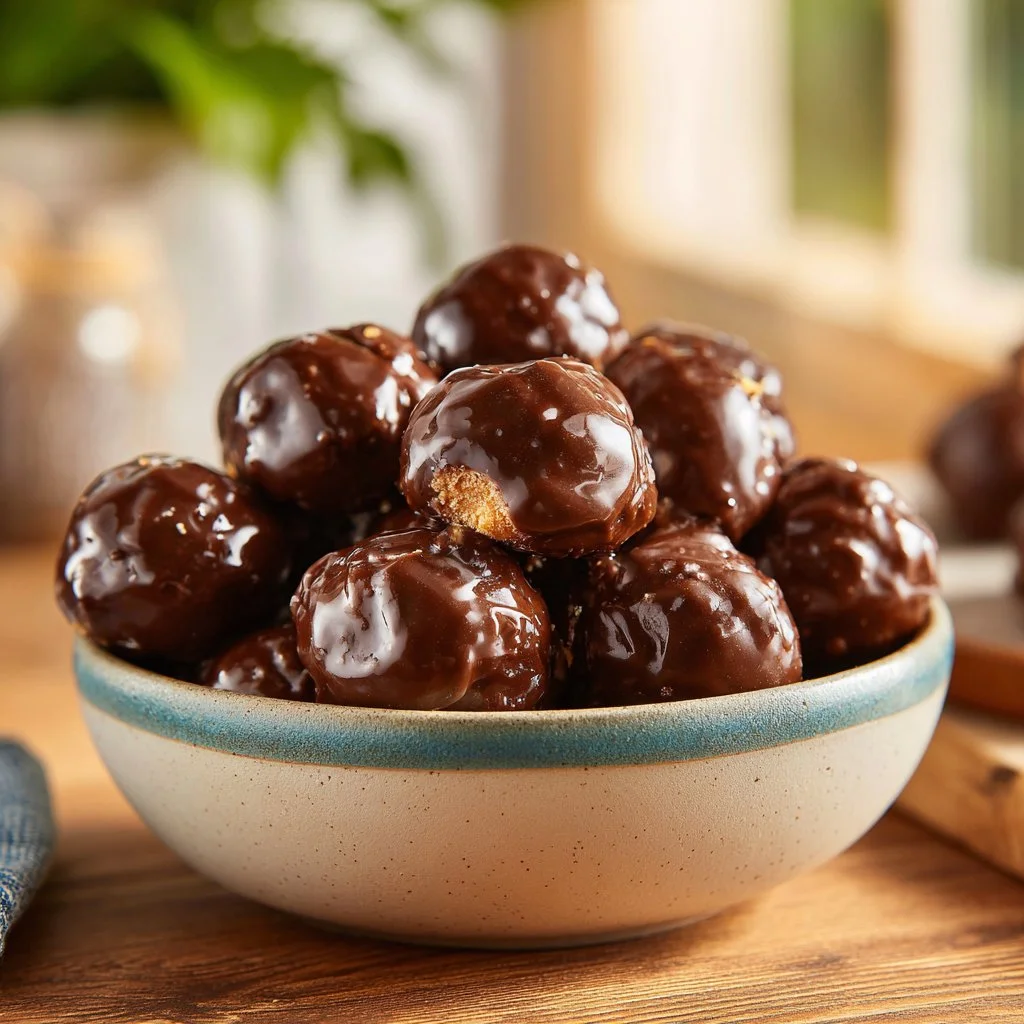
Butterfinger balls take a beloved candy bar and transform it into a bite-sized delight. Understanding the basics of this recipe can help anyone recreate these treats with ease. The primary ingredients—creamy peanut butter, crushed Butterfinger bars, powdered sugar, vanilla extract, and chocolate chips—work together to create a rich and satisfying dessert.
The key to making these treats is combining elements in the right way. Start with a creamy base by mixing the peanut butter and vanilla extract. Then, fold in the crushed Butterfinger bars and powdered sugar. The balance of flavors and textures creates that irresistible finish.
Preparation/Setup
Preparing to make Butterfinger balls involves a few simple steps. Gather all ingredients and tools before starting. This recipe requires a mixing bowl, a baking sheet lined with parchment paper, and a microwave-safe bowl or double boiler for melting chocolate. By organizing your workspace, you’ll streamline the process and enjoy each step.
Ensure all ingredients are at room temperature for easy mixing. First, you’ll combine the peanut butter, crushed Butterfinger bars, powdered sugar, and vanilla extract. It’s satisfying to see the mixture turn into a cohesive blend. Once combined, form the mixture into small balls and place them onto the prepared baking sheet. This sets the stage for coating them in chocolate.
Ingredients
Here’s what you need to make Butterfinger balls:
- 1 cup creamy peanut butter
- 2 cups crushed Butterfinger candy bars
- 1 cup powdered sugar
- 1 teaspoon vanilla extract
- 1 cup chocolate chips
Gather these ingredients, and you’re ready to create a delightful dessert.
Directions
Follow these easy directions to whip up your Butterfinger balls:
- In a mixing bowl, combine the creamy peanut butter, crushed Butterfinger candy bars, powdered sugar, and vanilla extract. Mix until well combined.
- Form the mixture into small balls and place them on a baking sheet lined with parchment paper.
- Melt the chocolate chips in a microwave-safe bowl or over a double boiler.
- Dip each ball into the melted chocolate, ensuring they are fully coated, and return them to the parchment-lined baking sheet.
- Refrigerate the chocolate-coated balls until set.
Enjoying these Butterfinger balls provides a taste of nostalgia in every bite.
Elevating Your Butterfinger Balls
Technique
While the process for Butterfinger balls is straightforward, employing a few techniques can elevate the outcome. For instance, ensure the chocolate is smooth and fully melted before dipping. This creates a beautiful coating around each ball. If the chocolate feels too thick, add a small amount of vegetable shortening to achieve a creamier consistency.
Chilling the balls before dipping can make handling easier, as they hold their shape better. Create uniform balls by using a cookie scoop, which ensures consistency in size and makes the final presentation appealing.
Tips/Tricks
A few tips can enhance your experience making Butterfinger balls. Using fresh Butterfinger bars yields the best flavor. Storing them in an airtight container prevents the chocolate from becoming dull or chalky.
To add variety, consider experimenting with different toppings. A sprinkle of sea salt on top of the chocolate adds a delightful contrast to the sweetness. Alternatively, you can roll the finished balls in crushed nuts or sprinkles for extra flair.
Perfecting Butterfinger Balls
Perfecting Results
Each batch of Butterfinger balls presents an opportunity to perfect your technique. Experimenting with the ratio of ingredients can yield different textures. For a richer peanut butter flavor, increase the amount of peanut butter slightly. Conversely, incorporating more powdered sugar creates a sweeter treat.
Pay attention to the chilling time after coating; ensuring the chocolate sets properly allows for better handling and storage. If you find the chocolate isn’t setting correctly, consider adjusting the melting method or ensuring it’s kept cool throughout the dipping process.
Troubleshooting/Variations
If you encounter any challenges while making Butterfinger balls, troubleshooting is key. If the mixture feels too sticky, adding more powdered sugar can enhance the texture. Should the chocolate coating be uneven, reheating the chocolate and ensuring an even coat during dipping helps achieve that professional look.
Variations can also add excitement to your Butterfinger balls. Mixing in crushed Oreos or other favorite candies with the Butterfinger can offer unique flavors. You can also try dark or white chocolate for different melting experiences and taste profiles.
Serving and Storing Butterfinger Balls
Serving/Presentation
Presenting Butterfinger balls can elevate the delight for those indulging in them. Arrange the treats on a colorful platter or in decorative cupcake liners for a fun, festive appearance. Consider garnishing with a sprinkle of crushed Butterfinger or drizzling additional melted chocolate on top for visual appeal.
Share the treats at gatherings or keep them stored for personal enjoyment. Their bite-sized nature makes them easy to share and enjoy anywhere.
Pairings/Storage
Pair Butterfinger balls with complementary treats for an exciting dessert tray. Fresh fruit or a scoop of vanilla ice cream can balance the rich sweetness. Keep in mind that proper storage is essential. Place them in an airtight container in the refrigerator to maintain freshness. This helps preserve both flavor and texture, allowing you to enjoy these delicious treats longer.
When stored correctly, Butterfinger balls can keep for up to a week. However, they often disappear much quicker, given how irresistible they are.
In essence, Butterfinger balls offer a delightful combination of sweet, rich flavors that evoke nostalgia and encourage shared moments of joy. They remain a simple yet gratifying treat that anyone can recreate.
Print
Butterfinger Balls
- Prep Time: 15 minutes
- Cook Time: 10 minutes
- Total Time: 25 minutes
- Yield: 24 servings
- Category: Dessert
- Method: No-Bake
- Cuisine: American
- Diet: Vegetarian
Description
A delightful dessert combining creamy peanut butter and crunchy Butterfinger candy bars, perfect for gatherings or cozy nights in.
Ingredients
- 1 cup creamy peanut butter
- 2 cups crushed Butterfinger candy bars
- 1 cup powdered sugar
- 1 teaspoon vanilla extract
- 1 cup chocolate chips
Instructions
- In a mixing bowl, combine the creamy peanut butter, crushed Butterfinger candy bars, powdered sugar, and vanilla extract. Mix until well combined.
- Form the mixture into small balls and place them on a baking sheet lined with parchment paper.
- Melt the chocolate chips in a microwave-safe bowl or over a double boiler.
- Dip each ball into the melted chocolate, ensuring they are fully coated, and return them to the parchment-lined baking sheet.
- Refrigerate the chocolate-coated balls until set.
Notes
For best results, chill the balls before dipping and consider using a cookie scoop for uniformity.
