📑 Table of Contents ▶
I believe that a good recipe has the power to bring people together, spark joy, and turn ordinary moments into cherished memories. My love for cooking started long before I picked up a cookbook. I was raised in a home where the kitchen was the heart of everything. The clatter of pots, the smell of herbs simmering, and the warmth of shared meals are some of my earliest and fondest memories.
My grandmother was my biggest inspiration—she didn’t need fancy ingredients or complicated techniques to make magic happen. Her meals were a reflection of care, patience, and creativity. Watching her cook taught me that food is more than sustenance—it’s a language of love. Those moments planted the seed that would eventually grow into Yumoti.
Yumoti was born out of a deep desire to make cooking feel less intimidating and more joyful. I know how it feels to stand in the kitchen, unsure where to begin or how to turn scattered ingredients into something special. I also know the pride that comes with cooking a meal your loved ones truly enjoy. Whether you’re a beginner learning your way around the stove, a busy parent looking for quick meal ideas, or an experienced home chef in search of fresh inspiration—Yumoti is for you.
Bat Oreo Pops
- Prep Time: 10 minutes
- Cook Time: 0 minutes
- Total Time: 10 minutes
- Yield: 4 servings
- Category: Dessert
- Method: Baking
- Cuisine: Unknown
Description
Learn how to make adorable and delicious Bat Oreo Pops with this easy recipe. Perfect for Halloween parties and kids’ birthdays. Click here to get started!
Ingredients
- Oreo Cookies (any flavor; regular or double stuff)
- Beef Sticks
- Candy Eyes
- Almond Slivers
- Chocolate / Candy Melts in piping bag (need small amount only for adhesion)
Instructions
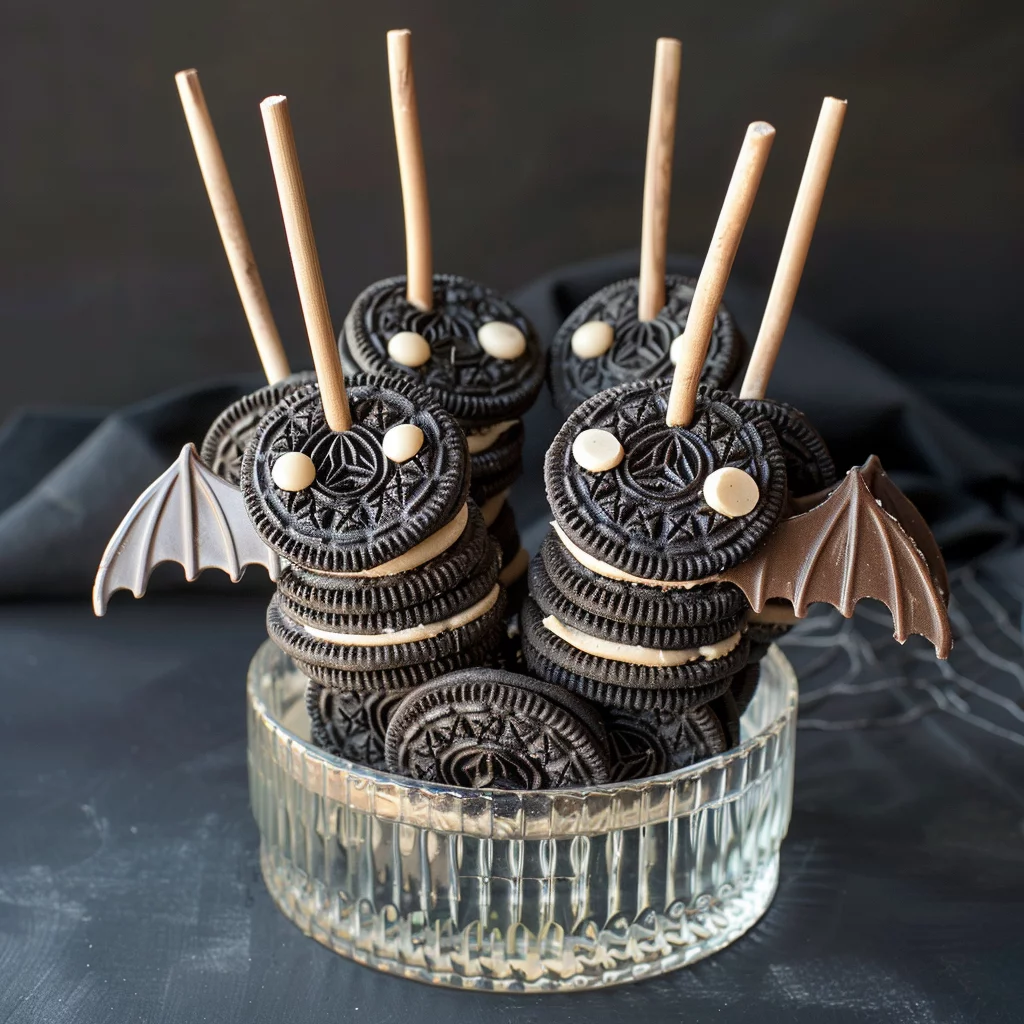
- Separate the Oreo cookies by twisting them gently to get one half with cream and the other without. To create a single Bat Oreo Pop, combine two cream-filled halves with one plain half.
- Carefully cut the plain chocolate wafer into two equal pieces. Use a serrated knife for precision if needed, and don’t worry if the first attempt isn’t perfect; you have extra wafers to try again.
- Position the cut wafer halves and a beef stick onto the cream-filled side of an Oreo, as illustrated. Apply a small amount of chocolate melt to help everything stick together.
- Place another cream-filled Oreo half on top, with the cream side facing down, to complete the sandwich.
- Using the chocolate melt, add two tiny dots near the “Oreo” logo and attach the candy eyes on these spots.
- Trim the almond slivers, keeping only the pointed ends.
- To finish the bat, draw a line of chocolate horizontally and attach the almond slivers as fangs. This gives your bat a cute, vampiric look.
- If you’re in a humid environment, store the pops in a sealed container to keep them fresh.
- For more creative bat wings, consider using a wave-shaped cookie cutter. The one I used was originally for moose, utilizing the horn section for shaping.
- Cut two wings in reverse to form a matching pair. Note that this method has a lower success rate, but letting the cookies sit outside packaging to soften can make cutting easier.
- Complete two bat pops with different wing styles and decide which one you like best.
Notes
- Use a serrated knife for precise cutting of the plain chocolate wafer into two equal pieces.
- Trim down any long almond slivers to maintain proportionate bat fangs.
- Consider using a wavy cookie cutter for more creative bat wings, but be patient during the cutting process.
Crafting Your Bat Oreo Pops
Fundamentals
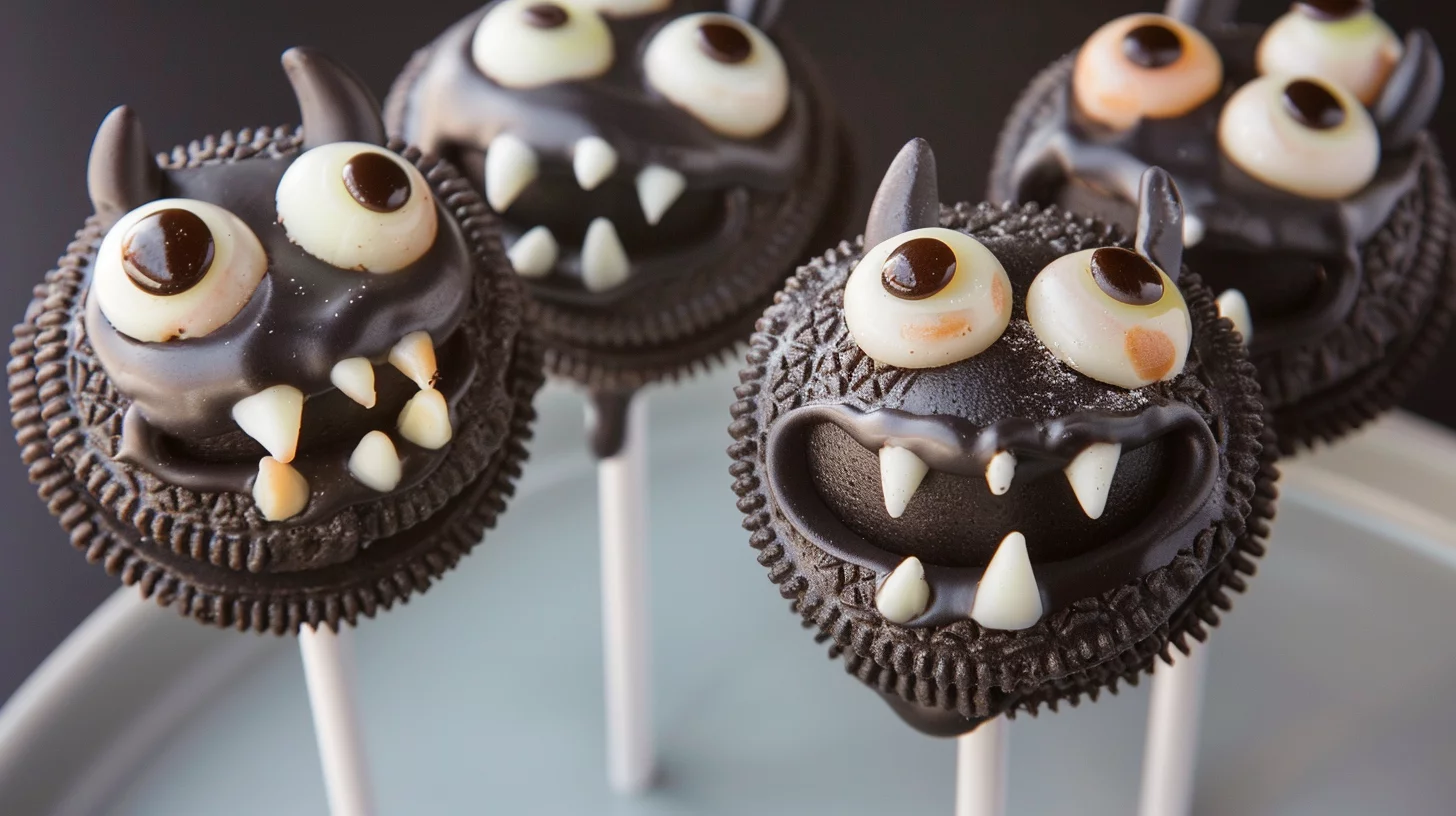
Bat Oreo Pops are a delightful treat that combines the magic of Oreos with a playful twist, making them perfect for any spooky celebration. This recipe utilizes simple ingredients: Oreo cookies, beef sticks, candy eyes, almond slivers, and chocolate melts. The heart of this treat lies in the Oreo, a cookie beloved by many for its creamy center and crispy wafer.
The combination of these ingredients might seem unusual, but together they create a whimsical creature that is both fun to make and delicious to eat. The playful aspect of Bat Oreo Pops is not just in their appearance but also in the process of putting them together. This snack is perfect for engaging kids in the kitchen while also satisfying your creative side.
Preparation/Setup
To start, gather all your ingredients: Oreo cookies, beef sticks, candy eyes, almond slivers, and chocolate melts. It’s important to have everything ready and within reach, as assembly requires a bit of precision. Begin by gently twisting the Oreos to separate them into halves, ensuring you have two cream-filled halves for each Bat Oreo Pop.
For the wings, take a plain chocolate wafer and carefully cut it into two equal pieces. Using a serrated knife can help achieve a clean cut. Don’t fret if the first attempt isn’t perfect—you have extra wafers to refine your technique. Lay out your workspace with the separated Oreo halves and the beef sticks, ready for assembly.
Mastering Bat Oreo Pop Techniques
Technique
Assembling Bat Oreo Pops requires a steady hand and a bit of patience. Take your cream-filled Oreo half and position the cut wafer halves on each side to mimic bat wings. Place a beef stick across the cream, ensuring it aligns with the center of the Oreo. Use a small amount of melted chocolate to secure these pieces in place.
Next, sandwich these components with another cream-filled Oreo half, cream side facing down. This step is crucial as it holds the entire pop together. The chocolate melt acts as a glue that not only secures the components but also adds a touch of sweetness to the overall flavor.
Bat Oreo Pops
Tips/Tricks
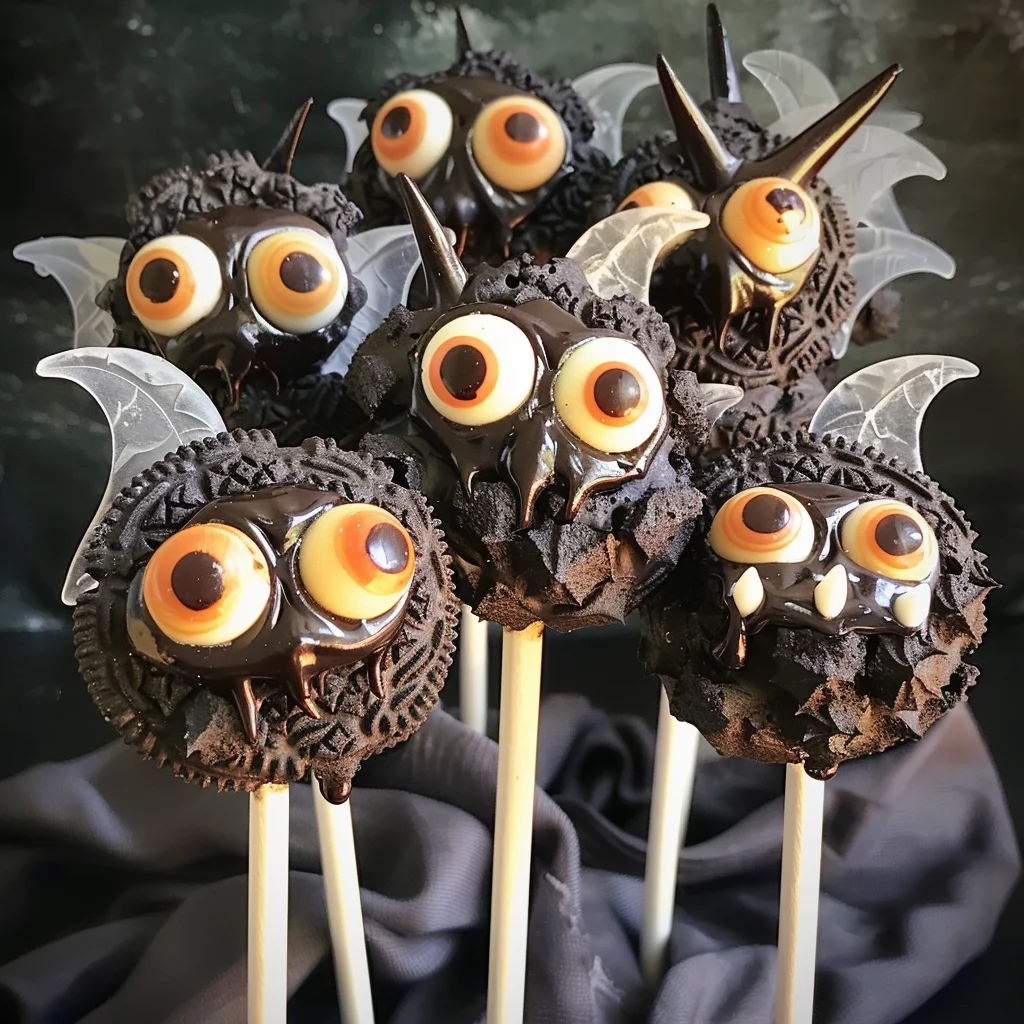
For a more creative look, consider using a wave-shaped cookie cutter to cut the wafer into bat wings. This method can be tricky, but letting the wafers sit outside their packaging to soften can make cutting easier. Experiment with different wing shapes to find the most appealing style.
Don’t hesitate to get playful with the candy eyes’ placement; positioning them near the “Oreo” logo adds to the whimsical charm. The almond slivers serve as fangs and should be trimmed to keep only the pointed ends. Attach these with a line of melted chocolate to complete the vampire bat look.
Perfecting Your Bat Oreo Pops
Perfecting Results
To achieve the best Bat Oreo Pops, attention to detail is key. Ensure the chocolate melt is not overly hot, as this can cause the Oreo to separate or the candy eyes to slide off. A gentle hand when assembling each component will result in a more polished appearance.
If you’re in a humid environment, store the pops in a sealed container to maintain their freshness. This precaution prevents the wafers from softening too much and keeps the candy eyes secure. Allowing the pops to set for a few minutes before handling will also help solidify their structure.
Troubleshooting/Variations
Should the wings not adhere properly, try reinforcing them with a bit more chocolate melt. If the almond slivers are too long, trim them further to ensure they fit snugly and appear as fangs. For a different flavor profile, experiment with different Oreo flavors, such as mint or peanut butter.
Variations in the design can also include using different types of candy eyes or adding a touch of colored candy melts to create a vibrant effect. These small adjustments can result in a unique batch of Bat Oreo Pops each time you make them.
Presenting and Enjoying Bat Oreo Pops
Serving/Presentation
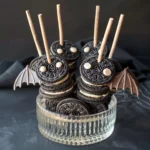
Presenting your Bat Oreo Pops can be as fun as making them. Arrange them on a platter lined with a spooky-themed napkin for a festive touch. If you’re crafting these for a party, consider placing them in individual treat bags tied with a ribbon for a delightful take-home gift.
The visual appeal of these pops makes them a standout on any dessert table. Their whimsical design invites curiosity and delight, making them a hit among both kids and adults. Pair them with other themed treats for a cohesive look at your next gathering.
Pairings/Storage
When considering pairings, opt for non-alcoholic beverages like a rich hot chocolate or a creamy milkshake to complement the sweetness of the Bat Oreo Pops. To store, keep them in a cool, dry place. If you’re preparing these in advance, ensure they are stored in an airtight container to maintain their freshness.
Bat Oreo Pops
These pops are versatile and can be enjoyed at various occasions, from Halloween parties to casual family gatherings. Their unique flavor and playful design make them a memorable treat that guests will talk about long after the event.
Conclusion
Crafting Bat Oreo Pops is a creative culinary adventure that combines taste and fun in one delightful treat. These playful creations are more than just a snack; they’re a way to bring joy and creativity to any gathering. With simple ingredients and a bit of imagination, you can transform ordinary Oreos into charming bat-themed pops.
The process of making Bat Oreo Pops not only enhances your kitchen skills but also provides an opportunity to share memorable moments with loved ones. Whether you’re a seasoned chef or a novice in the kitchen, these pops offer a rewarding experience that results in a delicious and eye-catching treat.
The versatility and charm of Bat Oreo Pops make them a must-try for any enthusiast looking to add a touch of whimsy to their culinary repertoire. Their engaging presentation and delightful taste ensure they will be a beloved addition to any dessert spread.
