📑 Table of Contents ▶
- Tangy Lemon Dessert Bars
- Creating Irresistible Tangy Lemon Dessert Bars
- Fundamentals
- Preparation/setup
- Mastering the Art of Tangy Lemon Bars
- Technique
- Tips/tricks
- Perfecting Your Tangy Lemon Bars
- Perfecting results
- Troubleshooting/variations
- Serving Your Tangy Lemon Bars with Style
- Serving/presentation
- Pairings/storage
- Conclusion
- FAQs – Tangy Lemon Dessert Bars
I believe that a good recipe has the power to bring people together, spark joy, and turn ordinary moments into cherished memories. Growing up, the kitchen was the heart of my home, a place where the clatter of pots and the smell of herbs created a symphony of flavors. Cooking was more than a task; it was a language of love taught by my grandmother, who could transform simple ingredients into magic.
From those early days, I learned that creating delicious food doesn’t require fancy techniques or complicated ingredients. It’s about the joy of sharing meals and the warmth of togetherness. These Tangy Lemon Dessert Bars perfectly capture that essence. Each bite is a burst of flavor that turns a regular day into a celebration.
These bars are not just about satisfying a sweet tooth; they’re about creating moments that linger. They’re simple, soulful, and, above all, full of flavor. As we dive into this recipe, let’s explore how these bars can bring a bit of sunshine to your kitchen and heart.
Whether you’re looking to impress guests or treat yourself, the Tangy Lemon Dessert Bars are a delightful choice. Let’s explore the fundamentals and preparation techniques to make these bars a staple in your dessert repertoire.
Print
Tangy Lemon Dessert Bars
- Prep Time: 20 minutes
- Cook Time: 48 minutes
- Total Time: 1 hour 8 minutes
- Yield: 12 servings
- Category: Dessert
- Method: Baking
- Cuisine: American
Description
Discover how to make tangy lemon dessert bars with this easy recipe. These delicious treats are perfect for any occasion and will leave your taste buds craving more.
Ingredients
- 1 cup (16 Tbsp; 226g) unsalted butter, melted
- 1/2 cup (100g) granulated sugar
- 2 tsp (10 ml) pure vanilla extract
- 1/2 tsp (3 ml) salt
- 2 cups + 2 tbsp (265g) all-purpose flour (spooned & leveled)
- 2 cups (400g) granulated sugar
- 6 tbsp (46g) all-purpose flour
- 6 large eggs
- 1 cup (240ml) lemon juice (about 4 lemons)
- optional: confectioners’ sugar for dusting
Instructions
- Heat your oven to 325°F (163°C). Prepare a 9×13-inch glass baking dish by lining it with parchment paper, making sure the paper hangs over the edges for easy removal. Put this aside for now.
- To create the crust, combine the melted butter, sugar, vanilla, and salt in a medium-sized bowl. Stir in the flour until fully mixed, forming a dense dough. Press this evenly into the lined baking dish, ensuring an even layer. Bake until the edges gain a slight golden hue, about 20 to 22 minutes. Take it out of the oven and, using a fork, prick the surface of the warm crust without piercing through it. This technique helps the filling adhere better and secures the crust. Put it aside until you reach step 4.
- For the filling, sift together the sugar and flour in a large bowl. Add the eggs, whisking them in, followed by the lemon juice, until everything is thoroughly blended.
- Pour the filling onto the warm crust. Return to the oven and bake for 22 to 26 minutes, or until the center is mostly firm and doesn’t wobble when lightly tapped with an oven mitt. Allow the baked dessert to cool completely at room temperature, approximately 2 hours, then refrigerate for an additional 1 to 2 hours until well chilled. It’s best enjoyed cold.
- Once chilled, use the parchment overhang to lift the dessert out of the dish. Sprinkle with confectioners’ sugar and slice into squares before serving. For tidy squares, clean the knife between cuts. Store any remaining bars in the fridge for up to a week.
- To freeze, cut the cooled bars (without the sugar topping) into squares and place them on a baking sheet. Freeze for an hour. Wrap each piece individually in aluminum foil or plastic wrap and store in a large bag or container in the freezer, where they can last for 3-4 months. Thaw in the fridge and dust with confectioners’ sugar before serving.
Notes
- Mix the crust ingredients thoroughly to create a dense dough for a strong base.
- Prick the warm crust with a fork before adding the filling to help it stick better.
- Allow the dessert to cool completely at room temperature before refrigerating for optimal results.
Creating Irresistible Tangy Lemon Dessert Bars
Fundamentals
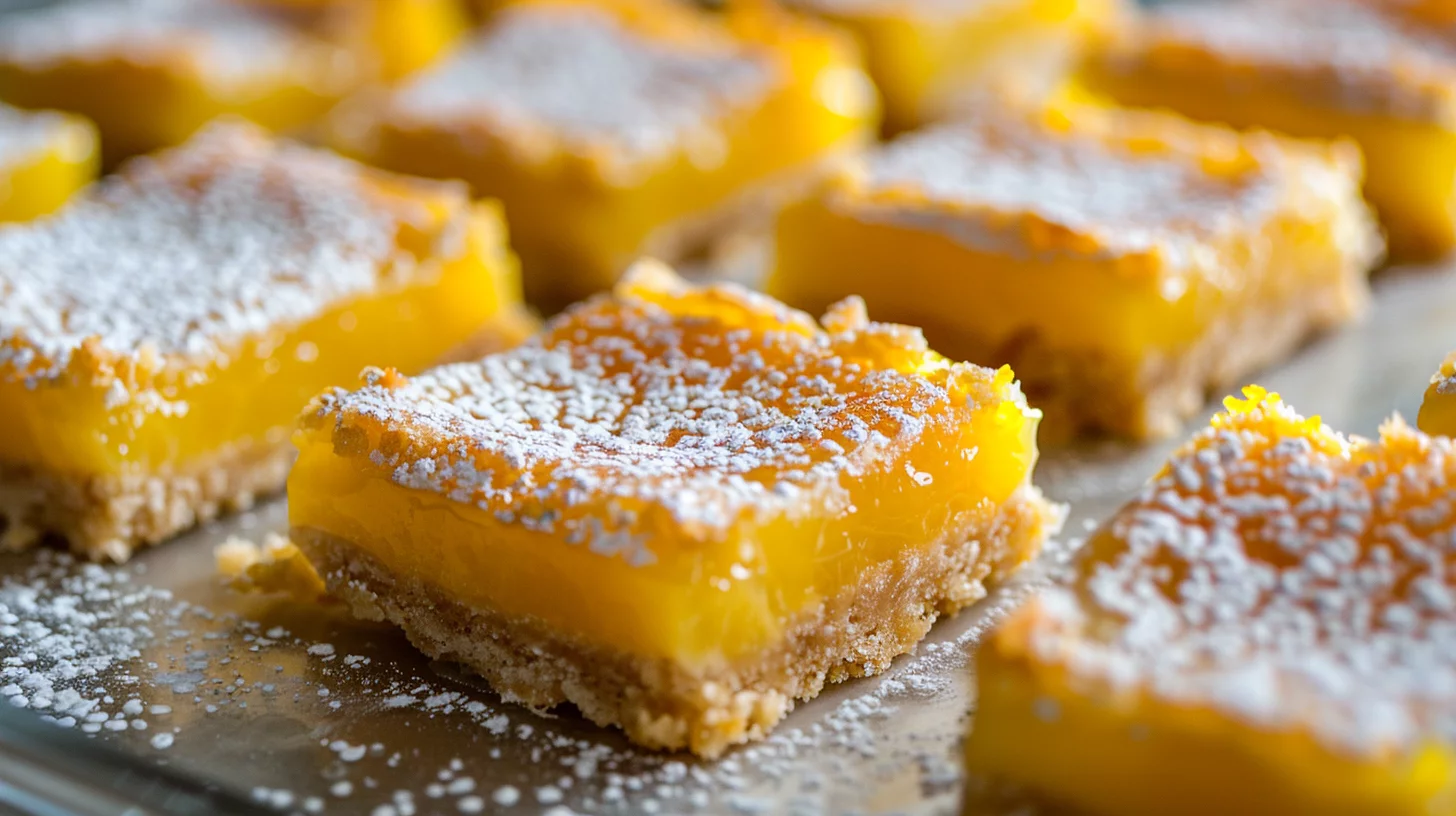
The Tangy Lemon Dessert Bars are a perfect blend of tartness and sweetness, making them a refreshing dessert option. The combination of a buttery crust and a zesty lemon filling creates a delightful contrast that’s both rich and invigorating. The key ingredients include unsalted butter, sugar, vanilla, eggs, and fresh lemon juice. These elements work in harmony to deliver a dessert that’s both simple and sophisticated.
Understanding the balance between these ingredients is crucial. The melted butter provides the crust with its rich, flaky texture, while the fresh lemon juice gives the filling its signature tang. The addition of a little salt enhances the sweetness, creating a well-rounded flavor profile. Each component plays a vital role in ensuring the dessert’s success.
Preparation/setup
Start by heating your oven to 325°F (163°C) and preparing a 9×13-inch glass baking dish lined with parchment paper. This step is crucial for easy removal of the bars once baked. Creating the crust involves combining melted butter, sugar, vanilla, and salt, followed by flour, to form a dense dough. Press this evenly into the dish and bake until the edges turn slightly golden, about 20 to 22 minutes.
Once the crust is baked, use a fork to prick the surface lightly. This technique allows the lemon filling to adhere better, preventing it from separating from the crust. With the crust prepared, focus shifts to creating the lemon filling. Mix sugar and flour, then whisk in the eggs and lemon juice until well blended.
Mastering the Art of Tangy Lemon Bars
Technique
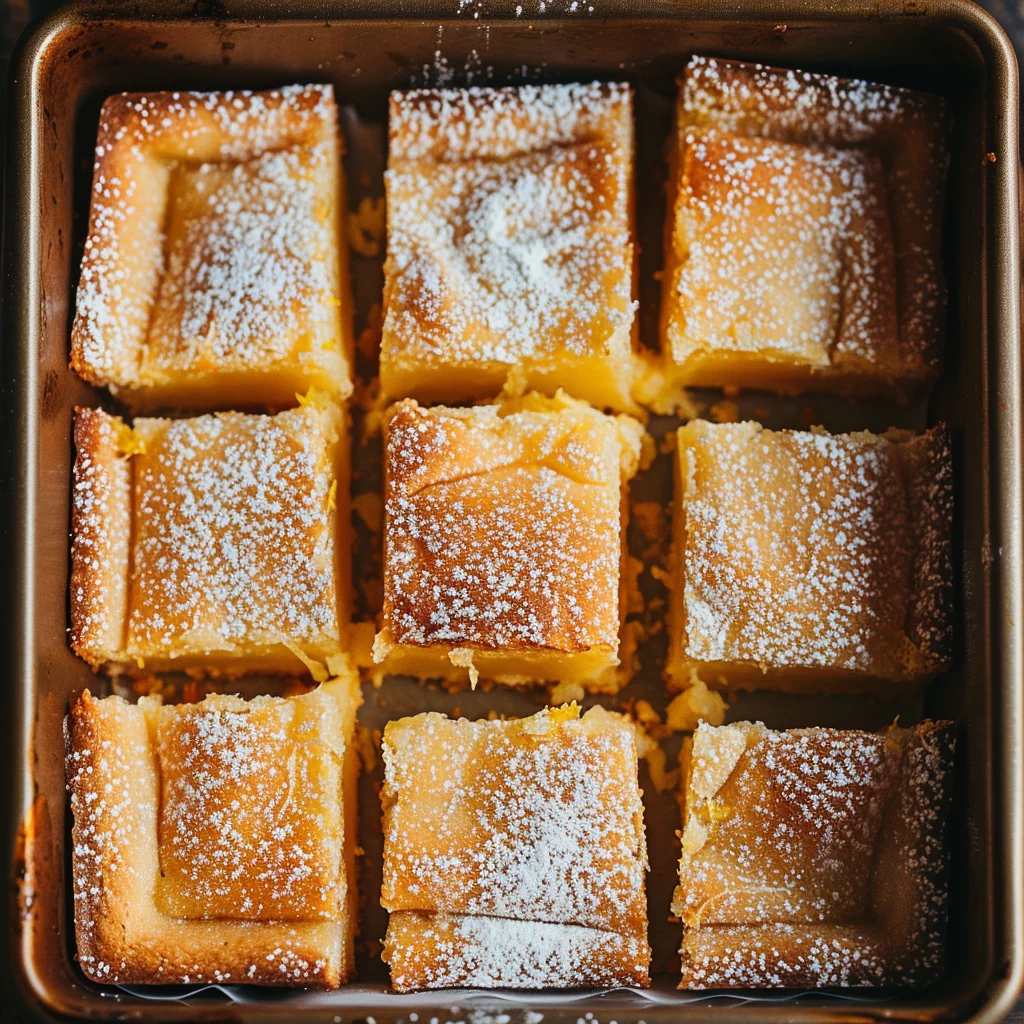
Executing the perfect Tangy Lemon Dessert Bars requires precision and attention to detail. Pour the lemon filling over the warm crust, ensuring an even spread. Return it to the oven and bake for 22 to 26 minutes. The goal is to achieve a firm center that doesn’t wobble when lightly tapped; this indicates the filling has set perfectly.
Tangy Lemon Dessert Bars
Allow the bars to cool at room temperature for about two hours before refrigerating them for an additional one to two hours. This chilling process is essential for achieving the right texture and flavor balance, making these bars best enjoyed cold. The chilling helps the flavors meld and enhances the overall taste experience.
Tips/tricks
For the best results, ensure the lemon juice is fresh, as bottled juice can alter the taste. Use parchment paper with overhanging edges for easy removal of the bars. When slicing, clean the knife between cuts for tidy squares. If you love other tangy treats, you might explore Crumbl Pink Lemonade Cookies for a similar flavor profile.
Remember, patience is crucial. Allow ample cooling time before serving, as this enhances the flavors and ensures a clean slice. These bars can be a delightful addition to a dessert platter. For more dessert inspirations, our Creamy New York Cheesecake Bars are also worth a try.
Perfecting Your Tangy Lemon Bars
Perfecting results
To achieve perfection with Tangy Lemon Dessert Bars, focus on the consistency of the crust and filling. The crust should be firm yet tender, while the filling must be smooth and evenly set. Baking at the right temperature and for the correct duration is key to achieving these characteristics.
The bars should have a balanced flavor, where the tanginess of the lemon complements the sweetness, creating a refreshing and satisfying dessert. If you enjoy experimenting with variations, consider adding a touch of zest to the filling for an extra citrusy kick.
Troubleshooting/variations
If your bars are too runny, it might be due to insufficient baking time. Ensure the center is firm before removing them from the oven. For a twist, consider incorporating a layer of cream cheese in the filling, similar to Lemon Cream Cheese Bars, to add richness and depth.
For those who love creative dessert hacks, turning these bars into a frozen treat can be an exciting variation. Freeze them without the sugar topping and enjoy a chilled version during the summer months. This method also extends the shelf life, making it convenient for future indulgence.
Serving Your Tangy Lemon Bars with Style
Serving/presentation
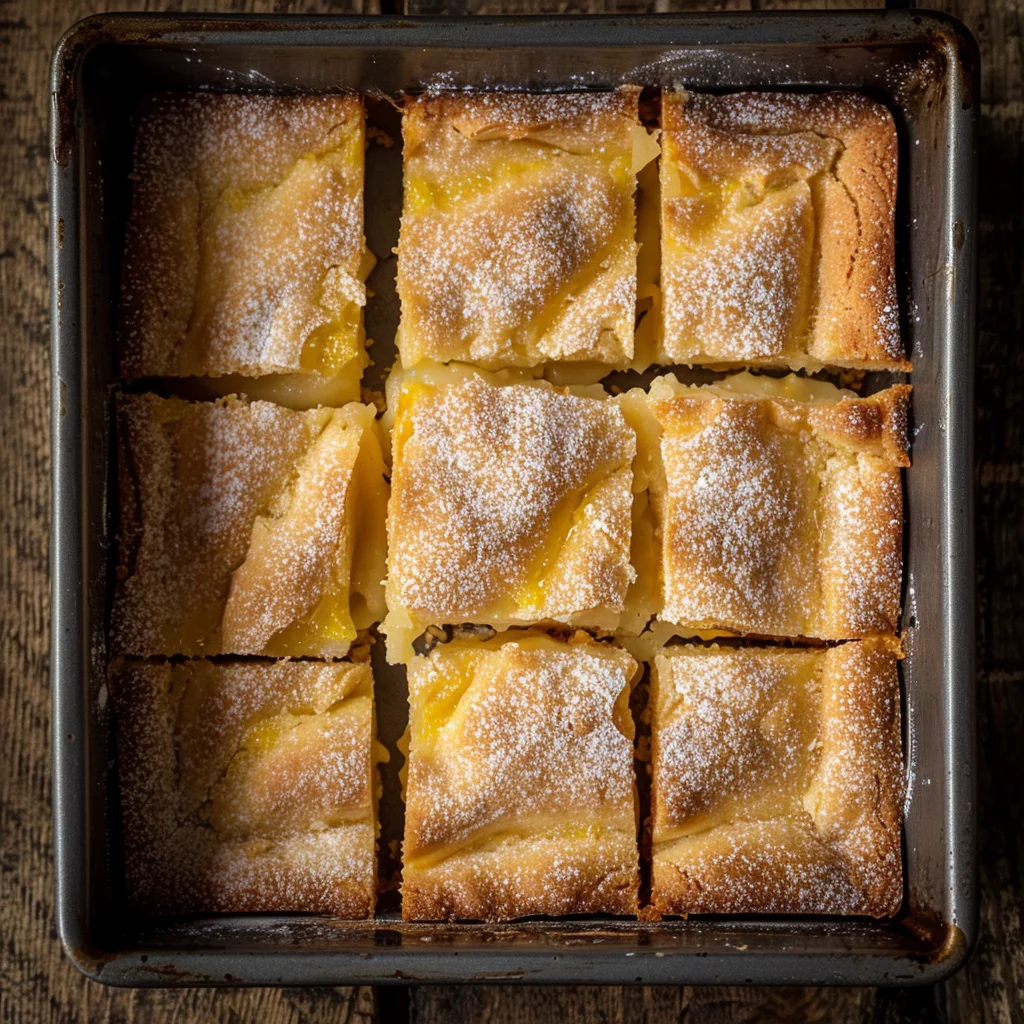
Presentation plays a vital role in the enjoyment of Tangy Lemon Dessert Bars. Once chilled, lift them from the dish using the parchment overhang and cut into neat squares. Dust with confectioners’ sugar for a finishing touch that adds elegance and a hint of sweetness. Serve them on a platter for a visually appealing dessert option.
For a more elaborate presentation, consider pairing them with a scoop of vanilla ice cream or a dollop of whipped cream. This addition can create a delightful contrast in textures and temperatures, enhancing the overall dessert experience.
Tangy Lemon Dessert Bars
Pairings/storage
These bars pair beautifully with a variety of dishes. Consider serving them alongside a Lemon Herb Roasted Chicken Breasts for a cohesive meal theme. For a complete picnic spread, pair them with our Lemony Dill Pasta Salad.
Store any leftover bars in the refrigerator for up to a week. If you prefer to freeze them, cut the cooled bars without the sugar topping into squares and place them on a baking sheet. Freeze for an hour, then wrap each piece individually and store in a container. This method ensures they remain fresh and ready for future enjoyment.
Conclusion
The Tangy Lemon Dessert Bars are a delightful addition to any dessert menu. Their perfect balance of tartness and sweetness makes them a refreshing treat that’s easy to prepare and share. Mastering the technique ensures you achieve the ideal texture and flavor every time.
These bars are more than just a dessert; they’re a conversation starter and a reminder of how simple ingredients can create extraordinary results. Whether serving them at a gathering or enjoying them as a solo treat, their versatility and flavor make them a favorite choice for lemon lovers and dessert enthusiasts alike.
