📑 Table of Contents ▶
Pillsbury Chicken Pot Pie
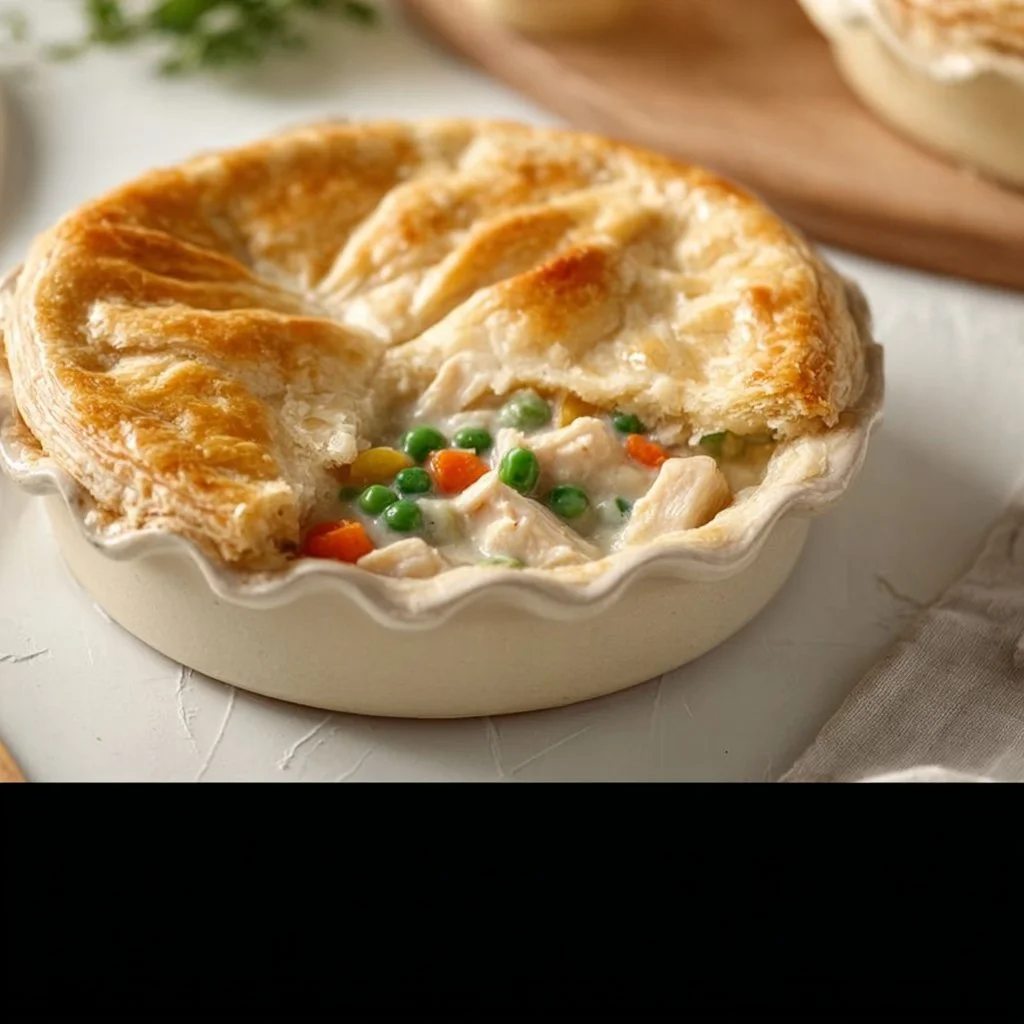
A warm and creamy chicken pot pie fresh out of the oven brings a sense of home and comfort. Many evenings spent in the kitchen, watching the golden crust rise and smelling the blend of spices, connect me to cherished memories. This Pillsbury Chicken Pot Pie recipe epitomizes all the delightful flavors of a classic dish, combining tender chicken, veggies, and a velvety filling, all wrapped in a flaky crust.
Growing up, my grandmother often prepared a version of this dish, drawing the family to the table with its rich aroma. The combination of simple ingredients made the dish not only satisfying but also a beautiful reminder of how cooking connects us. My aim with this recipe is not only to offer a delicious meal but to evoke those warm memories, making your dining experience just as special.
This easy Pillsbury Chicken Pot Pie recipe adds a modern twist to that beloved classic. In just a few simple steps, you can create a delightful meal that will warm hearts and fill bellies. Let’s dive into the fundamentals of preparing this comforting classic!
The Heart of Pillsbury Chicken Pot Pie
Fundamentals
Creating a delicious Pillsbury Chicken Pot Pie starts with understanding the ingredients. The base of this recipe consists of two cans of Pillsbury crescent rolls or pie crusts, which provide a wonderfully flaky texture. Inside, the stars of this dish, the cooked chicken and frozen mixed vegetables, contribute not only nutrition but vibrant colors and flavors.
Combining these ingredients, along with cream of chicken soup and milk, results in a creamy filling that coats the chicken and vegetables. The layers of garlic powder and onion powder enhance the dish’s flavor profile, adding depth to every bite. Seasoning with salt and pepper ensures that all elements blend harmoniously.
Preparation/Setup
Preparing this dish is straightforward. Preheat your oven to 375°F (190°C) to ensure the crust bakes up golden and perfectly flaky. Begin by gathering all your ingredients: cooked shredded chicken, frozen mixed vegetables, cream of chicken soup, and milk. Mix these together in a large bowl, combining the rich sauce with the chicken and veggies for a luscious filling. The bowl’s contents should be well blended yet retain their individual textures.
After prepping the filling, the next step involves rolling out the crescent rolls or pie crusts according to the package instructions. Lay one layer of the dough into a baking dish, making it the perfect vessel for your delicious filling. Pour the chicken mixture into the lined baking dish, spreading it evenly, and then cover it with another layer of dough, sealing the edges to keep the filling intact.
Techniques for Success with Chicken Pot Pie
Technique
Baking a Pillsbury Chicken Pot Pie requires some essential techniques to ensure success. First, watch the baking time closely; it typically ranges from 25 to 30 minutes. An accurately timed bake results in a beautifully golden crust while ensuring the filling heats through adequately. Checking for doneness involves looking for that perfect golden hue on the crust and making sure no filling spills out.
Another critical technique is sealing the crust edges. This process helps trap moisture within the pie, enhancing its creaminess and ensuring it doesn’t become dry. A simple crimping technique—pressing the edges together with your fingers or a fork—creates an appealing finished product while ensuring the filling stays inside.
Tips and Tricks
Using frozen mixed vegetables saves time and adds convenience. The variety in peas, carrots, and corn brings color and nutrition without requiring additional chopping. For those craving more flavor, consider adding herbs like thyme or rosemary, which pair particularly well with chicken.
If you’re not a fan of any particular vegetable, feel free to substitute it with your preferred options. Customizing the filling creates a unique twist, allowing you to cater to personal tastes.
Another helpful tip is to serve the dish immediately after cooling slightly. The crust retains its flakiness, making each slice appealing and easy to serve.
Perfecting Your Chicken Pot Pie
Perfecting Results
Perfecting your Pillsbury Chicken Pot Pie comes down to precise execution. First, ensure your chicken is cooked through and shredded appropriately. Using leftover chicken can save you time and lend a homemade touch. The quality of your ingredients matters, especially when it comes to the cream of chicken soup; opt for a higher-quality brand to enhance flavor.
Thus, let the dish cool for a few minutes after baking. This resting time allows the filling to set, making it easier to slice and serve. The result is a gorgeous dish that not only looks fantastic but tastes like a warm hug on a plate.
Troubleshooting Variations
In some instances, you may encounter issues like a soggy bottom crust. To combat this, feel free to pre-bake the bottom layer of the crust for about 5-7 minutes before adding your filling. This method will create a barrier that keeps the crust crisp.
If you prefer a more hearty version, consider adding ingredients such as potatoes or beans to bulk up the filling. A sprinkle of cheese on top before the final bake can also create a delightful, cheesy upper layer that your guests will love.
Serving and Storing Your Chicken Pot Pie
Serving and Presentation
Serving your Pillsbury Chicken Pot Pie is as delightful as making it. Once out of the oven, let it cool briefly. This cooling period prevents the delicious filling from spilling out when cutting into the pie. When serving, use a sharp knife to slice through the layers, revealing the colorful, creamy chicken and vegetable filling.
You can elevate the meal by adding a simple salad or garlic bread on the side to complement the comforting flavors of the pot pie. Fresh herbs, such as parsley, can make for an appealing garnish on top of each slice, adding both color and flavor.
Pairings and Storage
To keep the experience of your Pillsbury Chicken Pot Pie enjoyable, consider side dishes that align with its heartiness. A crisp green salad adds brightness, while quinoa or rice provides further bulk. Avoid heavy sauces or sides that might overshadow the pie’s flavors.
For storage, ensure that any leftovers cool entirely before transferring them to an airtight container. Store your Pillsbury Chicken Pot Pie in the refrigerator where it will last for 3-4 days. Reheating in the oven maintains the crust’s flakiness, bringing that comforting warmth back when it’s time to enjoy the leftovers.
A warm, home-cooked meal like Pillsbury Chicken Pot Pie embodies the essence of comfort food. Each bite delivers nostalgia and satisfaction, making it a timeless favorite among families and friends.
Print
Pillsbury Chicken Pot Pie
- Prep Time: 15 minutes
- Cook Time: 30 minutes
- Total Time: 45 minutes
- Yield: 4 servings
- Category: Main Course
- Method: Baking
- Cuisine: American
- Diet: Non-Vegetarian
Description
A warm and creamy chicken pot pie made with tender chicken, veggies, and a velvety filling wrapped in a flaky crust.
Ingredients
- 2 cans Pillsbury crescent rolls or pie crusts
- 2 cups cooked shredded chicken
- 1 cup frozen mixed vegetables
- 1 can cream of chicken soup
- 1/2 cup milk
- 1 tsp garlic powder
- 1 tsp onion powder
- Salt to taste
- Pepper to taste
Instructions
- Preheat your oven to 375°F (190°C).
- In a large bowl, mix together the cooked chicken, frozen mixed vegetables, cream of chicken soup, and milk until well combined.
- Add garlic powder, onion powder, salt, and pepper to the mixture and stir well.
- Roll out one layer of the crescent rolls or pie crusts in a baking dish.
- Pour the chicken mixture into the lined baking dish, spreading it evenly.
- Cover with another layer of dough, sealing the edges to keep the filling intact.
- Bake in the preheated oven for 25-30 minutes or until the crust is golden brown.
- Let cool briefly before serving.
Notes
To prevent a soggy bottom crust, consider pre-baking the bottom layer for 5-7 minutes before adding filling.
