📑 Table of Contents ▶
- Create Your Own Sensational Pink Velvet Cheesecake Bites
- Fundamentals
- Preparation/setup
- Directions
- Mastering the Pink Velvet Cheesecake Technique
- Technique
- Tips/tricks
- Perfecting Your Cheesecake Experience
- Perfecting results
- Troubleshooting/variations
- Serving and Storing Your Cheesecake Bites
- Serving/presentation
- Pairings/storage
No-Bake Pink Velvet Cheesecake Bites: Creamy Bliss Awaits!
Creating delightful desserts has always been a cherished experience in my family. The kitchen transformed into a happy place filled with laughter, flavor, and love whenever we prepared a special treat. I remember the excitement that swept over me whenever we made our family’s favorite desserts, especially creamy cheesecake. The anticipation was palpable as we mixed ingredients and watched magic unfold.
One particular favorite was a pink velvet cheesecake, which stood out for its vibrant color and smooth, creamy texture. The dessert felt more than just a treat; it symbolized family gatherings and celebrating special moments together. That nostalgic joy inspired my journey to create easy recipes, just like this one.
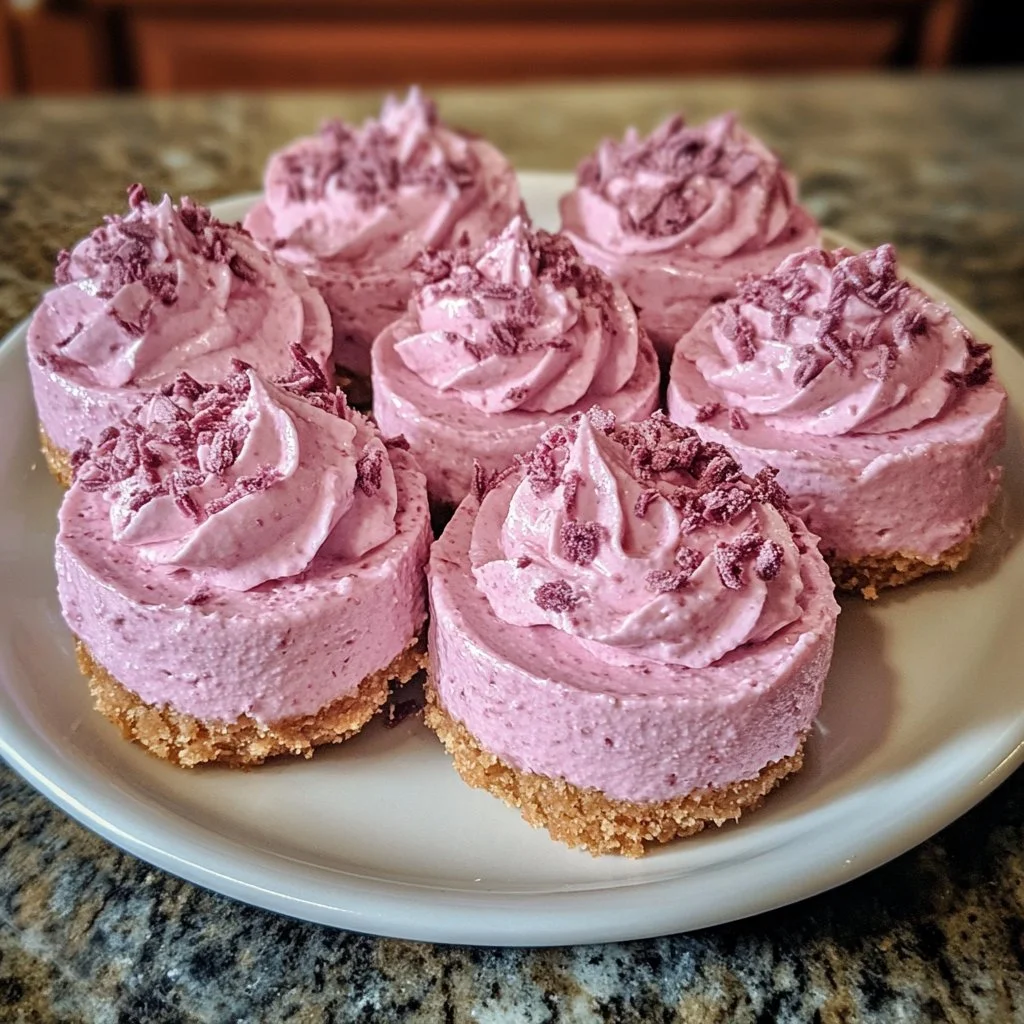
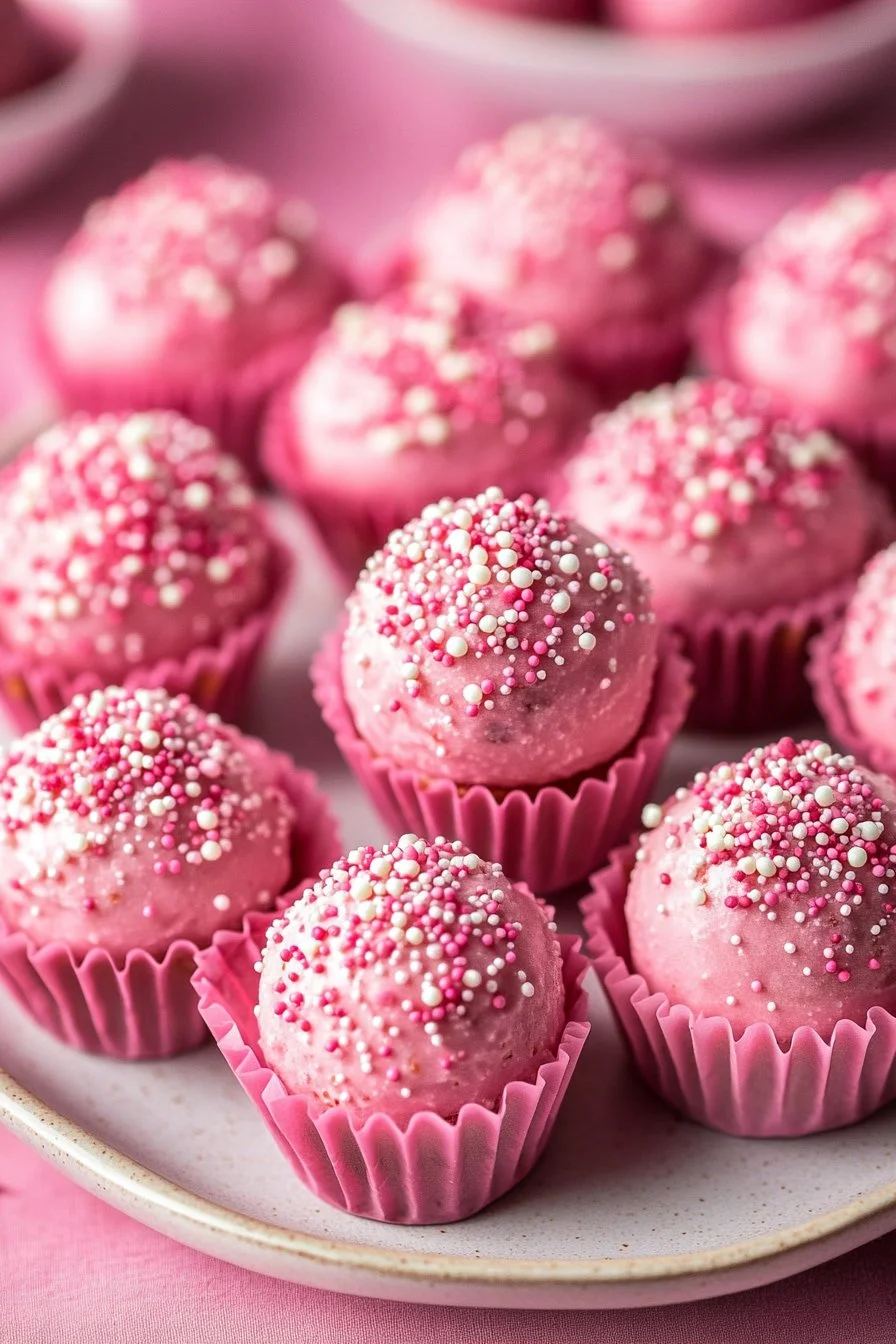
With the No-Bake Pink Velvet Cheesecake Bites, you can also experience that same joy. These little bites of happiness bring together creamy richness and a delightful pink hue, making them perfect for any occasion. You’ll find that whipping up these treats is straightforward, turning ordinary moments into sweet memories.
Create Your Own Sensational Pink Velvet Cheesecake Bites
Fundamentals
Crafting these No-Bake Pink Velvet Cheesecake Bites involves understanding the essential components. The cheesecake filling, with its rich cream cheese base, combines beautifully with the graham cracker crust. Knowing this foundational element will ensure your bites are both delectable and memorable. The vibrant pink color adds a whimsical touch that delights the eyes as much as the palate.
This no-bake strategy allows you to focus on flavor and ease rather than complicated baking techniques. Perfect for novice bakers, this dessert doesn’t require any fancy tools or skills. Just mix, press, and chill. The result is a creamy, dreamy delight that’s the essence of effortless indulgence.
Preparation/setup
Gathering your ingredients is a vital first step. You will need graham cracker crumbs, granulated sugar, unsalted butter, cream cheese, powdered sugar, heavy cream, vanilla extract, and pink food coloring. These components join forces to create a truly unique dessert experience.
Start by preparing your workspace. A clean, organized kitchen sets the stage for enjoyable cooking. Lay out your measuring cups, mixing bowls, and whisk. Having everything ready will make the process smooth and efficient.
Ingredients
-
Crust:
- 1 cup graham cracker crumbs
- 1/4 cup granulated sugar
- 1/2 cup unsalted butter, melted
-
Filling:
- 16 oz cream cheese, softened
- 1 cup powdered sugar
- 1/2 cup heavy cream
- 1 tsp vanilla extract
- 1 tbsp pink food coloring
-
Topping:
- 1/2 cup whipped cream
- Sprinkles (optional)
Directions
- In a medium bowl, combine graham cracker crumbs, granulated sugar, and melted butter. Mix until well combined.
- Press the mixture firmly into the bottom of a 9-inch square baking dish to form the crust.
- In a large mixing bowl, beat the softened cream cheese until smooth and creamy.
- Add powdered sugar, heavy cream, vanilla extract, and pink food coloring to the cream cheese. Beat until fully combined and fluffy.
- Spread the cheesecake filling evenly over the crust.
- Refrigerate for at least 4 hours or until set.
- Once set, top with whipped cream and sprinkle with optional sprinkles before cutting into bite-sized squares.
Mastering the Pink Velvet Cheesecake Technique
Technique
Creating the perfect no-bake cheesecake involves a few key techniques. Understanding how to achieve a smooth filling is vital. Start by ensuring your cream cheese is fully softened; this prevents lumps and ensures a creamy consistency. Be patient when mixing, as the fluffiness of the filling adds to its overall indulgence.
Pressing the crust into the pan is just as important. Make sure to apply even pressure to avoid a crumbly base. Solidifying the crust leads to a more enjoyable bite and prevents it from falling apart when serving.
Tips/tricks
To enhance your Pink Velvet Cheesecake Bites, here are a few pro tips:
- Use a springform pan if possible, as it allows for easier removal.
- For extra visual appeal, add a drizzle of caramel or chocolate sauce on top before serving.
- Consider varying the food coloring if you want different shades for various occasions.
Experimenting with flavors can also lead to delightful variations. Infusing different extracts or adding fruit purees can transform this dessert to fit any palate.
Perfecting Your Cheesecake Experience
Perfecting results
Achieving the ideal texture can sometimes be challenging. Allowing the cheesecake to chill for a full 4 hours, or even overnight, can significantly enhance its consistency. The longer it sets, the firmer it becomes. Experiment with chilling times based on your preference for firmness.
Additionally, when spreading the filling, use an offset spatula for a smooth, even layer. This attention to detail enhances the overall presentation, making your cheesecake bites look as good as they taste.
Troubleshooting/variations
If you find your cheesecake is not setting properly, ensure you have accurately measured the heavy cream and powdered sugar. An imbalance in these ingredients can affect the whipping and overall structure of the filling.
If you’re feeling adventurous, you can create variations of these cheesecake bites. Swap out the pink food coloring for green for a festive touch during holidays or parties. Alternatively, consider adding crushed candy or nuts to your filling for an added crunch.
Serving and Storing Your Cheesecake Bites
Serving/presentation
Presentation matters when serving impressive desserts. Place your cheesecake bites on a decorative platter and garnish with additional whipped cream and a sprinkle of colorful sprinkles. This makes serving an enchanting experience, capturing attention and inviting guests to enjoy.
Cutting the cheesecake into uniform squares increases the aesthetic appeal, ensuring each serving is visually satisfying. Pair these delicious bites with fresh fruit or a cup of coffee for an inviting treat.
Pairings/storage
While these cheesecake bites shine on their own, they pair beautifully with a variety of flavors. Serve alongside fresh berries, citrus slices, or even chocolate shavings to create a delightful dessert experience.
Store any leftovers in an airtight container in the refrigerator to maintain freshness. These bites can last up to five days, but they are unlikely to last that long with how delicious they are!
No-Bake Pink Velvet Cheesecake Bites bring joy and indulgence to any occasion. With their creamy texture, delightful color, and simple preparation, they are sure to become a favorite dessert in your home. Experience the bliss of these bites and create your own sweet memories in the kitchen.
Print
No-Bake Pink Velvet Cheesecake Bites
- Prep Time: 15 minutes
- Cook Time: 0 minutes
- Total Time: 240 minutes
- Yield: 16 bites
- Category: Dessert
- Method: No-Bake
- Cuisine: American
- Diet: Vegetarian
Description
Delightful no-bake cheesecake bites with a creamy texture and vibrant pink hue, perfect for any occasion.
Ingredients
- 1 cup graham cracker crumbs
- 1/4 cup granulated sugar
- 1/2 cup unsalted butter, melted
- 16 oz cream cheese, softened
- 1 cup powdered sugar
- 1/2 cup heavy cream
- 1 tsp vanilla extract
- 1 tbsp pink food coloring
- 1/2 cup whipped cream
- Sprinkles (optional)
Instructions
- In a medium bowl, combine graham cracker crumbs, granulated sugar, and melted butter. Mix until well combined.
- Press the mixture firmly into the bottom of a 9-inch square baking dish to form the crust.
- In a large mixing bowl, beat the softened cream cheese until smooth and creamy.
- Add powdered sugar, heavy cream, vanilla extract, and pink food coloring to the cream cheese. Beat until fully combined and fluffy.
- Spread the cheesecake filling evenly over the crust.
- Refrigerate for at least 4 hours or until set.
- Once set, top with whipped cream and sprinkle with optional sprinkles before cutting into bite-sized squares.
Notes
Use a springform pan for easier removal. Consider varying the food coloring for different occasions.
