
📑 Table of Contents ▶
- The Magic of No-Bake Greek Yogurt Jello Cheesecake
- Fundamentals
- Preparation/Setup
- Directions
- Elevating Your No-Bake Greek Yogurt Jello Cheesecake
- Technique
- Tips/Tricks
- Perfecting Your No-Bake Cheesecake
- Perfecting Results
- Troubleshooting/Variations
- Serving Your No-Bake Greek Yogurt Jello Cheesecake
- Serving/Presentation
- Pairings/Storage
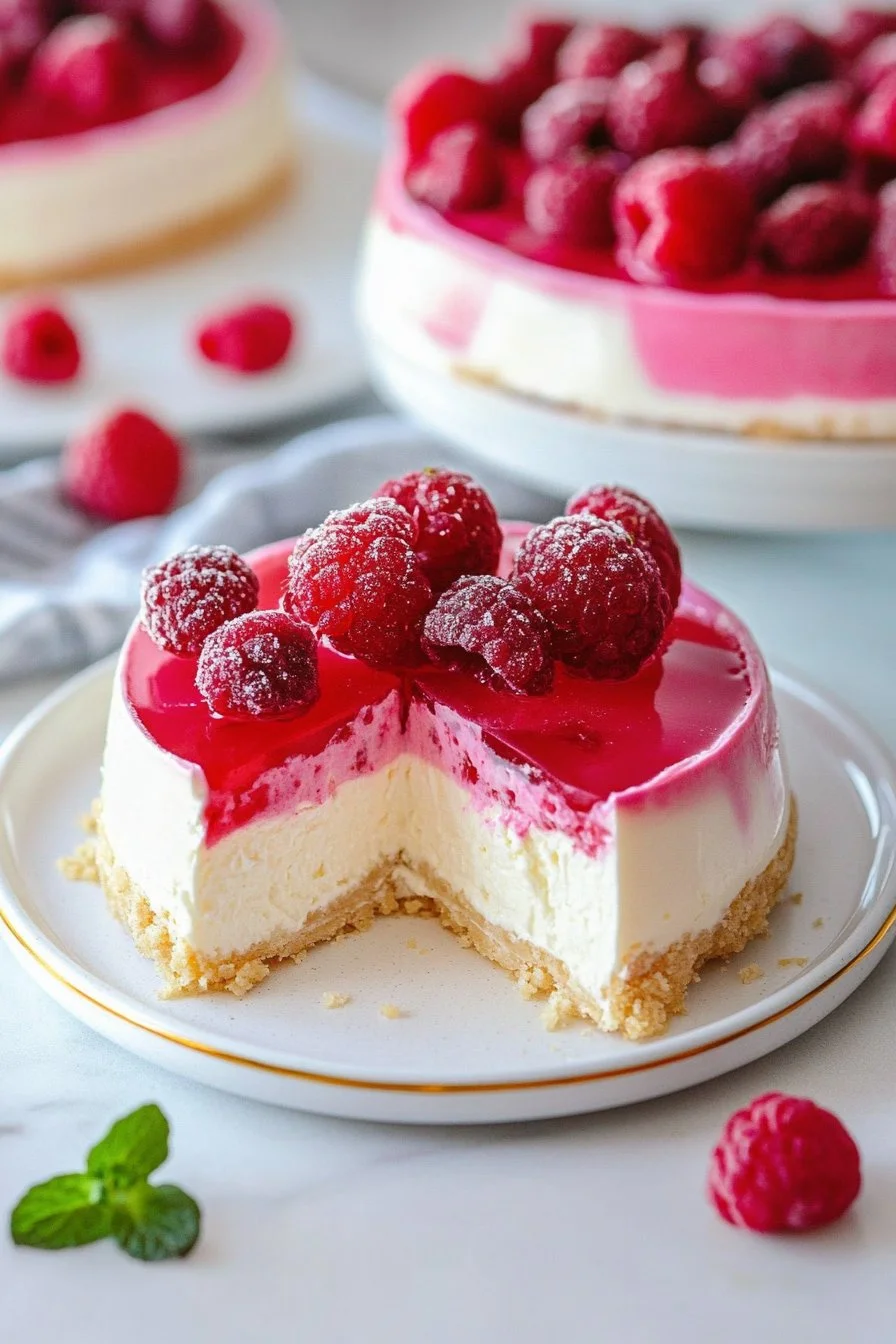
No-Bake Greek Yogurt Jello Cheesecake
Crafting the perfect dessert holds a special magic. The moment when sweet and tangy notes harmonize creates a joyful experience that lingers in the heart. Memories of sharing treats with family come to mind, as laughter fills the room and everyone savors each bite. This no-bake Greek yogurt jello cheesecake embodies that delightful spirit. It combines creaminess with refreshing fruit flavors, making it an ideal addition to any gathering.
This dessert shines during warmer months when heavy baking feels daunting. The simplicity of this no-bake cheesecake brings joy with minimal effort. It offers a lightness that pairs well with festive outings, barbecues, or casual dinners. Each slice reveals layers of delightful flavor and creamy texture, inviting everyone to take a bite and smile.
The secret lies in combining Greek yogurt with jello, resulting in a luscious texture that feels indulgent yet light. This cheesecake emphasizes fresh ingredients, ensuring your effort transforms into a beautiful and delicious masterpiece. Let’s dive into the delightful world of no-bake Greek yogurt jello cheesecake.
The Magic of No-Bake Greek Yogurt Jello Cheesecake
Fundamentals
No-bake desserts simplify the cooking process, allowing flavors to shine without the heat of an oven. The no-bake Greek yogurt jello cheesecake uses three main components: the crust, the filling, and the jello layer. This structure supports different flavors while providing a delightful texture.
Greek yogurt lends this cheesecake its signature creaminess while keeping it on the lighter side than traditional cheesecakes. The jello addition brings a burst of flavor and adds an appealing visual aspect. The crust, usually made from crushed cookies or graham crackers, contributes a satisfying crunch that balances the softness of the filling.
Preparation/Setup
Preparing this no-bake cheesecake takes minimal effort when you follow a simple plan. Start by gathering all your ingredients, ensuring you have everything ready for a smooth workflow. Measure the Greek yogurt, jello mix, and other components to avoid any interruptions.
Choose a suitable pan before starting. A springform pan heightens the presentation while allowing for easy removal. Prepare the crust by crushing the cookies into fine crumbs and combining them with melted butter. Press this mixture firmly into the bottom of the pan to create a sturdy base.
Ingredients
- 1 ½ cups crushed graham crackers
- ½ cup unsalted butter, melted
- 2 cups Greek yogurt
- ¾ cup sugar
- 1 package (3 oz) gelatin or jello mix (any flavor)
- 1 ½ cups boiling water
- 1 teaspoon vanilla extract
- Fresh fruit for topping (optional)
Directions
- Mix graham cracker crumbs and melted butter in a bowl. Press the mixture into the bottom of a springform pan to form an even crust.
- In a separate bowl, combine boiling water with the jello mix. Stir thoroughly until dissolved.
- In another bowl, blend Greek yogurt, sugar, and vanilla extract until smooth.
- Slowly add the jello mixture to the yogurt, mixing until well combined. Pour this filling over the crust, smoothing the top with a spatula.
- Refrigerate for at least four hours or until set. For best results, leave it overnight.
- Decorate with fresh fruit before serving if desired.
Elevating Your No-Bake Greek Yogurt Jello Cheesecake
Technique
Layering flavors enhances the experience of your no-bake Greek yogurt jello cheesecake. Instead of a single layer, consider creating colorful layers of jello and filling for a visual treat. Alternate between different jello flavors to add variety and visual appeal.
Utilizing a gelatin brand with a robust flavor enhances the jello layer, making it a standout part of the dessert. Consider fruit-forward jello flavors like strawberry, raspberry, or lemon to give the dish a summer vibe. Each jello layer contributes unique taste sensations, inviting guests to relish each slice.
Tips/Tricks
A few tricks can heighten your no-bake cheesecake experience. Start with room temperature ingredients, as this helps achieve a smooth filling. If the yogurt feels too thick, whisk in a little milk for a lighter consistency.
Let creativity shine by adding zest or extracts that complement the jello flavor. Lemon zest, for example, brightens the overall taste and enhances freshness. Experiment with various fruits to find combinations that please your palate.
Perfecting Your No-Bake Cheesecake
Perfecting Results
The beauty of the no-bake Greek yogurt jello cheesecake lies in its versatility. Adjust the flavor profiles according to season and preference—try tropical flavors with coconut jello and fresh mango or a berry spectacle with mixed berry jello for a whipped topping.
To ensure a perfect set, avoid over-mixing the jello and yogurt mixture. Gentle folding maintains a light and airy texture. For added richness, you can incorporate a layer of a light cream or whipped topping on the cheesecake either as a layer or as a garnish on top.
Troubleshooting/Variations
Even simple recipes sometimes face challenges. If the filling doesn’t set, ensure that you thoroughly dissolve the gelatin in boiling water and allow it to cool slightly before combining with the yogurt.
For a different take on dessert, consider turning this into individual servings in cups instead of a large cake. Layer crackers, yogurt, and jello in parfait cups for a fun presentation at parties or casual get-togethers.
Serving Your No-Bake Greek Yogurt Jello Cheesecake
Serving/Presentation
Presentation makes a significant impact on any dessert. Once your cheesecake sets, remove it from the springform pan and place it on a decorative serving platter. Consider garnishing with whipped cream, cookie crumbs, or fresh fruit for visual appeal.
Serving slices alongside a dollop of additional yogurt or a sprinkle of nuts enhances the flavor experience and adds texture contrast. Each element contributes to an inviting dessert that will have your guests clamoring for more.
Pairings/Storage
Pair this no-bake Greek yogurt jello cheesecake with a refreshing fruit salad or a crisp green salad for a delightful meal. Serve alongside coffee or herbal tea to round out the experience.
Storage becomes easy with this cheesecake. Refrigerate leftovers in an airtight container for up to three days, ensuring the flavors remain fresh. Enjoy the creamy, fruity goodness for days to come!
Crafting a no-bake Greek yogurt jello cheesecake proves to be an empowering and joyful experience. With each step, from preparation to serving, you’ll cherish the smiles it brings to the table.
Print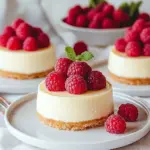
No-Bake Greek Yogurt Jello Cheesecake
- Prep Time: 15 minutes
- Cook Time: 0 minutes
- Total Time: 240 minutes
- Yield: 8 servings
- Category: Dessert
- Method: Refrigerating
- Cuisine: Greek
- Diet: Vegetarian
Description
A light and refreshing cheesecake made with Greek yogurt and layered with jello, perfect for warm gatherings.
Ingredients
- 1 ½ cups crushed graham crackers
- ½ cup unsalted butter, melted
- 2 cups Greek yogurt
- ¾ cup sugar
- 1 package (3 oz) gelatin or jello mix (any flavor)
- 1 ½ cups boiling water
- 1 teaspoon vanilla extract
- Fresh fruit for topping (optional)
Instructions
- Mix graham cracker crumbs and melted butter in a bowl. Press the mixture into the bottom of a springform pan to form an even crust.
- In a separate bowl, combine boiling water with the jello mix. Stir thoroughly until dissolved.
- In another bowl, blend Greek yogurt, sugar, and vanilla extract until smooth.
- Slowly add the jello mixture to the yogurt, mixing until well combined. Pour this filling over the crust, smoothing the top with a spatula.
- Refrigerate for at least four hours or until set. For best results, leave it overnight.
- Decorate with fresh fruit before serving if desired.
Notes
Start with room temperature ingredients for a smoother filling. Consider layering different jello flavors for visual appeal.
