📑 Table of Contents ▶
- The Essentials of Melt-in-Your-Mouth Sugar Cookies
- Fundamentals
- Preparation/Setup
- Directions
- Elevating Your Sugar Cookie Technique
- Technique
- Tips and Tricks
- Perfecting Your Melt-in-Your-Mouth Cookies
- Perfecting Results
- Troubleshooting and Variations
- Serving and Storing Your Cookies
- Serving and Presentation
- Pairings and Storage
Melt-in-Your-Mouth Sugar Cookies
Creating melt-in-your-mouth sugar cookies transports me back to my childhood. I recall the joyous days spent in my grandmother’s kitchen, where the aroma of freshly baked cookies wafted through the house. These sugar cookies were a staple during family gatherings, and they always brought smiles to our faces. Measuring the ingredients, mixing the dough, and rolling it into perfectly shaped balls felt like a cherished ritual.
These melt-in-your-mouth sugar cookies capture the essence of those memories. Each bite melts away, bringing back the idyllic warmth of family moments. The experience is not just about the ingredients; it’s about love, connection, and tradition. As I bake these cookies today, I continue to pass on those delightful experiences to my loved ones, sharing laughter and creating new memories.
With the right balance of sweetness and texture, these cookies become the highlight of any dessert table. In just a few simple steps, anyone can recreate this classic recipe. Each component plays a vital role, merging to create something truly special that brings everyone together. Baking these sugar cookies means more than just a treat; it symbolizes tradition, comfort, and shared joy.
The Essentials of Melt-in-Your-Mouth Sugar Cookies
Fundamentals
To successfully create melt-in-your-mouth sugar cookies, understanding the essential components is crucial. The foundation starts with high-quality ingredients. The star ingredient, all-purpose flour, provides the structure that holds everything together. Additionally, baking soda and baking powder work in tandem to provide the ideal rise and texture.
Butter, of course, is vital for enriching flavor and ensuring that signature melt-in-your-mouth quality. The combination of vanilla and almond extracts adds depth, creating a delightful aroma and taste that elevates these cookies.
Preparation/Setup
Setting up your kitchen correctly is the first step towards baking success. Preheat your oven to 375°F (190°C). This preparation ensures that the sugar cookies bake evenly and achieve that perfect golden color.
Next, gather your ingredients and measuring tools. Measure 2 3/4 cups of all-purpose flour, 1 teaspoon of baking soda, and 1/2 teaspoon of baking powder. In a separate bowl, gather 1 cup of softened unsalted butter, 1 1/2 cups of white sugar, 1 egg, 1 teaspoon of vanilla extract, and 1/2 teaspoon of almond extract. Don’t forget 1 teaspoon of salt, and keep 3/4 cup of sugar handy for decoration.
Ingredients
For this simple yet delightful recipe, you’ll need the following ingredients:
- 2 3/4 cups all-purpose flour: This serves as the base which is essential for texture.
- 1 teaspoon baking soda: Provides lift and helps the cookies rise.
- 1/2 teaspoon baking powder: Works in conjunction with baking soda to enhance texture.
- 1 cup unsalted butter, softened: Ensures richness and contributes to the melt-in-your-mouth quality.
- 1 1/2 cups white sugar: Adds sweetness and helps achieve a golden brown color.
- 1 egg: Binds the ingredients and contributes to the structure.
- 1 teaspoon vanilla extract: Offers a warm and inviting flavor profile.
- 1/2 teaspoon almond extract: Infuses unique flavor notes that complement the cookies.
- 1 teaspoon salt: Balances the sweetness and enhances flavor.
- 3/4 cup sugar for decoration: Coats the cookie balls to create a sweet crust.
Directions
Now that you have your setup and ingredients ready, let’s dive into the steps. Start by preheating your oven to 375°F (190°C).
- In a small bowl, stir together 2 3/4 cups of all-purpose flour, 1 teaspoon of baking soda, and 1/2 teaspoon of baking powder. Set this mixture aside as it forms the base of your dough.
- In a large bowl, cream together 1 cup of softened unsalted butter and 1 1/2 cups of white sugar until smooth and fluffy. The texture should be light, indicating it’s ready.
- Beat in 1 egg, and follow with 1 teaspoon of vanilla extract and 1/2 teaspoon of almond extract. Mixing these ingredients well is essential for flavor distribution.
- Gradually blend in your dry ingredients until a soft dough forms. It’s important not to overmix; just blend until everything is combined.
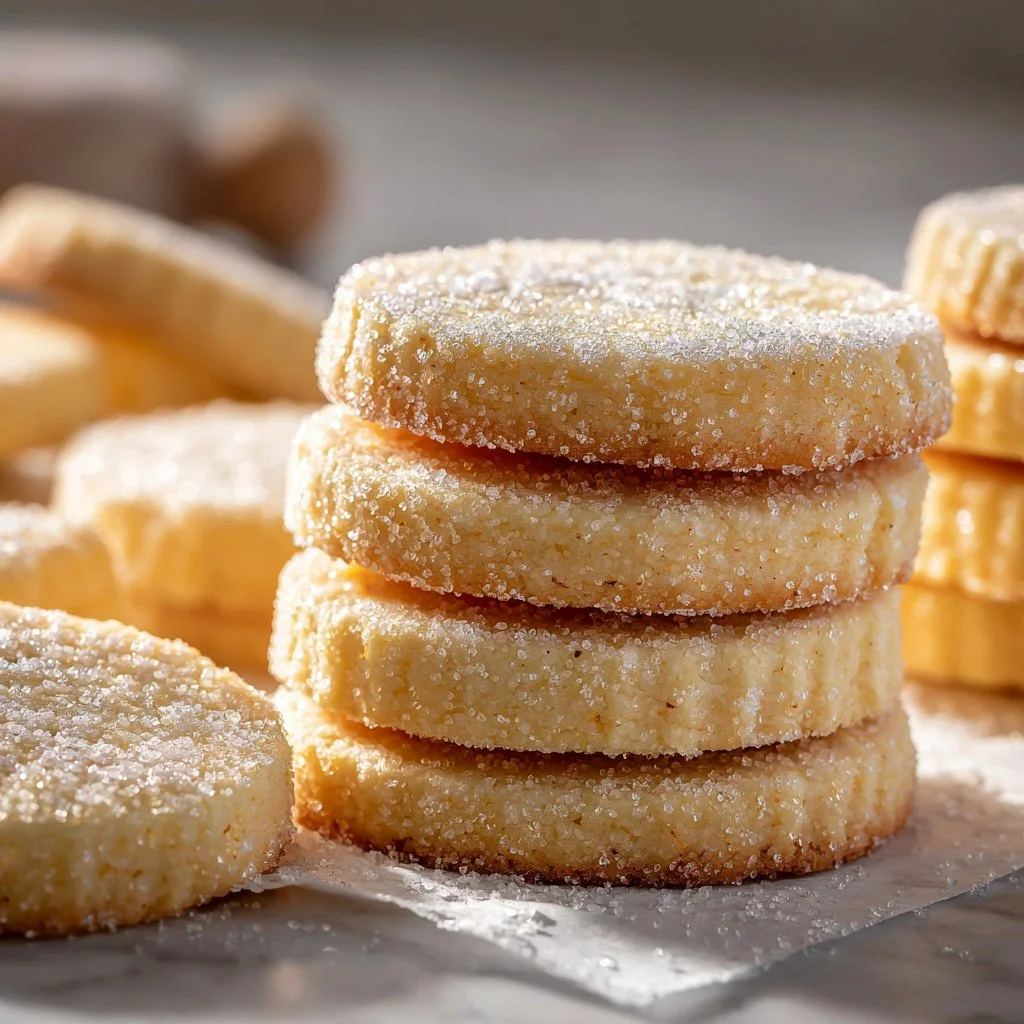
- Roll rounded teaspoonfuls of the dough into balls and then roll each ball in sugar. Place them onto ungreased cookie sheets about 2 inches apart, as they will spread while baking.
- Flatten each ball slightly using the bottom of a glass, and sprinkle with a little more sugar on top for extra sweetness and crunch.
- Bake in your preheated oven for about 8 to 10 minutes or until the cookies turn golden. Once done, cool them on wire racks to maintain their shape and texture.
Elevating Your Sugar Cookie Technique
Technique
Mastering the technique is key to achieving perfect melt-in-your-mouth sugar cookies. The method of creaming butter and sugar influences the final texture. Ensure your unsalted butter is softened but not melted, allowing for proper aeration when creamed with sugar.
Experimenting with the mixing time also yields different cookie textures. Creaming until fluffy is ideal, but avoid overmixing the dough after adding dry ingredients to prevent tough cookies.
Tips and Tricks
A few tips can enhance your baking experience further. First, chilling the dough for 30 minutes can improve the flavor and texture. The resting time allows the flour to fully hydrate and the flavors to deepen.
Using a cookie scoop ensures uniform cookie sizes, resulting in even baking. When flattening the balls, consider using a glass with a fun design on the bottom to create an attractive pattern while also preparing them for optimal baking.
Perfecting Your Melt-in-Your-Mouth Cookies
Perfecting Results
To perfect your cookies, focusing on oven calibration is essential. Ovens can vary, so consider using an oven thermometer to ensure accuracy. This simple step can take your cookies from unevenly baked to consistently delightful.
The baking time also matters. Keep an eye on the cookies, as they can go from golden to burnt quickly. Following the suggested time will help make sure they don’t overbake, preserving that melt-in-your-mouth experience.
Troubleshooting and Variations
Should any issues arise, consider adjusting the baking temperature or time. If cookies spread too much, chilling the dough before baking can help. On the other hand, if they remain too thick, slightly flattening the dough balls before baking can yield better results.
Play with the recipe too! Incorporate sprinkles for a festive look or substitute half the flour with whole wheat flour for a heartier texture.
Serving and Storing Your Cookies
Serving and Presentation
Melt-in-your-mouth sugar cookies shine best when served fresh. Arrange them on a decorative plate for an inviting presentation. Consider pairing with a simple glass of milk or a cup of tea, enhancing the overall experience.
For special occasions, place cookies in clear bags tied with ribbons for a delightful gift. Their classic look makes them suitable for parties, holidays, or just a cozy family night.
Pairings and Storage
While sugar cookies require no intricate pairings, they are perfect as standalone treats. However, they do pair beautifully with a variety of flavors—think chocolate or fruity desserts served alongside for a well-rounded dessert table.
When it comes to storage, keep cookies in an airtight container at room temperature. They can last for about a week, maintaining their delightful texture. For longer storage, consider freezing them for up to three months. Just be sure to wrap them tightly to avoid freezer burn.
Creating melt-in-your-mouth sugar cookies is a rewarding experience. The journey from raw ingredients to delightful treats is both fulfilling and nostalgic. Every bite speaks volumes of love and tradition, offering memories that linger long after the last cookie devours.
