➤ Table of Contents
Growing up, I spent countless hours in my family’s kitchen, watching in awe as my grandmother effortlessly transformed simple ingredients into mouthwatering dishes. Her ability to create magic with food inspired me to explore the art of cooking. It was in this bustling kitchen that I first encountered the delightful, easy California roll sushi, a fusion of flavors that has since become a beloved classic in my culinary repertoire.
My grandmother’s love for fresh and uncomplicated recipes laid the foundation for my own cooking philosophy. She believed that food should be accessible, enjoyable, and, most importantly, shareable. The easy California roll sushi perfectly embodies these principles, offering a taste of Japan that is both simple to make and delightful to share.
The first time I attempted to make easy California roll sushi, I was apprehensive. It seemed intricate, yet I quickly discovered that with the right ingredients and a bit of patience, the process was not only manageable but also incredibly rewarding. Creating these rolls became a joyful ritual, one that I now share with friends and family, turning ordinary gatherings into memorable feasts.
In this guide, I’ll walk you through the steps of making your own easy California roll sushi, sharing tips and tricks to ensure every roll is a success. Whether you’re a sushi aficionado or a curious beginner, this recipe is sure to bring a smile to your face and a burst of flavor to your table.
Print
Easy California Roll Sushi
- Prep Time: 30 minutes
- Cook Time: 15 minutes
- Total Time: 45 minutes
- Yield: 4 servings
- Category: Main Course
- Method: Rolling
- Cuisine: Japanese
Description
Learn how to make delicious California roll sushi at home with our easy step-by-step recipe. Impress your friends and family with your sushi-making skills!
Ingredients
- 2 cups (475 ml) Japanese short or medium grain rice
- 2 1/2 cups (590 ml) cold water
- 5 Tbsp (75 ml) Sushi Vinegar
- 4 Tbsp (60 ml) Rice vinegar
- 2 Tbsp (30 ml) sugar
- 2 tsp (10 ml) salt, I used sea salt
- 1/2 lb (225 g) Beef imitation crab meat, p.s. the “log” shaped crab meat is the easiest to work with
- 1 Avocado, ripe but still firm
- 1/2 medium cucumber, peeled and sliced into long julienne strips
- Toasted Nori Seaweed
- Toasted sesame seeds
- A sushi rolling mat, $2 at Cost Plus World Market If you don’t have a sushi mat, try using parchment paper instead.
- Soy sauce, regular or low sodium
- Wasabi paste or wasabi powder
- For spicy mayo: Mayonnaise, ~1 Tbsp (15 ml) and Sriracha hot chili sauce (~1 tsp (5 ml)) or to taste
Instructions
- Rinse the rice under cold water until the water is clear, then drain thoroughly. If using a rice cooker, follow its instructions for white rice and skip directly to step #4.
- Place the drained rice in a sturdy saucepan and pour in 2 cups of cold water. Cover the pan securely, set it over high heat, and bring to a boil. Once boiling, lower the heat to medium and continue cooking with the lid on until the water is fully absorbed (about 7-8 minutes). Avoid lifting the lid, but listen for the bubbling to stop.
- When you hear a soft hissing, reduce the heat to very low and let it cook for an additional 6 minutes. Remove from heat and allow it to sit with the lid on for 15 minutes.
- Transfer the hot rice to a large bowl, breaking it apart to eliminate clumps.
- Allow the rice to cool down until it is just warm, then mix in your cooled sushi vinegar.
- Cover your sushi mat with plastic wrap prior to use to make it reusable without the need for washing.
- Fold the nori sheets in half to separate them.
- Toast the sesame seeds over medium heat, stirring continuously until they turn golden. Slice the vegetables into strips.
- Take a generous portion of sushi rice and spread it over the half-sheet of nori, using wet fingertips to distribute it evenly across the nori.
- Turn the nori with rice over so that the rice faces down. Align the fillings across the center of the rice on the sheet (avoid overfilling to ensure proper sealing).
- Begin rolling it away from you, using the mat to hold the roll tightly. Apply pressure to form a compact roll. If it’s too loose, it will be hard to slice. Once rolled, sprinkle with toasted sesame seeds while still on the mat for easy handling.
- Moisten a sharp knife with a damp paper towel before cutting to reduce sticking. Cut the roll in half, align the halves, and slice into even 1-inch pieces. A quick slicing motion can make this easier.
Notes
- For a vegetarian option, use tofu or marinated mushrooms instead of beef imitation crab meat.
- Add tempura flakes or crispy fried onions for a crunchy texture in the sushi roll.
- Try fillings like pickled radish, marinated eggplant, or roasted bell peppers for variety. Serve with pickled ginger and extra wasabi for an authentic sushi experience.
Mastering Easy California Roll Sushi
Fundamentals
To create the perfect easy California roll sushi, you must start with the right ingredients. Japanese short or medium grain rice is essential for achieving the perfect texture. This type of rice becomes sticky when cooked, making it ideal for sushi. Rinse the rice under cold water until the water runs clear to remove excess starch.
Once rinsed, it’s important to cook the rice properly. Use a sturdy saucepan and follow the specific water-to-rice ratio to ensure the grains are perfectly cooked. The sushi vinegar mixture, a combination of sushi vinegar, rice vinegar, sugar, and salt, infuses the rice with the classic tangy-sweet flavor that defines good sushi rice.
Preparation/setup
Before you begin assembling your easy California roll sushi, gather all your ingredients and tools. A sushi rolling mat, available at most kitchen supply stores, is invaluable. If you don’t have one, parchment paper can serve as a substitute. Cover your mat with plastic wrap to prevent sticking and make cleanup easier.
Prepare your fillings: slice the avocado and cucumber into thin, long strips and have your imitation crab meat ready. Toasted nori seaweed acts as the base for your sushi rolls, while toasted sesame seeds add a delightful crunch and nutty flavor.
Crafting the Perfect Roll
Technique
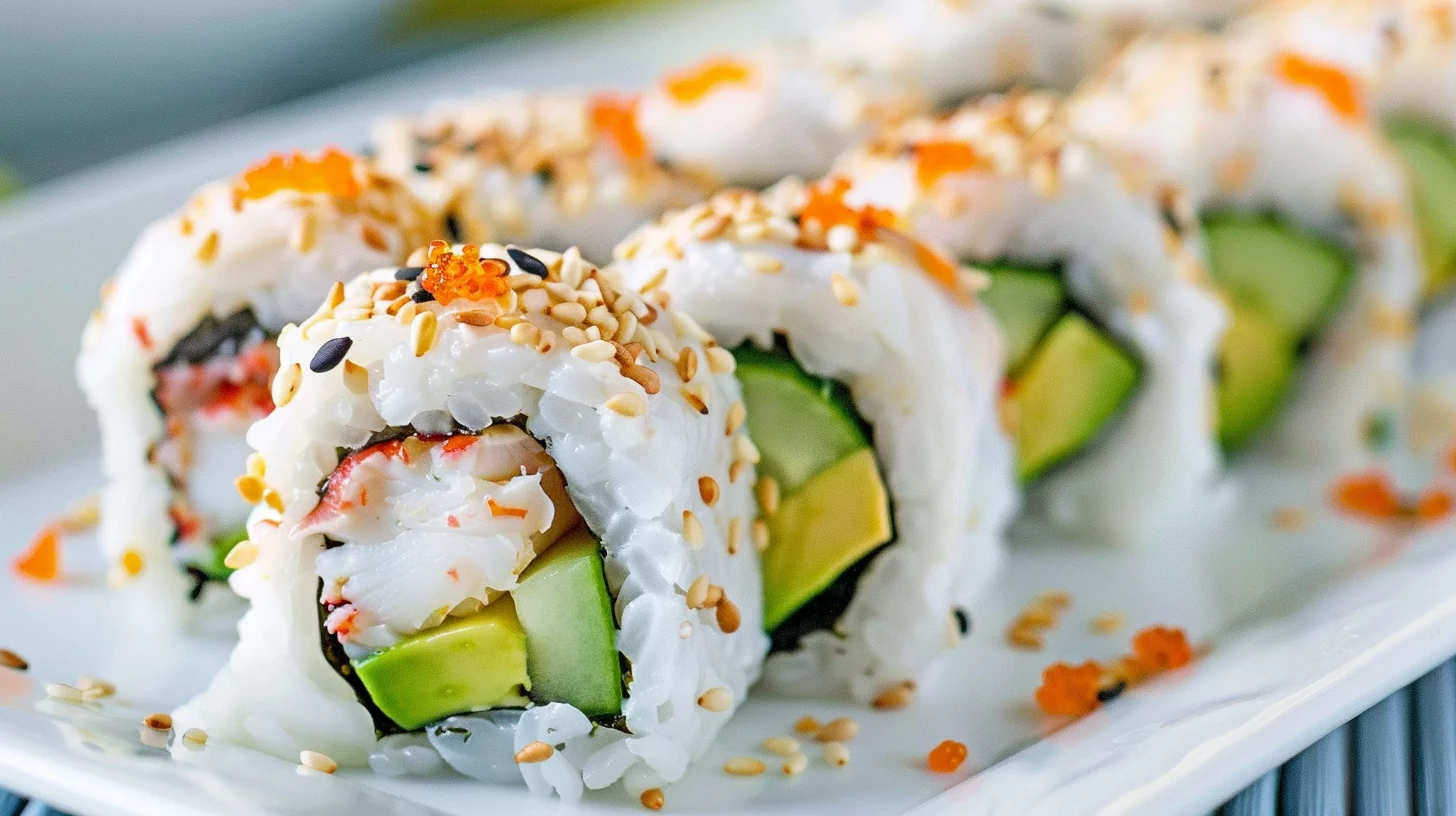
To make the easy California roll sushi, lay a half-sheet of nori on your prepared sushi mat, shiny side down. Wet your fingers to prevent the rice from sticking and spread a generous portion of sushi rice over the nori, leaving a small border at the top. Flip the nori over so the rice is on the outside.
Line up your fillings: place the crab meat, avocado, and cucumber along the center of the nori. The key to a successful roll is not to overstuff it, which can lead to messy rolls that are difficult to slice. Carefully roll the sushi away from you, using the mat to apply even pressure and create a tight roll.
Easy California Roll Sushi
Tips/tricks
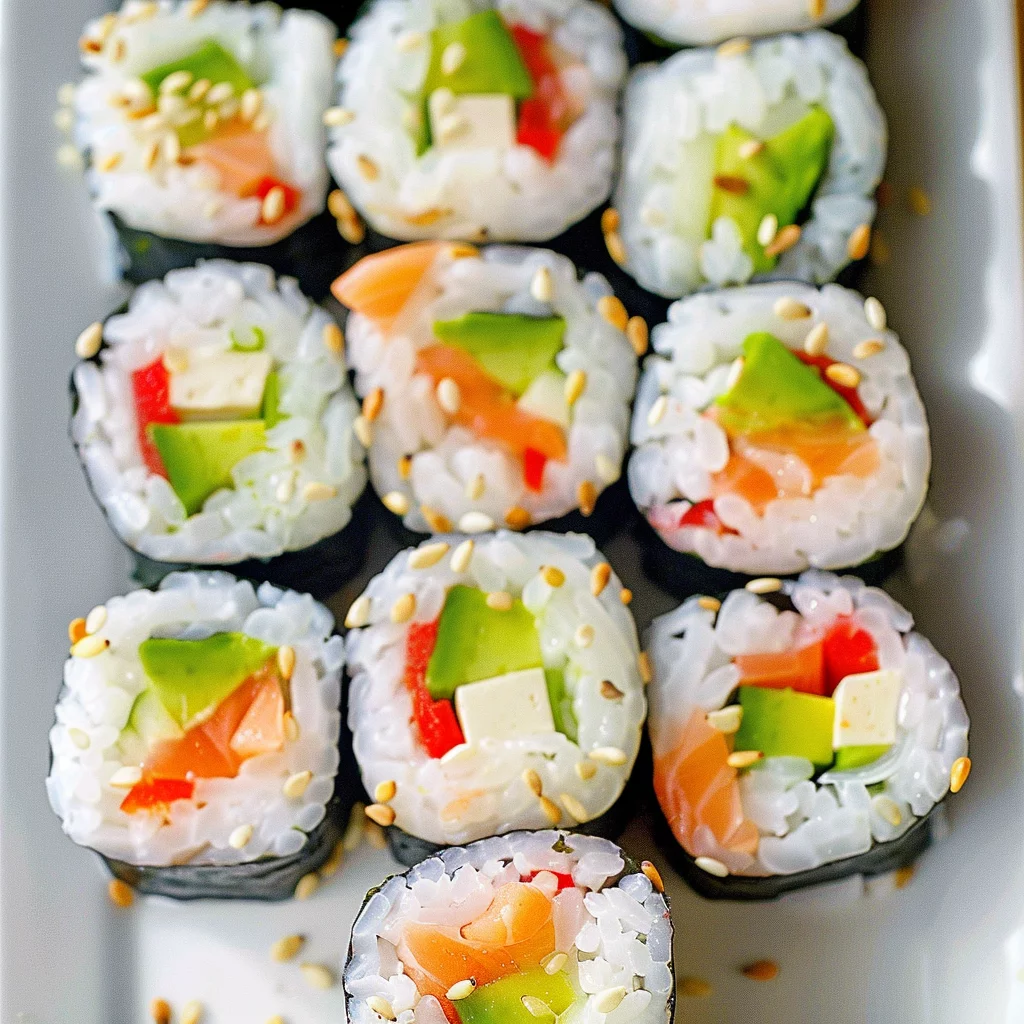
To achieve uniform slices, moisten a sharp knife with a damp paper towel before cutting the roll. Begin by slicing the roll in half, then align the halves and cut into even pieces. This method ensures clean cuts and showcases the beautiful cross-section of your easy California roll sushi.
Enhance your sushi experience with a simple spicy mayo sauce. Combine mayonnaise and Sriracha hot chili sauce to taste, and serve it alongside your sushi as a flavorful dip. This adds a spicy kick that perfectly complements the creamy avocado and savory crab.
Perfecting Your Craft
Perfecting results
A crucial element of perfecting easy California roll sushi is mastering the rice seasoning. Allow the cooked rice to cool slightly before mixing it with the sushi vinegar. This ensures the grains absorb the flavors without becoming mushy. Be gentle when combining to maintain the rice’s delicate texture.
Toasting the sesame seeds brings out their natural oils, enhancing their flavor. Stir them continuously over medium heat until they turn golden brown. Sprinkling them on your sushi rolls adds a delightful texture and visual appeal.
Troubleshooting/variations
If your rolls are too loose, try applying more pressure as you roll or reducing the amount of filling. Conversely, if the rolls are too tight, it may indicate overstuffing or rolling the sushi too firmly. Adjustments like these come with practice and will improve your technique over time.
For those interested in variations, consider adding a touch of wasabi to the filling for extra heat. You could also experiment with different fillings, like thinly sliced mango for a hint of sweetness or swap out the crab for grilled chicken for a unique twist. For more recipe inspiration, check out these Easy Cheesy Ground Beef Enchiladas or Quick and Easy Homemade Butter Chicken.
Serving and Beyond
Serving/presentation
Presentation plays a significant role in the enjoyment of easy California roll sushi. Arrange the slices on a platter, garnished with a sprinkle of toasted sesame seeds and a side of soy sauce for dipping. For a touch of heat, serve with a dab of wasabi paste.
Offering your guests a combination of sliced rolls and whole rolls allows them to appreciate the artistry involved. Pair your sushi with a fresh salad or a light miso soup to balance the flavors and create a well-rounded meal.
Pairings/storage
While traditional pairings often include beverages, you might consider serving your easy California roll sushi with a refreshing glass of iced green tea or a sparkling water infused with lemon. These options cleanse the palate without overpowering the delicate sushi flavors.

Easy California Roll Sushi
For storage, wrap any leftover sushi rolls in plastic wrap and store them in the refrigerator. Enjoy them within a day or two for the best taste and texture. If you’re interested in more easy and convenient recipes, try these Easy Crack Burgers or explore this Easy Invisible Apple Cake.
Conclusion
Creating easy California roll sushi at home is a delightful culinary adventure that combines technique, creativity, and flavor. By mastering the fundamentals of sushi rice and embracing the rolling process, you can craft sushi rolls that are both beautiful and delicious.
The versatility of easy California roll sushi allows for endless variations, making it a perfect dish for experimentation. Whether you stick to the classic recipe or introduce new ingredients, the joy of crafting your sushi is in the journey as much as the destination.
With each roll, you’ll gain confidence and precision, transforming your kitchen into a sushi haven. For more culinary inspiration, explore delightful options like these Easy Thai Baked Chicken Meatballs and delightful homemade bread recipes such as Momma’s Easy No Yeast Dinner Rolls.
