📑 Table of Contents ▶
- Chocolate Cream Pie
- Mastering the Chocolate Cream Pie
- Fundamentals
- Preparation/Setup
- Crafting the Perfect Pie Filling
- Technique
- Tips/Tricks
- Perfecting Your Chocolate Cream Pie
- Perfecting Results
- Troubleshooting/Variations
- Serving and Storing Your Pie
- Serving/Presentation
- Pairings/Storage
- Conclusion
- FAQs – Chocolate Cream Pie
I’m Laloti Karla, and my journey with chocolate cream pie began in my grandmother’s cozy kitchen. The aroma of homemade desserts filled the air, and her chocolate cream pie was the centerpiece of our family gatherings. It was more than just a treat; it was a symbol of love and togetherness.
Whenever she made chocolate cream pie, I eagerly watched, absorbing every detail. The way she skillfully combined simple ingredients to create something so delightful was truly inspiring. Each slice of her pie was rich, velvety, and had just the right amount of sweetness, leaving us all wanting more.
Her recipe was cherished, a family heirloom passed down through generations. Today, I’m excited to share my version of chocolate cream pie on Yumoti, hoping to bring a taste of those fond memories to your table. Let’s dive into the art of crafting this classic dessert, ensuring each bite is as memorable as the ones from my childhood.

Chocolate Cream Pie
- Prep Time: 20 minutes
- Cook Time: 10 minutes
- Total Time: 150 minutes
- Yield: 1 pie
- Category: Dessert
- Method: Baking
- Cuisine: American
Description
Indulge in our decadent Chocolate Cream Pie recipe that reveals the secrets to creating a lusciously creamy filling and flaky crust. Perfect for any dessert lover!
Ingredients
- 1 1/2 cups (300g) cane sugar
- 3 egg yolks, beaten
- 1/2 cup (120ml) vegetable oil
- 3 tablespoons (45 ml) cornstarch
- 1/2 teaspoon (3 ml) salt
- 3 cups (720ml) milk
- 1 tablespoon (15 ml) butter
- 1 1/2 teaspoons (8 ml) vanilla extract
- 1 (9 inch) pie crust, baked
- 1 cup (240 ml) frozen whipped topping, thawed
Instructions
- Begin by assembling all the necessary ingredients.
- In a large mixing bowl, combine the sugar and beaten egg yolks until the texture is smooth and creamy.
- Incorporate the cornstarch and salt, ensuring they are thoroughly mixed.
- Gradually add the milk, stirring gently as you go.
- Transfer the mixture to a large pot, then heat over medium, stirring continuously until it boils and thickens enough to coat the back of a spoon.
- Take the pot off the heat and mix in the butter and vanilla extract. Allow it to cool slightly.
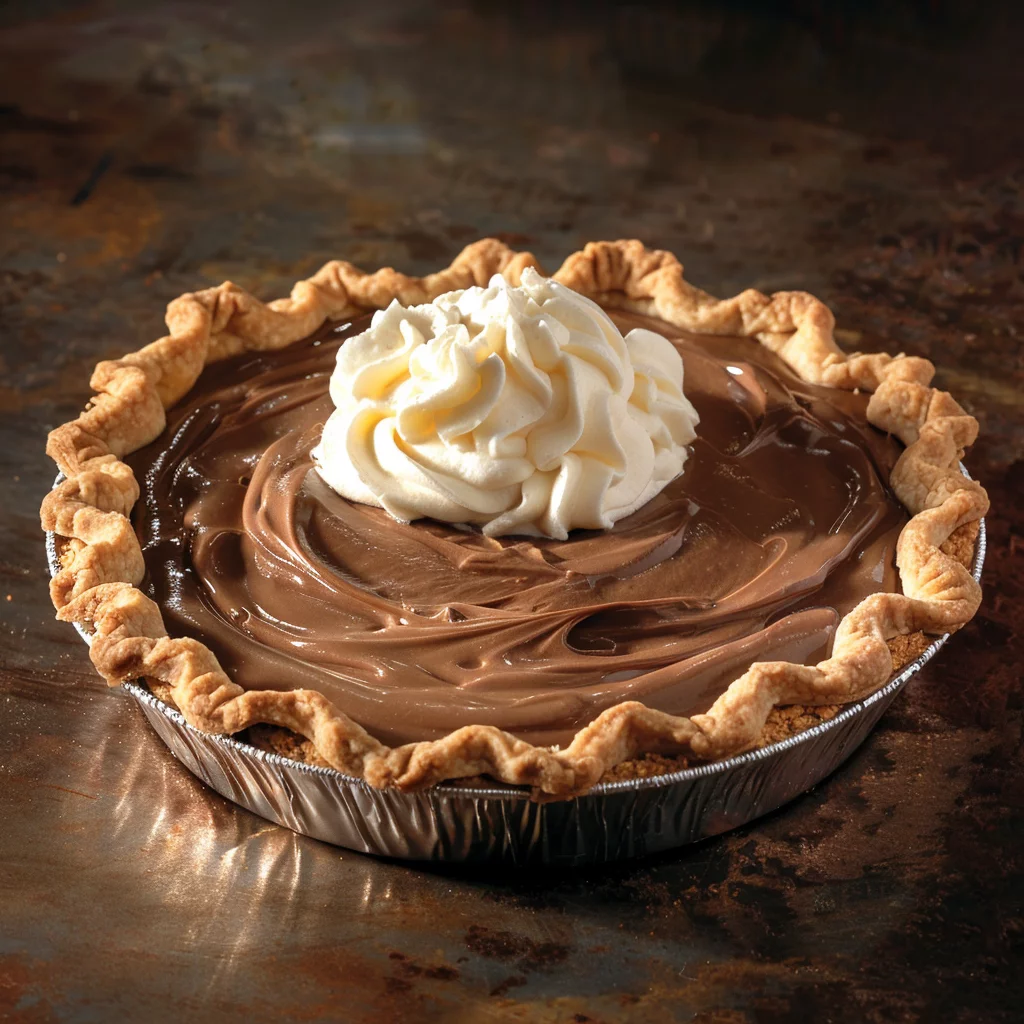
- Pour the mixture into the baked pie crust, then refrigerate until it sets, approximately 2 to 4 hours.
- Top with the thawed whipped topping before serving. Enjoy!
Notes
- Use high-quality cane sugar for a more flavorful custard filling.
- Opt for whole milk to achieve a creamier texture in the pie filling.
- Exercise patience while heating the mixture to avoid scorching and ensure a smooth custard.
Mastering the Chocolate Cream Pie
Fundamentals
Creating a chocolate cream pie involves understanding the core components that make it irresistible. The silky filling, delicate crust, and luscious whipped topping each play a crucial role. Begin by gathering all the ingredients to ensure a smooth cooking process. The key to a perfect pie is balance, where the sweetness of the filling complements the buttery crust.
Preparation/Setup
Start by combining the cane sugar and beaten egg yolks in a large mixing bowl until the texture becomes smooth and creamy. Gradually add cornstarch and salt, mixing thoroughly to avoid any lumps. Slowly incorporate the milk, stirring gently, ensuring a uniform mixture that will later thicken into a rich custard.
Once prepared, transfer the mixture to a pot and heat over medium. Stir continuously until it boils and thickens. This step requires patience, as the mixture should coat the back of a spoon, indicating it’s ready. Remove from heat, then mix in the butter and vanilla extract, allowing the flavors to blend perfectly.
Crafting the Perfect Pie Filling
Technique
Creating the perfect filling requires precision and attention. The mixture must be heated to the right temperature to achieve that creamy consistency. Stirring constantly prevents any lumps, ensuring a smooth texture. The addition of butter adds richness, while vanilla extract enhances the overall flavor, making each bite delightful.
Chocolate Cream Pie
Tips/Tricks
For best results, use high-quality vanilla extract as it significantly enhances the filling’s flavor. Allow the mixture to cool slightly before pouring it into the baked pie crust. This step helps in setting the filling evenly. Refrigerate the pie for 2 to 4 hours to achieve the perfect firmness, making it easier to slice and serve.
If you love creamy desserts, you might also enjoy trying a Creamy Chicken Pot Pie Pasta Skillet, which combines similar comforting textures with a savory twist.
Perfecting Your Chocolate Cream Pie
Perfecting Results
To achieve a flawless chocolate cream pie, ensure each step is executed with care. The cooling process in the refrigerator is crucial as it allows the filling to firm up. A well-set pie not only looks appealing but also slices perfectly, showcasing the smooth layers of custard.
Troubleshooting/Variations
If the filling appears too runny, it might need additional cooking time. Return it to the pot and heat until it reaches the desired consistency. For a different twist, consider adding a layer of melted chocolate or a sprinkle of cocoa powder on top before adding the whipped topping for a deeper chocolate flavor.
Explore other delightful desserts like the No-Bake Chocolate Cream Pie from Grandma’s Delights for a quick and easy alternative.
Serving and Storing Your Pie
Serving/Presentation
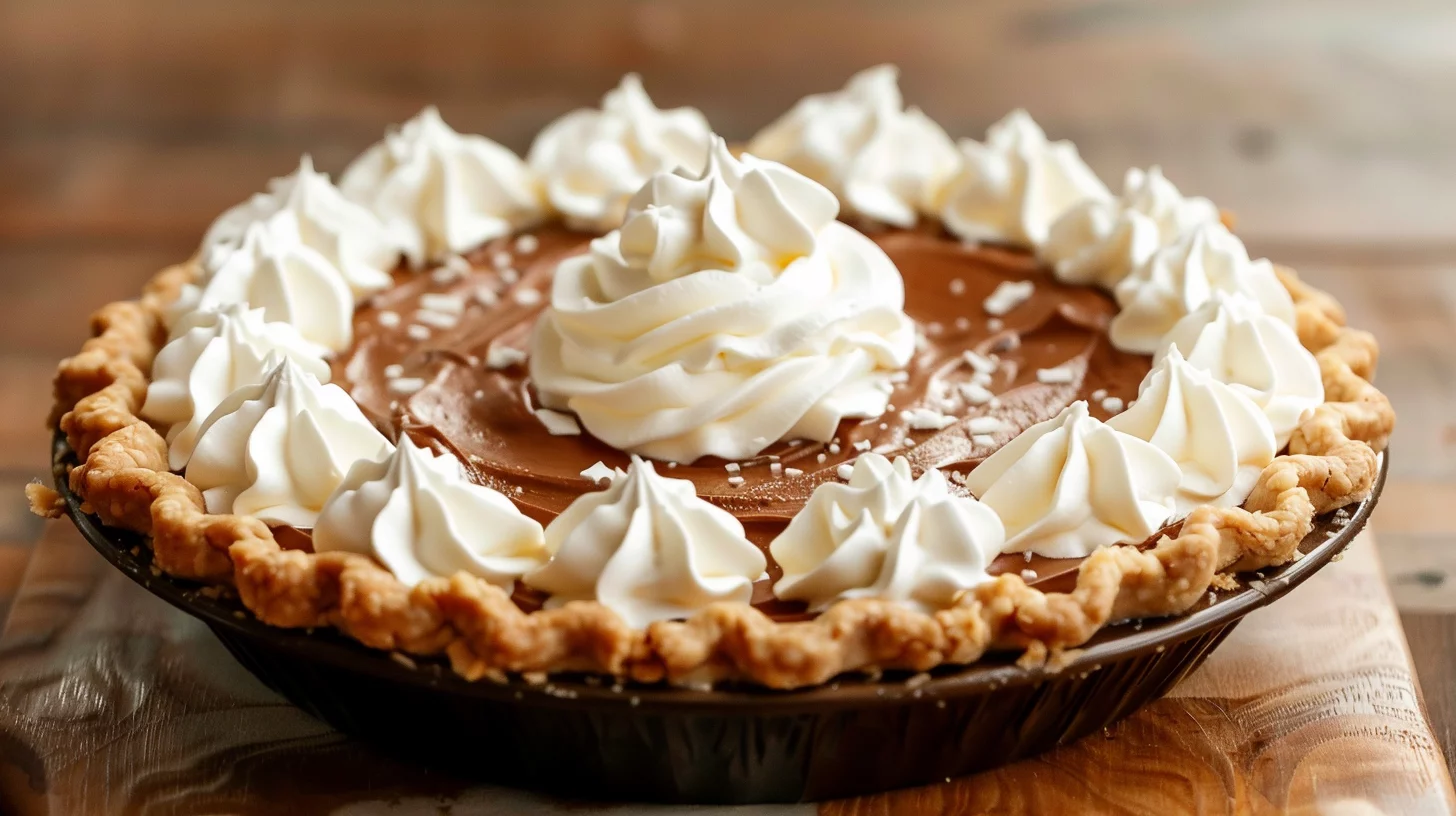
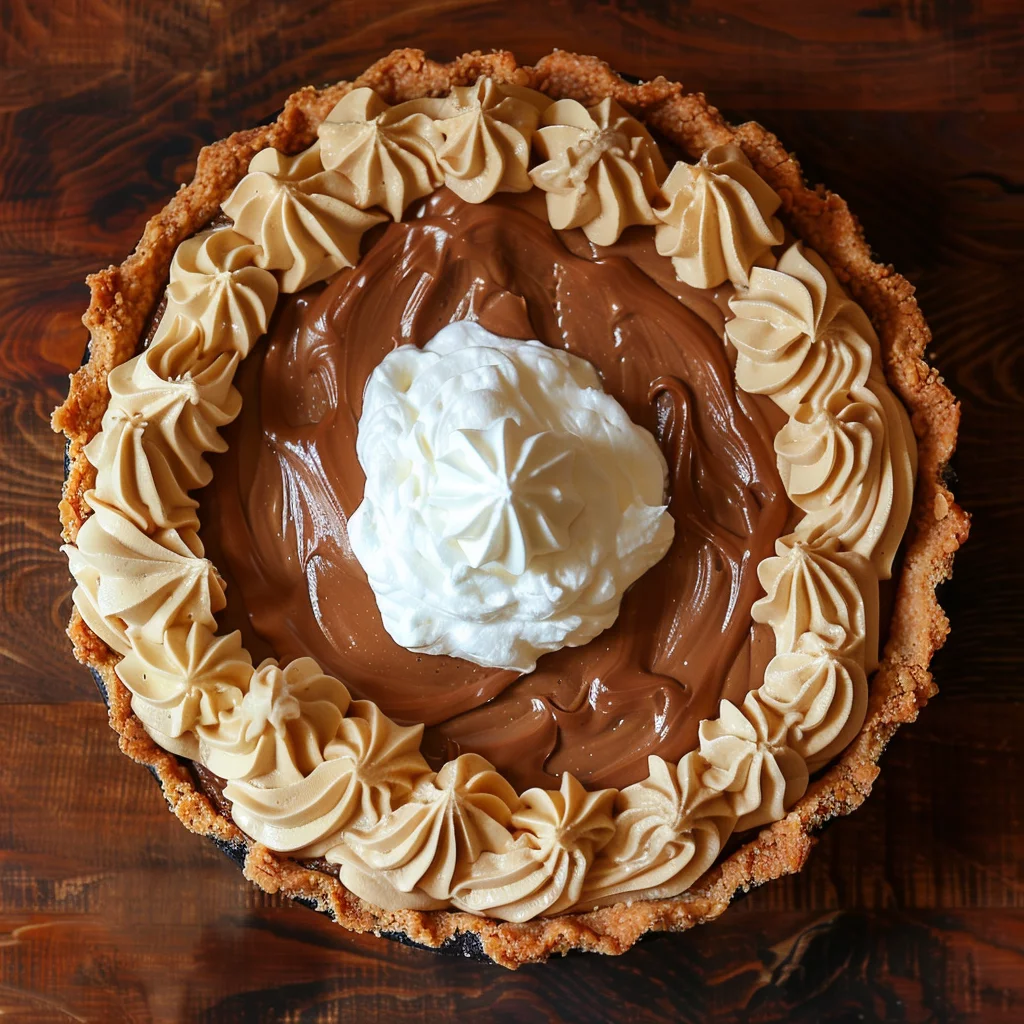
Before serving, top your chocolate cream pie with thawed whipped topping, spreading it evenly for a beautiful finish. A light dusting of cocoa powder or chocolate shavings adds an elegant touch, making it visually appealing. Serve chilled to ensure the filling holds its shape, offering a delightful contrast to the creamy topping.
Chocolate Cream Pie
Pairings/Storage
Pair this dessert with a hot cup of coffee or a scoop of vanilla ice cream for a delightful experience. Store any leftovers in the refrigerator, covered with plastic wrap, to maintain freshness. The pie remains best when consumed within two days, ensuring its flavors and texture are at their peak.
Conclusion
Mastering the art of chocolate cream pie brings the joy of a classic dessert to your home. The harmonious blend of creamy filling, crispy crust, and whipped topping creates a memorable treat for any occasion. Remember, the key lies in precision and patience, ensuring each component is perfectly crafted.
This pie not only satisfies your sweet tooth but also serves as a testament to the power of simple ingredients, transforming them into a delicious masterpiece. Whether enjoyed at a family gathering or as a personal indulgence, this chocolate cream pie is sure to become a cherished favorite.
