📑 Table of Contents ▶
- Best Dutch Apple Pie Recipe
- Creating the Best Dutch Apple Pie
- Fundamentals
- Preparation/Setup
- Mastering the Dutch Apple Pie Technique
- Technique
- Tips/Tricks
- Perfecting Your Pie and Exploring Variations
- Perfecting Results
- Troubleshooting/Variations
- Serving and Storing Your Masterpiece
- Serving/Presentation
- Pairings/Storage
- Conclusion
- FAQs – Best Dutch Apple Pie Recipe
I remember the first time I attempted to make what I now call the best Dutch apple pie recipe. I was in my grandmother’s cozy kitchen, surrounded by the aroma of spices and the warmth of shared laughter. My grandmother, with her gentle guidance, showed me how to transform simple ingredients into a masterpiece that brought delight to everyone who tasted it.
My love for cooking blossomed in that kitchen, where I learned that the secret to a great pie lies not just in the ingredients, but in the love and care you pour into it. The process of peeling and slicing apples, the sweet scent of cinnamon and nutmeg wafting through the air, and the joy of crafting something delicious from scratch were lessons I cherished.
Inspired by those cherished memories, I set out to create a pie that encapsulates that same warmth and joy. This best Dutch apple pie recipe is a tribute to my grandmother’s legacy, a dish that transforms any gathering into a special occasion. With each bite, you can taste the harmony of flavors and the love infused into the pie, making it an unforgettable treat.

Best Dutch Apple Pie Recipe
- Prep Time: 1 hour
- Cook Time: 1 hour 20 minutes
- Total Time: 2 hours 20 minutes
- Yield: 1 pie
- Category: Dessert
- Method: Baking
- Cuisine: American
Description
Discover the ultimate Dutch Apple Pie recipe that will satisfy your sweet cravings. Learn how to create a delicious dessert that will impress your friends and family.
Ingredients
- 1 homemade single pie crust (1 sheet of pie dough)
- 1/4 teaspoon lemon zest (1 ml)
- juice from half a lemon, 2 tablespoons, no more (30 ml)
- 5 pounds apples, 5 pounds before peeling and coring (2.27 kg)
- 1/2 cup brown sugar, packed (100 g)
- 1/2 cup granulated sugar (100 g)
- 1/3 cup all-purpose flour (40 g)
- 1/2 teaspoon salt (3 g)
- 1 1/2 teaspoons cinnamon (3 g)
- 3/4 teaspoon nutmeg (1.5 g)
- 1/2 teaspoon ground cardamom, optional (3 g)
- 1 teaspoon vanilla extract (5 ml)
- 1 1/2 cups all-purpose flour (180 g)
- 1/3 cup granulated sugar (65 g)
- 3/4 cup brown sugar, packed (150 g)
- 1/2 teaspoon salt, use a little less if using table salt (3 g)
- 3/4 cup butter, melted (170 g)
Instructions
- Select your apples. You’ll need 5 pounds, roughly equating to 11 large ones. A blend of different varieties like Granny Smith, Honeycrisp, and Golden Delicious can enhance the taste.
- Begin the filling by grating lemon zest with a microplane into a 12-inch skillet, without turning on the heat yet.
- Squeeze the juice from half a lemon into the skillet, ensuring not to exceed 2 tablespoons, as it’s meant to enhance the apple’s flavor and prevent browning, not dominate it.
- Peel the apples using a potato or apple peeler, then slice them into 1/8 inch pieces. Peel and slice each apple one at a time to prevent browning, adding them to the lemon juice in the pan as you go. Stir occasionally to coat with lemon juice.
- Once all apples are prepared and in the pan, place it over medium heat.
- Introduce brown sugar, granulated sugar, flour, salt, cinnamon, nutmeg, and cardamom (if using) to the apples, stirring gently to avoid breaking them.
- Once everything is well-mixed, with no dry spots of flour or cinnamon, cover the pan with a lid. Set a timer for 20 minutes, stirring every 3 minutes while cooking until the apples are tender but maintain their shape. Adjust cooking time based on your preference for apple texture. Add water sparingly if apples start to stick.
- Remove from heat and mix in vanilla extract.
- Move the apple filling to a pan with edges, ensuring it’s spread to the edges. Cool in the fridge or freezer; the freezer takes about 30 minutes. Alternatively, let it cool in the pan over a few hours.
- Roll out the pie dough and place it in a 9-inch pie dish, folding the edges under and crimping them. See pie crust recipe for photos and details.
- Chill the pie crust in the fridge or freezer for 30 minutes to ensure flakiness.
- Preheat the oven to 425°F with a baking sheet or pizza stone placed on the center rack, allowing it to preheat for 20-30 minutes.
- To make the crumble topping, mix flour, white sugar, brown sugar, and salt in a bowl. In a separate bowl, melt butter, then combine with the dry ingredients, forming a wet, sandy mixture. Chill until needed.
- Once the filling is cold and the crust is mostly frozen, remove them from the freezer. Transfer the chilled filling into the pie shell, scraping in every bit of the gooey goodness.
- Break the crumble into bite-sized pieces and sprinkle over the apples, using enough to cover them. Return any leftover crumble to the fridge.
- Place the prepared pie on the preheated baking sheet in the oven for 15 minutes at 425°F, checking for light browning on the crust edges.
- Create a foil shield by folding a square of foil, cutting out the center so it fits over the crust edges but leaves the center uncovered.
- After 15 minutes at 425°F, lower the temperature to 350°F. Keep the pie in the oven and continue baking for 10 more minutes.
- Remove the pie briefly, scatter the remaining chilled crumble over the top, and place the foil shield over the crust edges. Return to the oven.
- Ensure the oven is at 350°F and bake for another 25-35 minutes, totaling 55-65 minutes in the oven. If needed, remove the foil shield to brown the crust and crumble further, baking an additional 5-10 minutes.
- Allow the pie to cool on a wire rack for about 4 hours to ensure the juices set and the crumble remains crisp.
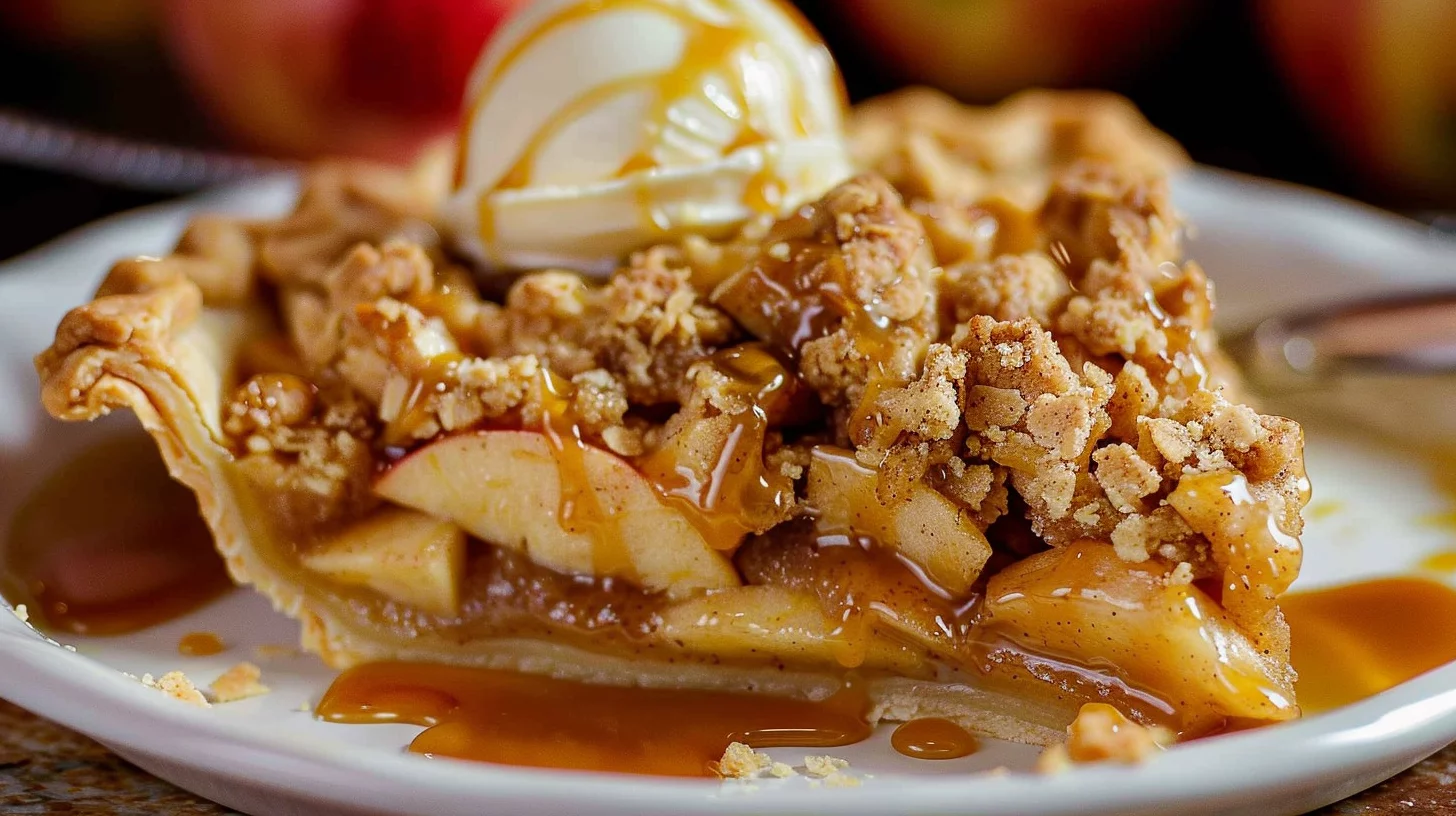
- Once fully cooled, slice and serve. Pairing with vanilla ice cream and caramel sauce is recommended for an indulgent treat.
- Store the pie, covered, on the counter for up to 2 days. Then, move it to the fridge for longer storage.
- Refer to notes for detailed freezing instructions!
Notes
- Use a mix of apples like Granny Smith, Honeycrisp, and Golden Delicious for a more complex flavor in the filling.
- Slice the apples thinly and evenly to ensure even cooking and a nice texture in the pie.
- Chill the pie crust and filling before assembling for a flaky crust and to prevent the crumble from melting too quickly.
Creating the Best Dutch Apple Pie
Fundamentals
To make the best Dutch apple pie, start by selecting the right apples. A combination of Granny Smith, Honeycrisp, and Golden Delicious will provide a balance of tartness and sweetness. You’ll need about 5 pounds of apples, equating to around 11 large ones. The key is to find a blend that enhances the overall flavor of the pie.
Next, focus on the crust. A single homemade pie crust sheet provides the foundation for our pie. Rolling it out and placing it into a 9-inch pie dish requires care in folding the edges under and crimping them for a beautiful finish. Ensuring the crust is chilled before baking contributes to its flakiness, a crucial aspect of a perfect pie.
Preparation/Setup
Begin by grating lemon zest into a skillet, then add lemon juice to prevent the apples from browning. Peel and slice the apples into 1/8 inch pieces, adding them to the lemon mixture in the pan. Stir occasionally to coat the apples evenly. Once the apples are prepared, turn on the heat to medium.
Combine brown sugar, granulated sugar, flour, salt, cinnamon, nutmeg, and optional cardamom with the apples. Stir gently to avoid breaking the slices. Cover the pan and cook, stirring every few minutes, until the apples are tender yet maintain their shape. This step ensures the filling is flavorful and well-cooked.
Mastering the Dutch Apple Pie Technique
Technique
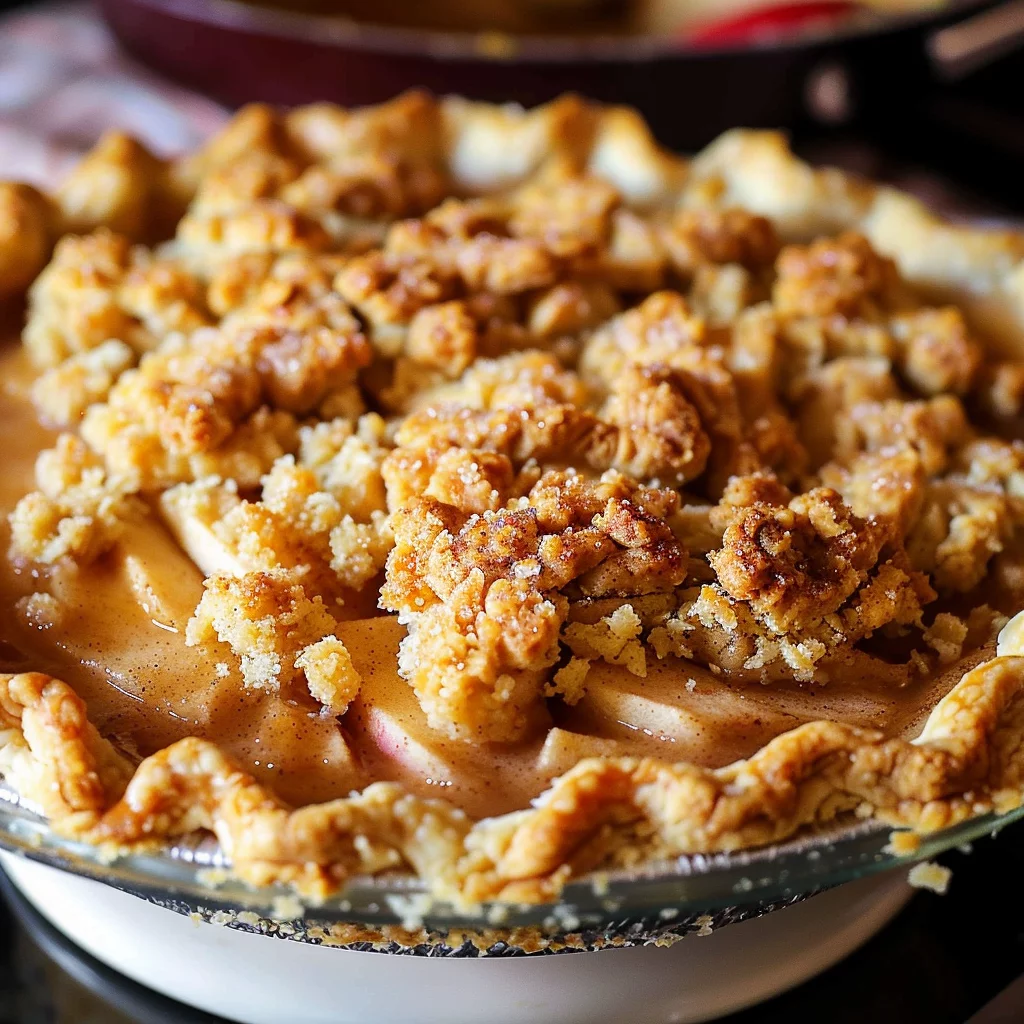
After cooling the filling, transfer it into the chilled pie crust. This step is vital to maintaining the structural integrity of the pie. Ensure all the juices and flavors are transferred into the crust. The crumble topping, made from flour, sugar, and butter, adds a delightful texture and sweetness to the pie.
Preheat the oven with a baking sheet inside to ensure even heat distribution. Bake at 425°F initially, then reduce the temperature to 350°F. The gradual decrease in temperature allows the crust and crumble to brown perfectly without burning. This method ensures a crispy crust and a tender filling.
Best Dutch Apple Pie Recipe
Tips/Tricks
Chill both the pie crust and crumble topping before baking to achieve a flaky and crisp texture. Use a foil shield to protect the crust edges from over-browning during the baking process. This simple trick maintains the pie’s aesthetics and prevents a burnt crust.
If you love exploring new flavors, you can try variations by adding ground cardamom to the filling for an extra aromatic touch. Adjust the sugar levels according to your taste preference, balancing the tartness of the apples with the sweetness of the sugars.
Perfecting Your Pie and Exploring Variations
Perfecting Results
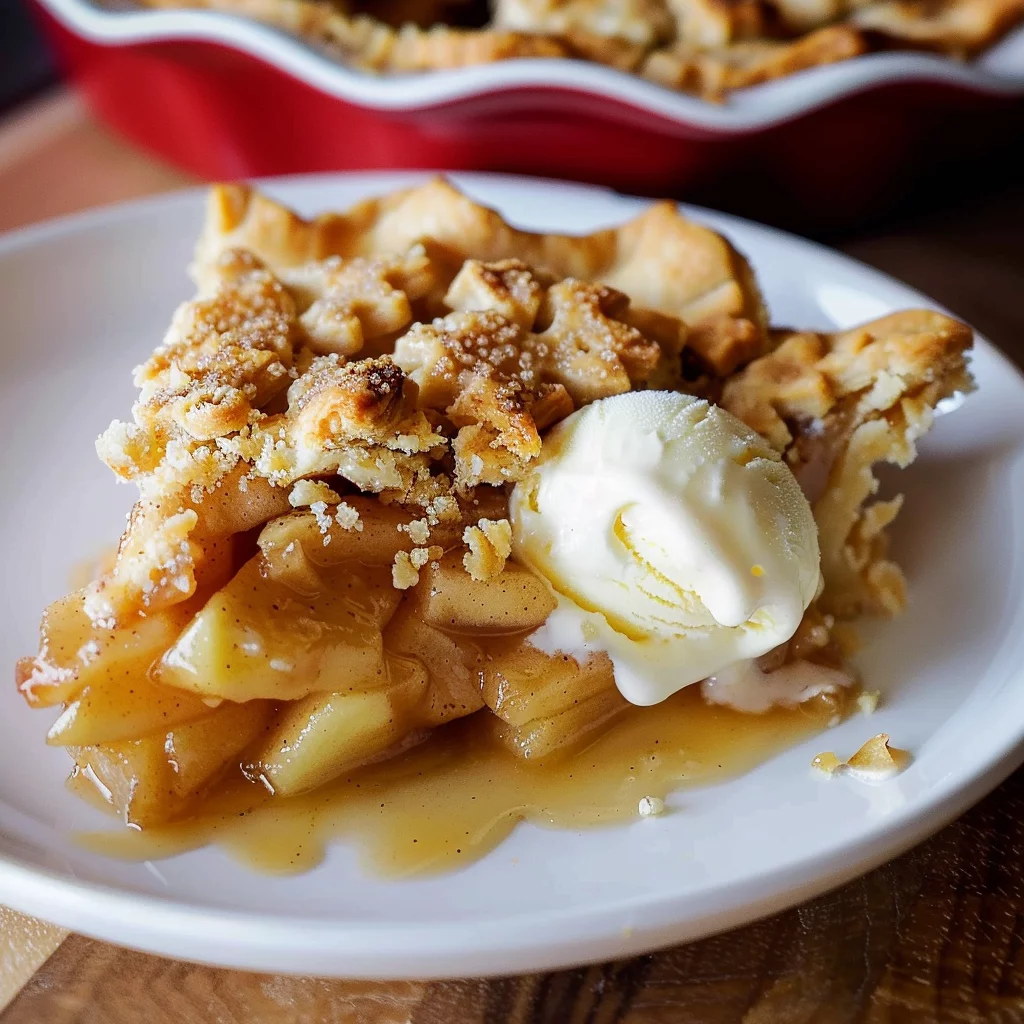
Allow the pie to cool on a wire rack for about 4 hours. This step is crucial to ensure the juices set and the crumble remains crisp. Patience is key here; cutting into the pie too soon can result in a runny filling. Once cooled, the pie will slice beautifully, revealing its layered perfection.
For an indulgent treat, serve the pie with a scoop of vanilla ice cream and a drizzle of caramel sauce. This combination elevates the pie’s flavor profile, adding a creamy and sweet contrast to the tartness of the apples.
Troubleshooting/Variations
If your pie filling seems too watery, ensure you’ve cooked the apples long enough to release excess moisture. You can also add a bit more flour to thicken the filling if needed. For a unique twist, try adding a pinch of ground ginger to the spice mix for a subtle, warm flavor.
Explore variations by experimenting with different apple varieties or adding chopped nuts to the crumble topping for added crunch. Adjusting these elements allows you to personalize the pie, making it a signature dish that’s uniquely yours.
Serving and Storing Your Masterpiece
Serving/Presentation
Present your best Dutch apple pie on a beautiful serving platter, showcasing its golden crust and crumbly topping. Slice the pie with a sharp knife, ensuring clean cuts that highlight the layers of apples and crumble. Pair with a cup of freshly brewed coffee or tea for a comforting experience.
For special occasions, garnish each slice with a dollop of whipped cream or a sprinkle of powdered sugar. These simple touches add elegance to the presentation, making your pie the centerpiece of any dessert spread.
Best Dutch Apple Pie Recipe
Pairings/Storage
Store your pie on the counter for up to two days, covered with foil or plastic wrap. For longer storage, move the pie to the fridge, where it will keep for several more days. Proper storage ensures the pie remains fresh and delicious, ready to be enjoyed at any moment.
For more delightful recipes, explore our Apple Brownies, a creative twist on a classic treat. If you’re in the mood for something savory, our Chicken Soup Recipe is perfect for cozy evenings. And for a unique spin on comfort food, check out our Shepherd’s Pie Soup Recipe.
Conclusion
Crafting the best Dutch apple pie recipe is a journey of love and flavor. By selecting the right ingredients and employing careful techniques, you can create a pie that not only tastes amazing but also evokes cherished memories. The balance of tart apples, warm spices, and a buttery crust makes this pie a standout dessert.
Whether you’re making it for a special occasion or a simple family gathering, this pie is sure to impress. Its versatility allows for personalization, making it a recipe you’ll return to time and again. Embrace the joy of baking and savor the delightful moments shared over a slice of this exquisite pie.
