📑 Table of Contents ▶
- The Basics of Buttermilk Biscuits
- Fundamentals
- Preparation/Setup
- Directions
- Mastering Buttermilk Biscuits
- Technique
- Tips and Tricks
- Perfecting Your Biscuits
- Perfecting Results
- Troubleshooting and Variations
- Serving and Storing Buttermilk Biscuits
- Serving and Presentation
- Pairings and Storage
- Delicious Biscuits Await
Best Buttermilk Biscuits
A cherished memory warms my heart when I think of the kitchen during family gatherings. The smell of freshly baked buttermilk biscuits wafted through our home, instantly bringing smiles and anticipation. Those golden, flaky biscuits complemented every meal, from savory dishes to sweet spreads. Their simple ingredients and straightforward preparation made them a staple in our home.
The magic of buttermilk biscuits lies in their ability to transform any meal into a celebration. Every bite tells a story of family traditions and shared laughter. It’s a recipe that is both comforting and approachable, inviting everyone to join in the joy of cooking. Mastering the art of buttermilk biscuits can elevate your culinary repertoire and create moments of connection around the table.
As you dive into this recipe for the best buttermilk biscuits, remember that good food nourishes not just the body but also the soul. It brings people together, fills the home with warmth, and ignites happiness in the simplest of ways. Let’s uncover the secrets to making these treasured biscuits and celebrate what they bring to our lives.
The Basics of Buttermilk Biscuits
Fundamentals
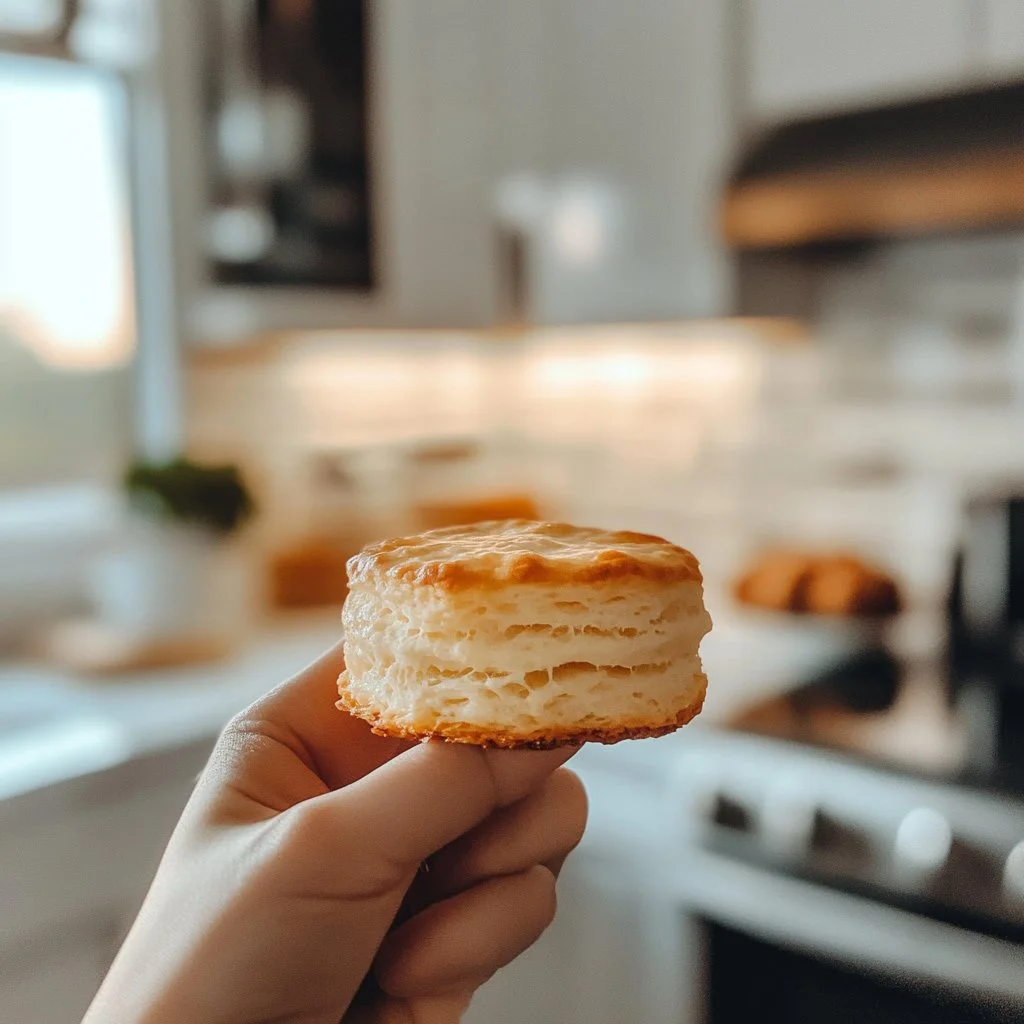
Buttermilk biscuits form the foundation of many great meals. Their light and flaky texture, combined with a rich flavor, makes them irresistible. Understanding the fundamentals of the biscuit-making process is the first step to success. Buttermilk provides the necessary acidity to react with baking soda, creating the lift and tenderness essential for perfect biscuits.
While the base ingredients remain simple—flour, baking powder, baking soda, and buttermilk—technique plays a crucial role. The method for mixing and handling the dough often determines the outcome. The goal is to handle the biscuit dough gently and respectfully to achieve that sought-after fluffiness.
Preparation/Setup
Preparation is vital when making buttermilk biscuits. Start by gathering all ingredients and tools to ensure a smooth baking process. Preheat the oven to a high temperature, around 425°F (218°C), to ensure the biscuits rise beautifully. Prepare a baking sheet with parchment paper or a light coating of cooking spray to prevent sticking.
Do not forget to chill your butter before beginning. Cold butter cuts into the flour more effectively, enabling the creation of flaky layers in the biscuits. Having a clean work surface and rolling pin ready also helps streamline the entire process, allowing you to focus on creating the perfect biscuit.
Ingredients
To make the best buttermilk biscuits, you’ll need the following ingredients:
- 2 cups all-purpose flour
- 1 tablespoon baking powder
- 1 teaspoon baking soda
- 1 teaspoon salt
- ½ cup unsalted butter, cold
- 1 cup buttermilk
These ingredients come together to create light, fluffy biscuits that are sure to impress. The understated elements all work harmoniously, allowing the biscuits to shine.
Directions
- In a large mixing bowl, whisk together the flour, baking powder, baking soda, and salt.
- Cut in the cold butter using a pastry cutter or your fingertips until the mixture resembles coarse crumbs.
- Gradually add the buttermilk, stirring until just combined. Be careful not to overmix.
- Turn the dough out onto a floured surface and gently knead it a few times until it forms a cohesive dough.
- Roll the dough to about ½ inch thick and cut out biscuits using a round cutter.
- Place the biscuits on the prepared baking sheet and bake for 12-15 minutes or until golden brown.
Mastering Buttermilk Biscuits
Technique
Perfecting the technique behind buttermilk biscuits transforms an ordinary recipe into something extraordinary. Keep the butter and buttermilk as cold as possible throughout the process. Chill your mixing bowl and utensils if necessary. This cold temperature ensures that the butter remains in small pieces, which is essential for achieving the desired texture.
Be gentle when handling the dough. Overworking it can lead to tough biscuits rather than light and airy ones. It’s okay if the dough looks a little shaggy; that’s part of its charm. Short cutting and gentle folding will create beautiful results.
Tips and Tricks
Here are some valuable tips to ensure the best possible outcome with your buttermilk biscuits:
- Use fresh baking powder. It should still offer a good rise, ensuring that your biscuits turn out fluffy.
- If you lack buttermilk, you can create a substitute by mixing milk with vinegar. Let it sit for five minutes before using.
- Experiment with different flours for unique flavors. Whole wheat flour or gluten-free alternatives provide interesting variations.
Incorporating these tips into your biscuit-making routine significantly elevates the final product.
Perfecting Your Biscuits
Perfecting Results
Seeking perfection in buttermilk biscuits can be fulfilling, and it often comes with practice and patience. One critical factor is the cutting method. Press straight down with your biscuit cutter instead of twisting. Twisting seals the edges, preventing them from rising properly during baking.
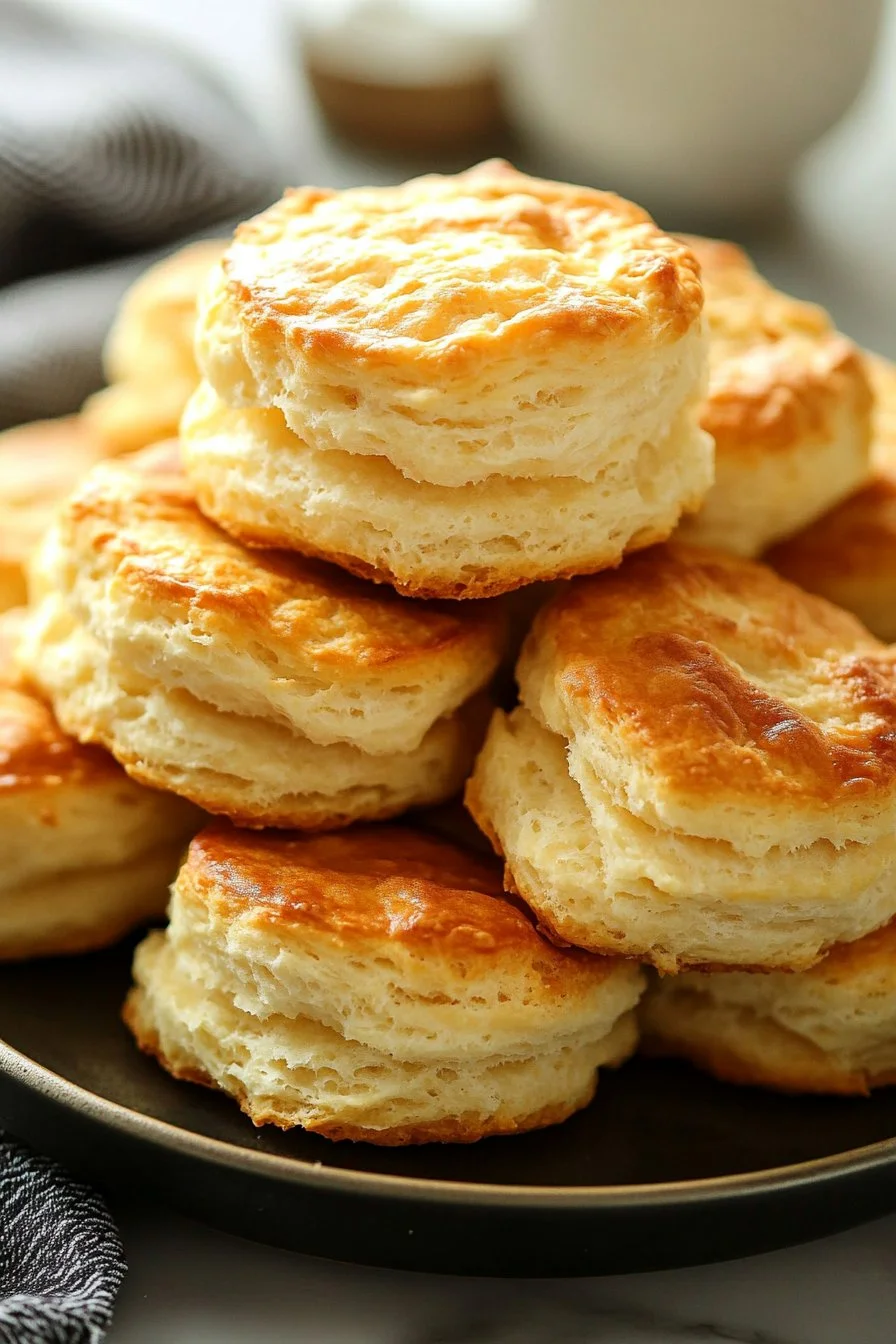
Pay attention to the baking time as well. Remove biscuits from the oven when they turn golden brown on top. This visual cue typically indicates that they are ready to enjoy.
Troubleshooting and Variations
If your biscuits don’t rise as expected, check the freshness of your leavening agents. Old baking powder can lead to dense results. If your biscuits come out too dry, it may be a sign that you overmixed or added too much flour. In the event of overly wet dough, incorporate small amounts of flour until the dough reaches the desired consistency.
For variations, consider adding herbs like chives or cheese for a flavor twist. You could even fold in cooked bacon bits or fresh fruit for a sweeter treat.
Serving and Storing Buttermilk Biscuits
Serving and Presentation
Presenting your buttermilk biscuits can set the tone for the meal. Serve them warm on a beautiful platter, with butter and jam on the side for spreading. Their golden tops and flaky layers create an inviting appearance, making them the star of any table.
Pair these biscuits with a variety of dishes, from hearty stews to breakfast spreads. Whether you enjoy them straight from the oven or with a drizzle of honey, buttermilk biscuits will always shine.
Pairings and Storage
Buttermilk biscuits pair beautifully with various foods. Serve them alongside soups, salads, or as part of a breakfast spread, complete with scrambled eggs and fresh fruit. These versatile biscuits adapt well to any meal.
To store leftover biscuits, allow them to cool completely, then place them in an airtight container. They will last for about two days at room temperature. For longer storage, freeze them in a freezer-safe bag. Reheat in the oven when you’re ready to enjoy them again.
Delicious Biscuits Await
The craft of making buttermilk biscuits offers immense satisfaction. Sharing the experience with loved ones enhances the joy of cooking, illuminating how food connects us. Whether served during family gatherings or simple weeknight dinners, these biscuits promise warmth and happiness in every bite. Embrace the art of biscuit-making and discover the delightful moments waiting to unfold in your kitchen.
Print
Best Buttermilk Biscuits
- Prep Time: 15 minutes
- Cook Time: 15 minutes
- Total Time: 30 minutes
- Yield: 8 biscuits
- Category: Baking
- Method: Baking
- Cuisine: American
- Diet: Vegetarian
Description
Light and flaky buttermilk biscuits that elevate any meal with their rich flavor and comforting texture.
Ingredients
- 2 cups all-purpose flour
- 1 tablespoon baking powder
- 1 teaspoon baking soda
- 1 teaspoon salt
- ½ cup unsalted butter, cold
- 1 cup buttermilk
Instructions
- In a large mixing bowl, whisk together the flour, baking powder, baking soda, and salt.
- Cut in the cold butter using a pastry cutter or your fingertips until the mixture resembles coarse crumbs.
- Gradually add the buttermilk, stirring until just combined. Be careful not to overmix.
- Turn the dough out onto a floured surface and gently knead it a few times until it forms a cohesive dough.
- Roll the dough to about ½ inch thick and cut out biscuits using a round cutter.
- Place the biscuits on the prepared baking sheet and bake for 12-15 minutes or until golden brown.
Notes
Keep the butter and buttermilk as cold as possible for the best texture. Avoid overworking the dough to maintain light, fluffy biscuits.
