📑 Table of Contents ▶
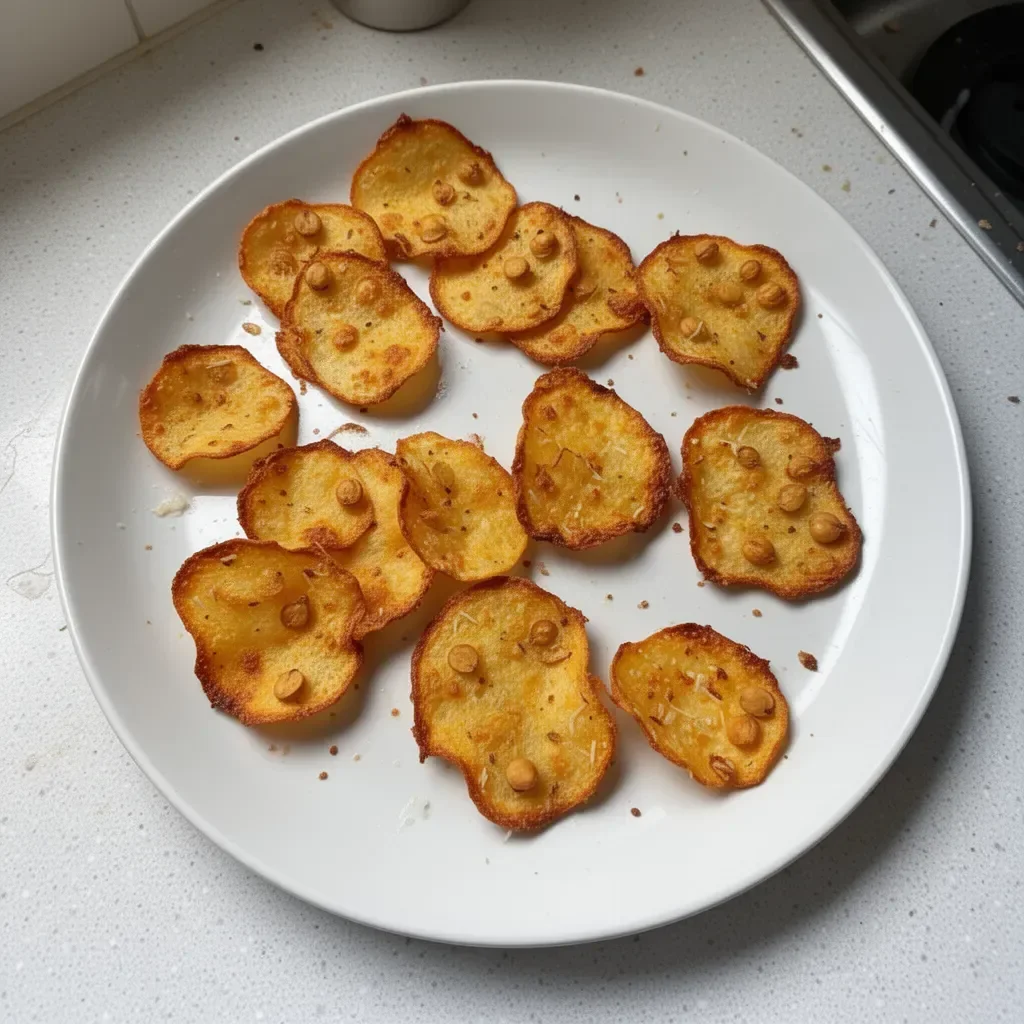
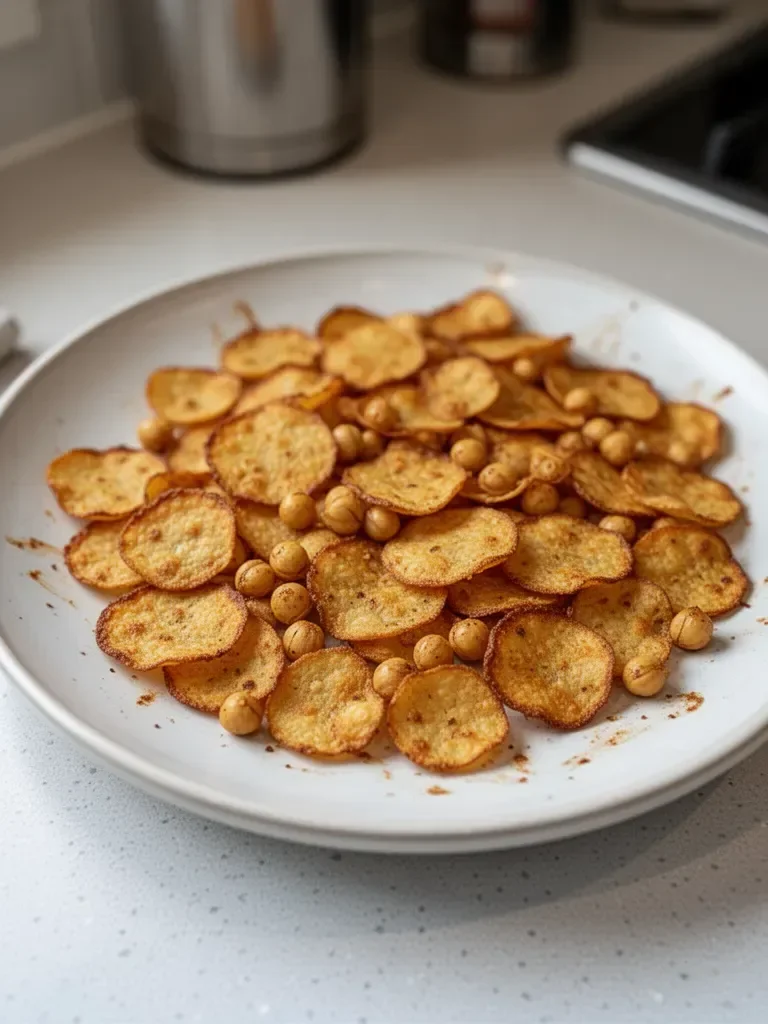
Baked Chickpea Chips
Creating a delicious, healthy snack at home can transform an ordinary day into something special. Whether it’s game day, movie night, or just a casual afternoon with friends, baked chickpea chips offer a delightful crunch that satisfies craving without the guilt. The memory of sharing snacks freshly made from simple ingredients always fills my heart.
Baked chickpea chips offer that nostalgic feeling while being incredibly easy to prepare. I often recall my childhood, gathering in the kitchen with family, experimenting with textures and flavors. These chips bring that joyful vibe straight to your home. You can whip them up in no time, making them perfect for spontaneous gatherings or cozy evenings alone.
With just chickpea flour, water, salt, and your favorite herbs or spices, these baked chickpea chips promise to be both appetizing and nutritious. The moment they emerge from the oven, their golden edges and aromatic fragrance will fill your kitchen, drawing everyone in.
These chips are versatile too! Serve them alongside your favorite dips, or enjoy them as a delightful snack on their own. The crunchiness combined with the seasoning brings an exciting twist to an everyday treat.
Understanding Baked Chickpea Chips
Fundamentals
Baked chickpea chips aren’t just a snack; they embody the essence of healthy eating without sacrificing taste. The primary ingredient, chickpea flour, is packed with protein and fiber, making these chips a nutritious alternative to traditional snacks. This snack resonates with those looking to maintain a balanced diet while still enjoying crunch and flavor.
Furthermore, chickpeas have been a staple in cuisines around the world for centuries. They bring a delightful nuttiness and a satisfying texture to this recipe. Crafting these chips using chickpea flour connects culinary traditions with modern food trends, merging health and taste seamlessly.
Preparation/Setup
Preparation is key, and it’s essential to set up your space for success. Begin by preheating your oven to 200C or 400F to ensure it reaches the ideal temperature for baking. Line two baking sheets with parchment paper. This step not only prevents the chips from sticking but also makes for easy clean-up.
With your baking sheets ready, gather your ingredients. Keeping everything within arm’s reach makes the process smoother and less chaotic. Having a whisk available is crucial for combining the batter into a smooth consistency.
Ingredients
- 80 grams chickpea flour
- 140 grams water
- 1/2 teaspoon salt
- Chopped fresh herbs, dried herbs, or spices as desired
These ingredients are the heart of your baked chickpea chips, offering a harmonious blend of flavor and nutrition. The versatility of the herbs or spices allows for customization, making each batch unique according to your preferences.
Directions
- Preheat oven to 200C or 400F.
- Combine chickpea flour, water, and salt in a bowl. Whisk until smooth.
- Line two baking sheets with parchment paper.
- Spoon batter onto the parchment and spread into thin circles.
- Sprinkle with herbs or spices if desired.
- Bake for about 10 minutes until golden and edges are lightly brown.
- Let cool for 15 to 20 minutes before removing from the parchment.
- Serve with dips, snacks, or enjoy plain.
Elevating Baked Chickpea Chips
Technique
Perfecting the technique for baked chickpea chips can elevate your snacking experience. For a more uniform chip, ensure you spread the batter evenly across the parchment. Thickness matters; thinner circles yield crispier chips, while thicker circles result in softer, chewier bites.
Experiment with your oven’s settings. Different ovens may require slight adjustments. Keep an eye on the chips during baking; they can transition from golden to overdone quickly.
Tips/Tricks
Getting the most out of baked chickpea chips involves a few handy tricks. To enhance flavors, consider toasting the chickpea flour lightly in a pan before mixing it with water. This step deepens the nutty flavor profile.
Additionally, you can mix and match herbs and spices. Garlic powder, cumin, or even chili flakes offer unique spins on the basic recipe. Don’t hesitate to get creative—it’s the perfect way to make these chips your own.
Perfecting Baked Chickpea Chips
Perfecting Results
Consistency is critical when it comes to baked chickpea chips. Aim for uniformity in shape and thickness to ensure even baking. If some chips turn out thicker than others, consider adjusting the amount of batter you spoon onto the parchment for future batches.
If you prefer a crispier result, bake the chips a little longer while keeping an eye on their color. They should be a lovely golden hue without becoming too dark.
Troubleshooting/Variations
If your chips come out softer than expected, reducing the batter thickness may be the answer. You might also try longer baking time with low moisture outcomes. Alternatively, consider letting them cool properly. Proper cooling helps them achieve that desired crunch.
For variations, you can experiment with adding finely grated cheese to the batter for an extra layer of flavor. No matter how you adapt the recipe, keep the base intact for the best results.
Enjoying Baked Chickpea Chips
Serving/Presentation
Presenting your baked chickpea chips can be as fun as making them. Place them in a colorful, rustic bowl to showcase their appealing texture and color. Arrange them with fresh dips or vibrant vegetables for an eye-catching display.
This snack pairs well with a variety of dips, from hummus to guacamole. Let creativity flow; these chips adapt beautifully to any occasion.
Pairings/Storage
Baked chickpea chips shine on their own but can also accompany a wide range of snacks. Serve them with salsa, creamy yogurt dips, or any spread of your choice.
To store any leftovers, keep the chips in an airtight container to maintain their crunch. They usually last a few days, but I doubt they will stick around that long!
Making baked chickpea chips combines simple ingredients with culinary creativity, allowing you to enjoy a delightful snack any time. Embrace the crunch and flavor in every bite, and let these delicious chips become a cherished part of your snacking tradition.
Print
Baked Chickpea Chips
- Prep Time: 10 minutes
- Cook Time: 10 minutes
- Total Time: 20 minutes
- Yield: 4 servings
- Category: Snack
- Method: Baking
- Cuisine: Mediterranean
- Diet: Vegan
Description
Delicious and healthy homemade baked chickpea chips that offer a delightful crunch and can be customized with your favorite herbs and spices.
Ingredients
- 80 grams chickpea flour
- 140 grams water
- 1/2 teaspoon salt
- Chopped fresh herbs, dried herbs, or spices as desired
Instructions
- Preheat oven to 200C or 400F.
- Combine chickpea flour, water, and salt in a bowl. Whisk until smooth.
- Line two baking sheets with parchment paper.
- Spoon batter onto the parchment and spread into thin circles.
- Sprinkle with herbs or spices if desired.
- Bake for about 10 minutes until golden and edges are lightly brown.
- Let cool for 15 to 20 minutes before removing from the parchment.
- Serve with dips, snacks, or enjoy plain.
Notes
For a crispier chip, spread the batter thinner and bake slightly longer. Store leftovers in an airtight container to maintain crunch.
