📑 Table of Contents ▶
- The Fundamentals of Pink and Gold Cake Pops
- Fundamentals
- Preparation/Setup
- Directions
- Tips for Crafting Perfect Pink and Gold Cake Pops
- Technique
- Tips/Tricks
- Perfecting Your Pink and Gold Cake Pops
- Perfecting Results
- Troubleshooting/Variations
- Presenting Your Pink and Gold Cake Pops
- Serving/Presentation
- Pairings/Storage
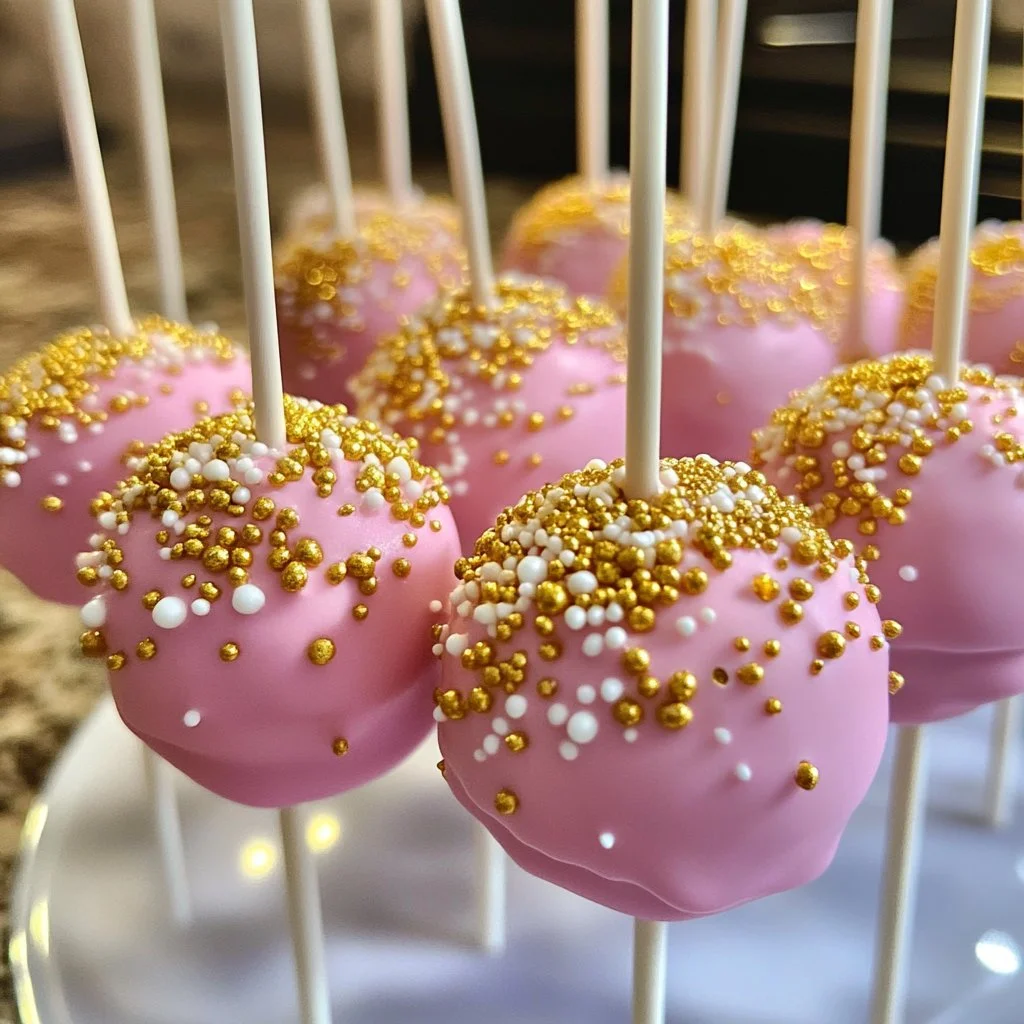
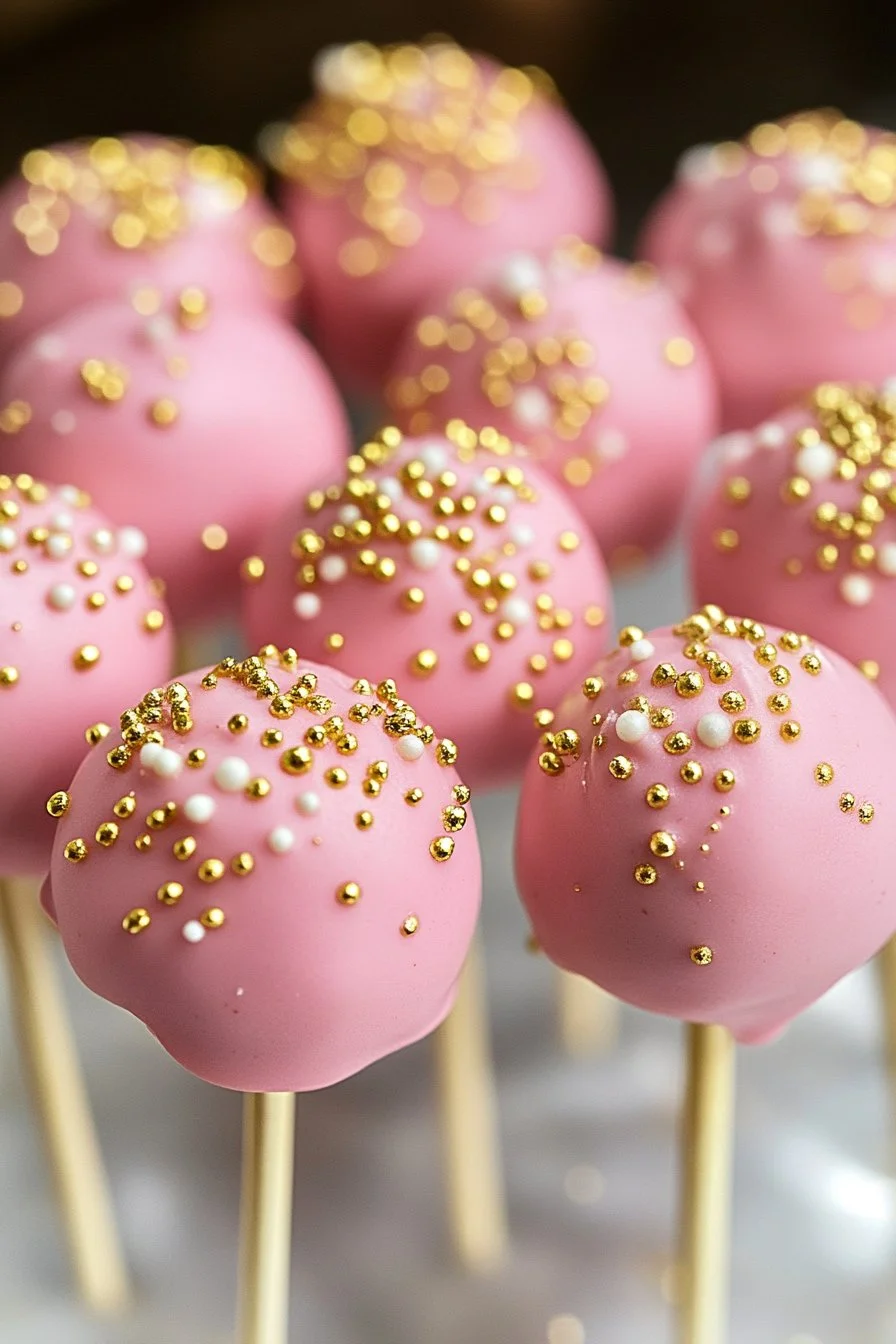
Pink and Gold Cake Pops
Creating delightful treats like pink and gold cake pops transforms any gathering into a celebration. The vibrant colors and whimsical shapes draw guests in, sparking curiosity and smiles. They bring a unique flair to birthdays, anniversaries, or just a simple get-together. Cake pops, in particular, capture the joyful spirit of cake in a bite-sized form, making them not only adorable but also fun to eat.
My fondest memories revolve around festive celebrations filled with laughter, joy, and—of course—sweets. The thrill of seeing something deliciously whimsical at dessert time fills anyone’s heart with delight. Pink and gold hues blend to create a festive atmosphere, inviting everyone to indulge. Imagine your loved ones gathering around, admiring these stunning cake pops while eagerly reaching for one. The sight alone can light up the room with joy.
These pink and gold cake pops make for a splendid addition to any occasion. They embody creativity and fun while utilizing simple ingredients often found in a typical kitchen. Every step of their creation—from baking to decorating—invites a bit of creativity and brings people together around the kitchen counter. These cake pops aren’t just treats; they become a centerpiece, amplifying the sense of occasion.
The Fundamentals of Pink and Gold Cake Pops
Fundamentals
Understanding the essential elements of creating pink and gold cake pops makes the process straightforward and enjoyable. Begin with a box cake mix, which serves as the foundation for these colorful treats. Selecting your favorite flavor adds a personal touch and sets the tone for the taste. Follow the instructions on the box to prepare the cake, combining it with the required ingredients: eggs, oil, and water.
The frosting ties everything together. Choose between store-bought varieties for convenience or craft your own homemade version if time permits. The frosting acts as the glue, binding the crumbled cake into delicious little balls. Candy melts make dipping easy while providing the signature pink and gold finish that defines these pops. Add lollipop sticks to transform cake balls into fun, handheld treats. Sprinkles can accentuate the festive appeal, adding texture without overwhelming the design.
Preparation/Setup
Setting up for making pink and gold cake pops can be an exciting and organized affair. Gather all your ingredients and equipment before diving in. You will need a baking dish, mixing bowls, a cookie scoop, parchment paper, and a sturdy surface for cooling and decorating.
Baking the cake requires preheating the oven as per the instructions on the cake mix box. Once baked, allow the cake to cool completely on a wire rack. This step is crucial, as warm cake will lead to a messy mixture when crumbled. After the cake cools, prepare your workspace for crumbling and mixing the cake with frosting. Planning the space keeps the process smooth and efficient.
Ingredients
- 1 box cake mix (any flavor)
- Ingredients required for cake mix (eggs, oil, water)
- 1 cup frosting (store-bought or homemade)
- Candy melts (pink and gold)
- Lollipop sticks
- Sprinkles (optional)
Directions
- Bake the cake according to the package instructions. Allow to cool.
- Crumble the cooled cake into a large bowl. Add frosting and mix until well combined.
- Scoop out mixture and roll into small balls. Insert lollipop sticks into each ball.
- Refrigerate for at least 30 minutes to set.
- Melt the pink and gold candy melts according to package instructions.
- Dip each cake pop into the melted candy, allowing excess to drip off.
- Decorate with sprinkles if desired.
- Let the pops set on a piece of parchment paper.
Tips for Crafting Perfect Pink and Gold Cake Pops
Technique
Creating pink and gold cake pops involves using simple techniques that ensure a satisfying outcome. The crumbling of the cooled cake should be done gently. Large chunks can make it challenging to form uniform balls. Combining frosting with the crumbled cake creates a moldable mixture that provides the perfect consistency.
Using the lollipop sticks correctly is crucial. Insert them firmly into the center of each ball but without piercing through. This technique makes them easier to dip and enjoy, preventing the cake pops from toppling over.
Melt the candy melts with care. Using a microwave in short intervals warms them without burning, preserving their smooth texture for dipping. A deep container allows for a full dip, and letting excess candy drip ensures a clean finish on each cake pop.
Tips/Tricks
Making pink and gold cake pops can be even more enjoyable with a few handy tips. For a cleaner finish when dipping, consider using a fork or a dipping tool. This technique prevents hands from getting messy and provides better control for candy melting coverage.
Opt for high-quality candy melts as they provide better melting and dipping results. Color variance can come from different brands; thus, always check for an even consistency when melting. If the candy melts thicken while working, adding a small amount of vegetable oil can help regain the desired dipping consistency.
Keep cake pops in the refrigerator after rolling them for at least half an hour. Chilling solidifies the mixture, making the cake pops easier to handle during the dipping process.
Perfecting Your Pink and Gold Cake Pops
Perfecting Results
Achieving perfection with pink and gold cake pops comes down to practice and attention to detail. The ball size can vary, but keeping them consistent ensures uniform cooking and cooling. Aim for about one-inch diameter balls for the ideal bite-sized experience.
Experiment with the use of sprinkles. They not only add decoration but introduce a crunch that complements the soft cake pop. Explore different designs or patterns for the sprinkles to add a unique personal touch on each pop that reflects your celebrations.
If using multiple cake mixes, try creating layered flavors by mixing different colored candy melts. This approach can create a vibrant, colorful platter that showcases your baking skills while also captivating your guests.
Troubleshooting/Variations
Common issues can arise while making cake pops. Sometimes the balls may crack after cooling. This problem usually indicates that too much frosting was added, creating a soft mixture. Adjust the frosting amount during your next attempt, allowing for a firmer dough.
If the candy coating isn’t smooth, ensure you have melted it properly. Overheating can lead to a stiff consistency. If you’re encountering problems, try adding a tiny amount of coconut oil to smooth it out.
Don’t hesitate to mix things up! You can create gourmet cake pops by incorporating different flavors into the cake mix. Lemon, chocolate, or even a rainbow blend can make the treats fancy while appealing to various taste preferences.
Presenting Your Pink and Gold Cake Pops
Serving/Presentation
Eye-catching presentation elevates the enjoyment of pink and gold cake pops. Rather than simply placing them on a plate, consider using a decorative stand or a foam block to hold the lollipop sticks. This display adds an elegant touch and provides a clear view of each unique pop.
Enhancing the presentation further is easy—wrap the pops in clear plastic bags tied with ribbon for special events. This packaging keeps them fresh while allowing guests to take them home as delicious souvenirs from a delightful occasion.
Pairings/Storage
For delightful pairing possibilities, consider serving with hot chocolate, fruit juices, or milkshakes. Each pairing creates delicious contrasts that complement the sweet flavors of the cake pops.
Storing your cake pops requires attention to keep them fresh. Place them in an airtight container in the refrigerator. They can remain fresh for about a week. If freezing, wrap each cake pop individually, and seal them tightly. They can stay frozen for a month, allowing you to enjoy them even after the party ends.
Creating pink and gold cake pops becomes a celebration of culinary creativity and joy. Each step inspires both you and your loved ones to get involved in the kitchen, crafting something whimsical and delightful. From gathering ingredients to icing the pops, every moment is a chance to bond and spark joy. Crafting these cake pops is more than just a recipe; it’s an experience filled with laughter, joy, and delicious flavors. Get ready to create some cherished memories with every delicious bite!
Print
Pink and Gold Cake Pops
- Prep Time: 15 minutes
- Cook Time: 30 minutes
- Total Time: 45 minutes
- Yield: 12 servings
- Category: Dessert
- Method: Baking
- Cuisine: American
- Diet: Vegetarian
Description
Delightful pink and gold cake pops that transform any gathering into a celebration with their vibrant colors and fun shapes.
Ingredients
- 1 box cake mix (any flavor)
- Ingredients required for cake mix (eggs, oil, water)
- 1 cup frosting (store-bought or homemade)
- Candy melts (pink and gold)
- Lollipop sticks
- Sprinkles (optional)
Instructions
- Bake the cake according to the package instructions. Allow to cool.
- Crumble the cooled cake into a large bowl. Add frosting and mix until well combined.
- Scoop out mixture and roll into small balls. Insert lollipop sticks into each ball.
- Refrigerate for at least 30 minutes to set.
- Melt the pink and gold candy melts according to package instructions.
- Dip each cake pop into the melted candy, allowing excess to drip off.
- Decorate with sprinkles if desired.
- Let the pops set on a piece of parchment paper.
Notes
For a cleaner finish when dipping, consider using a fork or a dipping tool. Store cake pops in an airtight container in the refrigerator for up to a week.
