📑 Table of Contents ▶
Cake Pops
Finding joy in baking means embracing creativity, and nothing represents that better than cake pops. Memories of childhood celebrations come to mind. The anticipation of seeing shimmering treats on the dessert table never fades. Each bite brings joy—a delicious blend of cake and frosting, transformed into bite-sized wonders.
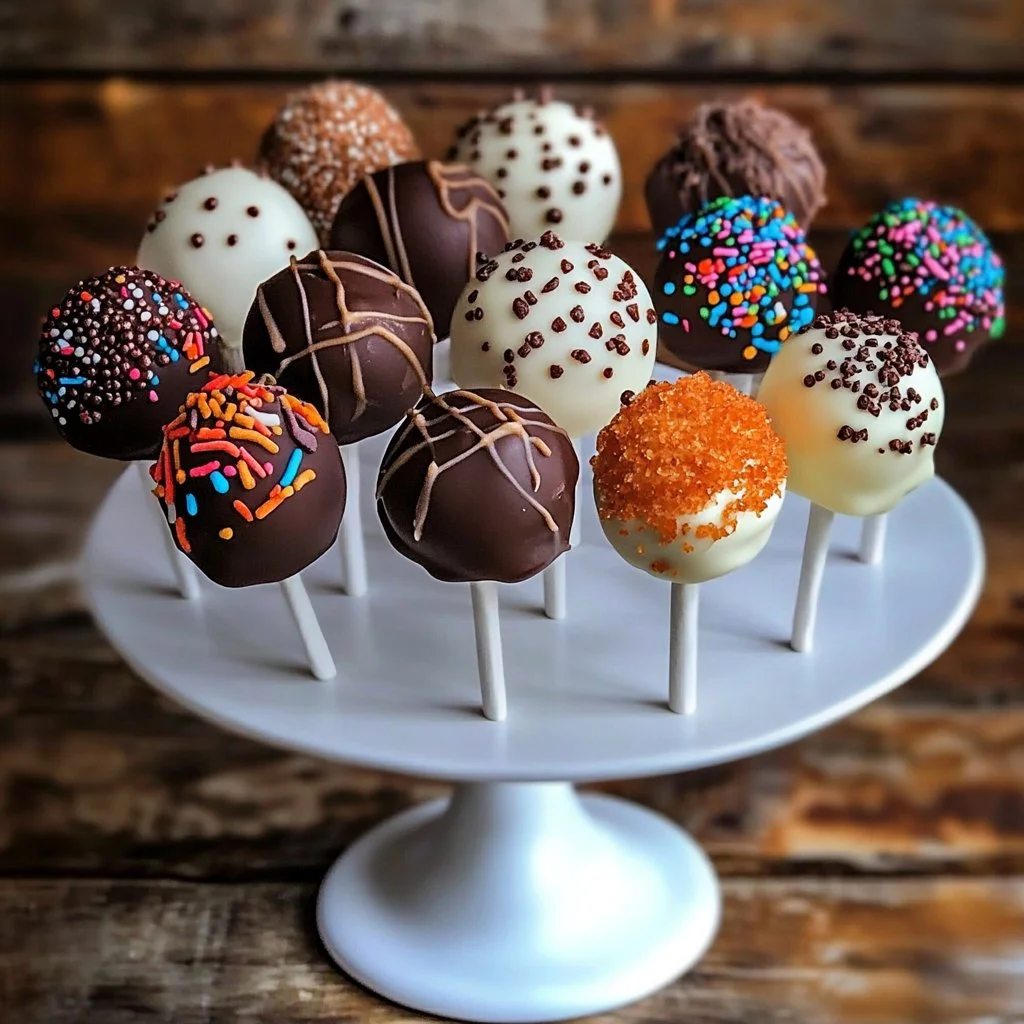
Cake pops are perfect for any occasion. They cater to celebrations like birthdays and holidays, yet they also fit into casual gatherings. The delightful experience of crafting these treats feels almost artistic. The vibrant colors of sprinkles topping the glossy chocolate coating ignite the imagination, making the baking journey as enjoyable as the final product.
These fun treats provide an excellent opportunity to unleash culinary creativity. Each pop presents a canvas for personal expression. Whether you prefer colorful sprinkles or a simple drizzle of melted chocolate, the possibilities are endless. Who can resist such a sweet, delectable bite? Cake pops inspire both beginners and seasoned bakers alike to experiment.
Let’s dive into the details of making these scrumptious cake pops. By using simple ingredients like cake mix, frosting, and chocolate, you will create delightful sweets that bring smiles to faces young and old.
Cake Pops: A Sweet Delight
Fundamentals
Mastering cake pops begins with understanding the foundation. The key ingredient in cake pops is crumbled cake, which creates the pliable texture that holds everything together. The cake, combined with frosting, forms a delicious mixture that molds perfectly into bite-sized balls.
You can use any flavor of cake mix. Whether you crave a classic vanilla, rich chocolate, or even a funfetti explosion, let your personality shine through your choice. The frosting acts like glue, binding the cake together and adding sweetness. Aim for a balance where the cake and frosting complement each other.
Preparation/setup
Begin by preparing the work area. Gather ingredients and tools. The first step involves preheating the oven, following the package instructions to bake the cake. Ensuring the oven is at the correct temperature is crucial for even baking.
Once the cake is baked, let it cool completely; this prevents the cake from becoming mushy when crumbled. After cooling, crumble the cake into a large bowl. The goal is to create fine crumbs to ensure a smooth cake pop mixture. As the fundamentals come together, the anticipation of creating cake pops grows.
Ingredients
To make irresistible cake pops, gather the following ingredients:
- 1 box of cake mix (any flavor)
- 2 eggs
- 1/2 cup of water
- 1/2 cup of vegetable oil
- 1 cup of frosting (any flavor)
- Chocolate or candy melts
- Sprinkles (optional)
- Lollipop sticks
With this list, you have everything needed to embark on this fun and rewarding baking adventure. The combination of these ingredients creates sweet moments in the kitchen.
Directions
Follow these steps for success:
- Preheat the oven and bake the cake according to package instructions. Let it cool completely.
- Crumble the cooled cake into a large bowl.
- Add frosting to the crumbled cake and mix until well combined.
- Roll the mixture into small balls and place them on a baking sheet.
- Freeze the cake balls for about 30 minutes.
- Melt chocolate or candy melts in a microwave.
- Dip the end of each lollipop stick into the melted chocolate, then insert it into a cake ball.
- Dip each cake pop into the melted chocolate and allow any excess to drip off.
- Decorate with sprinkles if desired and let them set.

Technique Behind Perfect Cake Pops
Technique
Creating cake pops may look simple, but a few techniques elevate your treat-making game. Freezing the cake balls is essential; it strengthens the mixture, ensuring it holds onto the lollipop stick. This step prevents the cake ball from falling apart during the dipping process.
When melting chocolate, do so in short intervals. Stir between each interval; avoid overheating, which can create a clumpy texture. A smooth chocolate coat is critical for that gorgeous finish.
Tips/tricks
- Be creative with the cake flavors and frosting. Mix and match to surprise your taste buds.
- For smoother coating, tap the stick to remove excess chocolate before setting.
- Use a cookie scoop for uniform cake balls, which helps with even baking and presentation.
- Experiment with various toppings. Consider crushed nuts, colorful sprinkles, or edible glitter.
Letting creativity flow enhances the cake pop experience.
Mastering Cake Pops
Perfecting results
Perfecting cake pops involves practice and patience. After a few attempts, you’ll learn how to roll the balls to the desired size and coat them evenly in chocolate. Pay attention to cooling times; letting the chocolate harden completely is crucial for a polished look.
The balance between cake and frosting plays a significant role too. Ensure the mixture isn’t too dry or too wet for the best results.
Troubleshooting/variations
It’s okay to encounter challenges along the way. If the cake pops fall off the stick, check if the cake mixture is too soft or if it hasn’t been frozen long enough. If your chocolate coating doesn’t adhere well, recheck the melting process.
Variations are also rewarding. For a different spin, consider omitting frosting altogether. Instead, try mixing the cake crumbs with flavored extracts or adding fruit puree for a zing.
Serving and Storing Cake Pops
Serving/presentation
Presentation transforms simple cake pops into show-stopping delights. Arrange them on decorative platters or use stylish containers. Creating a cake pop bouquet is crafty—place them in a container filled with foam or rice for stability, then wrap with decorative paper.
When serving, keep in mind the occasion to add themed decor. For birthdays, choose colorful sprinkles or themed designs.
Pairings/storage
Cake pops shine at celebrations but can be enjoyed anytime. Pair them with milk, coffee, or tea for a delightful treat experience. Their compact size makes them perfect for parties or simple snacks.
For storage, place them in an airtight container at room temperature. Properly stored, they can last up to a week. While refrigeration can prolong freshness, it may alter the texture, so keep them at room temperature whenever possible.
Cake pops bring out the sweet side of baking. They foster creativity and celebrate flavors. The process of making them delivers joy and connection, ensuring that every pop is more than just a treat—it’s a memory in the making.
Print
Cake Pops
- Prep Time: 15
- Cook Time: 30
- Total Time: 45
- Yield: 24 servings
- Category: Dessert
- Method: Baking
- Cuisine: American
- Diet: Vegetarian
Description
Delightful bite-sized treats made from cake and frosting, perfect for any occasion.
Ingredients
- 1 box of cake mix (any flavor)
- 2 eggs
- 1/2 cup of water
- 1/2 cup of vegetable oil
- 1 cup of frosting (any flavor)
- Chocolate or candy melts
- Sprinkles (optional)
- Lollipop sticks
Instructions
- Preheat the oven and bake the cake according to package instructions. Let it cool completely.
- Crumble the cooled cake into a large bowl.
- Add frosting to the crumbled cake and mix until well combined.
- Roll the mixture into small balls and place them on a baking sheet.
- Freeze the cake balls for about 30 minutes.
- Melt chocolate or candy melts in a microwave.
- Dip the end of each lollipop stick into the melted chocolate, then insert it into a cake ball.
- Dip each cake pop into the melted chocolate and allow any excess to drip off.
- Decorate with sprinkles if desired and let them set.
Notes
For smoother coating, tap the stick to remove excess chocolate before setting. Use a cookie scoop for uniform cake balls.
