📑 Table of Contents ▶
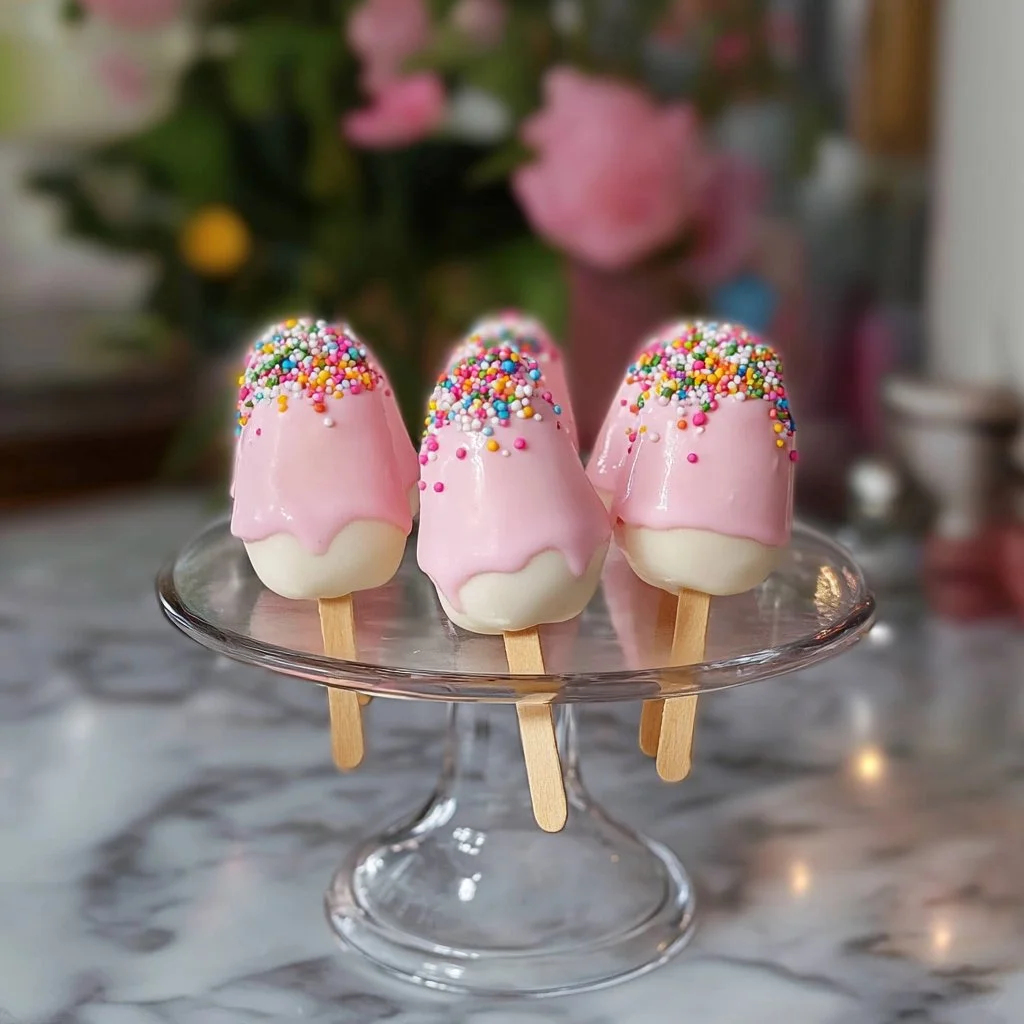
Ice Cream Cake Pops
Creating ice cream cake pops brings back fond memories of family gatherings and summer parties. The thrill of exploring different flavors and combinations always excited me. Each time we made these delightful treats, it felt like crafting tiny moments of joy – a delicious sweet surprise for everyone.
Ice cream cake pops combine the best of both worlds, allowing you to enjoy the creaminess of ice cream and the comforting texture of cake. They serve as the perfect treat for all ages, evoking a sense of nostalgia at every bite. The vibrant colors and sprinkles never fail to bring smiles, transforming any occasion into a celebration.
Incorporating your favorite ice cream flavor makes these cake pops endlessly customizable. Whether you prefer chocolate, vanilla, or something fruity, you can create a masterpiece that reflects your personal taste. This simple and fun recipe guarantees smiles for friends, family, and yourself!
Understanding Ice Cream Cake Pops
Fundamentals
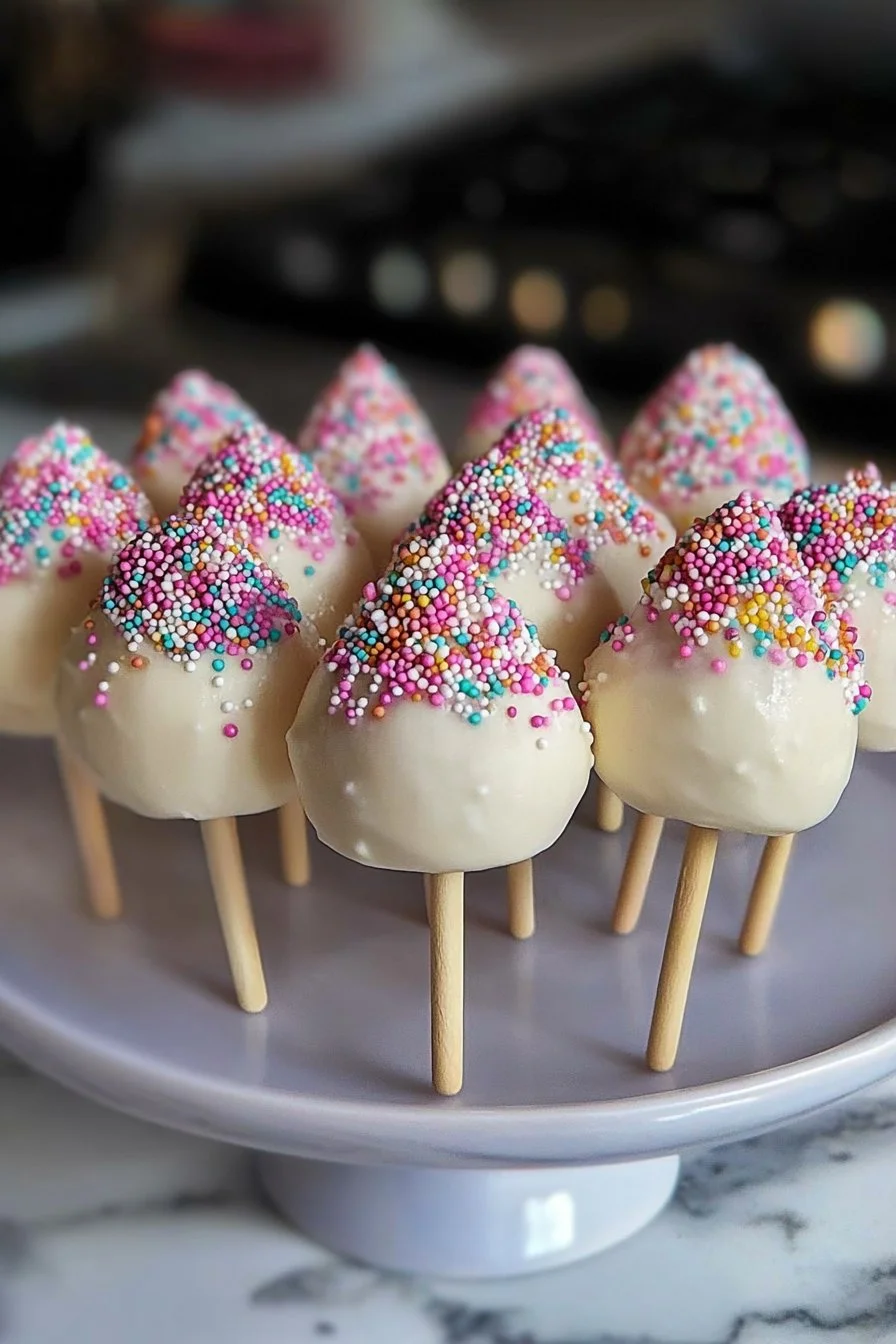
Ice cream cake pops are a delightful combination of soft ice cream and crumbled cake, all coated in sweet chocolate or candy melts. These treats are playful, easy to make, and perfect for sharing. The process involves freezing scoops of ice cream, transforming crumbled cake into a moldable mix, and encasing each ice cream ball in the cake layer.
The choice of ingredients allows endless flexibility. You can choose the ice cream, cake flavor, and even the type of chocolate for coating. This versatility attracts both children and adults alike, making ice cream cake pops suitable for birthday parties, summer picnics, or simply a fun family activity.
Preparation/Setup
To begin preparing ice cream cake pops, gather all your ingredients. Make sure you have your favorite ice cream, crumbed cake, candy melts or chocolate, popsicle sticks, and optional toppings ready.
Start by softening your ice cream slightly. Once it has softened adequately, scoop it into small balls and place them on a baking sheet. This initial step sets the groundwork for your cake pops. After that, place the baking sheet in the freezer to allow the balls to firm up, which typically takes about 30 minutes.
Ingredients
- Ice cream (your choice of flavor)
- Cake (any flavor, crumbled)
- Candy melts or chocolate (for coating)
- Popsicle sticks
- Sprinkles (optional)
- Chocolate syrup (optional)
Directions
- Let the ice cream soften slightly, then scoop it into small balls and place them on a baking sheet.
- Freeze the ice cream balls for about 30 minutes until firm.
- In a bowl, mix the crumbled cake with a little bit of frosting until it reaches a moldable consistency.
- Shape the mixture around the frozen ice cream balls until they are fully covered and form a firm shape.
- Insert a popsicle stick into each cake pop and freeze for another hour.
- Melt the candy melts or chocolate in a bowl.
- Dip each cake pop in the melted chocolate, then roll in sprinkles if desired.
- Place them back on the baking sheet to set.
- Enjoy your ice cream cake pops!
Tips and Techniques for Ice Cream Cake Pops
Technique
Perfecting the technique of making ice cream cake pops ensures they turn out beautifully every time. Make sure your ice cream is just soft enough to scoop; otherwise, it won’t hold its shape. The crumbled cake and frosting mixture should bind well together, showcasing a consistency that allows you to mold it around the ice cream effectively.
When inserting popsicle sticks, ensure they go in deep enough to provide stability but not so far that they pierce through the other end. This crucial step will prevent your cake pops from falling apart during dipping and while they set.
Tips/Tricks
Experiment with different cake and ice cream flavor combinations. Want something fruity? Try lemon cake with strawberry ice cream. Feeling adventurous? Opt for red velvet cake with cream cheese frosting paired with chocolate ice cream.
If you want extra fun, set up a decorating station with various sprinkles, crushed candies, and toppings. Let your friends and family customize their pops for a truly memorable experience.
Perfecting Your Ice Cream Cake Pops
Perfecting Results
Achieving perfect ice cream cake pops might take some practice, but it’s worth the effort. Pay attention to freezer time; not freezing long enough can lead to messy handling. Likewise, allow the chocolate coating to cool slightly before dipping to prevent the ice cream from melting too quickly.
Using a deep bowl for chocolate or candy melts dipping will ensure full coverage. This will create a beautiful, even coat for each pop, helping to enhance the overall appearance.
Troubleshooting/Variations
If your pops feel too soft after assembling, consider freezing them longer before dipping. Alternatively, if your chocolate coating isn’t sticking, dip the cake pops back in the melted chocolate immediately after you’ve placed them back on the baking sheet. This ensures an even coating.
For variations, explore different candy melts or add some extracts to your cake mixture for enhanced flavor. Incorporating pieces of cookies or candy within your cake mix can add exciting textures and bursts of flavor.
Serving and Storing Ice Cream Cake Pops
Serving/Presentation
Ice cream cake pops shine best when you present them beautifully. A decorative platter filled with colorful sprinkles will attract attention and bring an element of fun to the gathering. Consider arranging the pops in a foam block or deep container for easy serving and standout presentation.
For an extra touch, drizzle some chocolate syrup over the cake pops just before serving. The contrasting colors will create an eye-catching display that guests can’t resist.
Pairings/Storage
Pair your ice cream cake pops with a refreshing fruit salad or a scoop of sorbet for a delightful dessert spread. Store leftover cake pops in an airtight container in the freezer. This will preserve their shape and flavor, allowing you to enjoy them for days.
When properly stored, they can last for about a week, but beware of freezer burn! For best results, always consume them within the first few days after preparation.
Ice cream cake pops effortlessly combine fun and flavor, providing an enjoyable treat for every occasion. The simple recipe empowers you to create beautifully crafted pops that delight your taste buds and create lasting memories. Dive into this delightful project today and spread the joy of homemade treats with family and friends!
Print
Ice Cream Cake Pops
- Prep Time: 15 minutes
- Cook Time: 30 minutes
- Total Time: 45 minutes
- Yield: 12 servings
- Category: Dessert
- Method: Freezing
- Cuisine: American
- Diet: Vegetarian
Description
Delightful ice cream cake pops, combining creamy ice cream and crumbled cake coated in chocolate.
Ingredients
- Ice cream (your choice of flavor)
- Cake (any flavor, crumbled)
- Candy melts or chocolate (for coating)
- Popsicle sticks
- Sprinkles (optional)
- Chocolate syrup (optional)
Instructions
- Let the ice cream soften slightly, then scoop it into small balls and place them on a baking sheet.
- Freeze the ice cream balls for about 30 minutes until firm.
- In a bowl, mix the crumbled cake with a little bit of frosting until it reaches a moldable consistency.
- Shape the mixture around the frozen ice cream balls until they are fully covered and form a firm shape.
- Insert a popsicle stick into each cake pop and freeze for another hour.
- Melt the candy melts or chocolate in a bowl.
- Dip each cake pop in the melted chocolate, then roll in sprinkles if desired.
- Place them back on the baking sheet to set.
- Enjoy your ice cream cake pops!
Notes
Experiment with different cake and ice cream flavor combinations. For best results, serve within a few days of preparation.
