📑 Table of Contents ▶
3-Ingredient Homemade Strawberry Fruit Roll-Ups
Making homemade strawberry fruit roll-ups becomes a delightful venture into a sweet and tangy world. Growing up, I loved the simple pleasure of snacking on these chewy treats. A colorful burst of flavor would brighten any day, and they always reminded me of summer.
The joy of crafting these fruit roll-ups lies in their simplicity. With just three ingredients, you can whip up a delicious snack that everyone will love. I remember the thrill of watching my children help blend the strawberries, honey, and lemon juice, their eyes gleaming with excitement. Today, these fruit roll-ups serve not just as a snack but also as a way to create cherished memories in the kitchen.
Homemade strawberry fruit roll-ups offer a healthy alternative to store-bought snacks. Instead of ladening your diet with preservatives and additives, you can savor the pure, sweet taste of strawberries. Feeling the soft, chewy texture and enjoying the natural sweetness is a reminder of the joy found in simple things.
Transforming fresh or frozen strawberries into these roll-ups fills your home with a sweet aroma. This recipe connects generations through its uncomplicated steps and delicious results. Dive into this delightful adventure, and let the flavors of strawberries create lasting moments.
Making Homemade Strawberry Fruit Roll-Ups
Fundamentals
Creating homemade strawberry fruit roll-ups starts with understanding the basics of transformation. You’ll take fresh or thawed strawberries and blend them with honey and lemon juice to create a smooth mixture. This unique combination serves both flavor and purpose. The strawberries offer sweetness and rich flavor. Honey adds a natural sweetness, while lemon juice balances the flavors with its tangy touch.
Select ripe strawberries for your roll-ups, as they hold the best flavor. If using frozen strawberries, ensure they defrost completely. This ensures you get a smooth texture in your fruit mix. The beauty of this recipe lies in its versatility. Whether you prefer fresh strawberries at their peak or frozen ones when they are not in season, you can create fantastic roll-ups anytime.
Incorporating these three ingredients comes without fuss. No complicated techniques are required. All you need is a food processor or blender to mix your ingredients into a vibrant paste. This simplicity makes this recipe fun to make together as a family or solo on a quiet afternoon.
Preparation/Setup
Preparing to make homemade strawberry fruit roll-ups involves simple but essential steps. First, preheat your oven to between 140 to 170 degrees F, or to the lowest setting your oven allows. This low temperature facilitates slow drying, ensuring the fruit retains its flavor while becoming chewy.
Next, line a sheet pan with parchment paper. This step prevents the fruit mixture from sticking, allowing for an easy release once dried. Unwrapping that parchment paper to reveal your finished roll-ups becomes a joyful moment. It means your carefully crafted snack is almost ready to enjoy.
Now gather your ingredients: three cups of strawberries, three tablespoons of honey, and two tablespoons of lemon juice. Place these ingredients in your food processor. Blend until you achieve a smooth texture. This mixture should have a beautiful pink hue, tempting and vibrant.
Once blended, pour the fruit mixture onto the parchment-lined pan. Spread it evenly across the pan to about ⅛ to ¼ inch thick, ensuring even drying. This uniformity allows for consistent texture in each strip of fruit roll-up.
Bake the mixture in your prepared oven for about 4 to 6 hours, checking periodically. The goal is to achieve a non-tacky center. The time varies based on your oven settings, so patience pairs beautifully with this process.
Ingredients
Homemade strawberry fruit roll-ups require just three wonderful, wholesome ingredients:
- 3 cups strawberries, either fresh or frozen (thawed)
- 3 tablespoons honey
- 2 tablespoons lemon juice
These ingredients offer a perfect harmony of flavors. Select the ripest strawberries for a sweeter result—if strawberries peak in season, enjoy their fresh essence!
Honey imparts natural sweetness, elevating the strawberries without overwhelming them. It binds the components together, keeping the roll-ups chewy and delightful. Lemon juice not only provides a zesty kick but also aids in preserving the fresh flavor of the strawberries during drying.
Directions
- Preheat your oven to between 140 and 170 degrees F, or as low as your oven can go.
- Line a sheet pan with parchment paper and set it aside.
- Combine strawberries, honey, and lemon juice in a food processor or blender. Blend until smooth.
- Pour the fruit mixture onto the lined sheet pan and spread it evenly to about ⅛ to ¼ inch thick.
- Place the pan in the oven and let it bake for 4 to 6 hours, checking that the middle no longer feels tacky.
- Once cooled, remove the mixture from the sheet pan. With clean scissors or a pizza cutter, trim the edges. Cut into 1-inch wide strips.
- Enjoy!
Best Techniques for Homemade Fruit Roll-Ups
Technique
Making homemade strawberry fruit roll-ups thrives on technique. The blending method plays a crucial role in creating a smooth and flavorful mixture. Use a blender or food processor, and make sure to pause occasionally to scrape down the sides, ensuring even blending.
Spread the mixture evenly across the pan, keeping the thickness consistent. This step guarantees an even drying process, resulting in uniformly chewy strips. Thicker areas will take longer to dry, potentially leading to uneven results.
Allow the roll-ups to cool completely after removing them from the oven. This cooling phase further solidifies their texture and intensifies the flavor.
Tips/Tricks
Several tips can elevate your homemade strawberry fruit roll-ups. Experiment with flavored variations by incorporating other fruits. Add a ripe banana or a few blueberries for a unique twist. Consider spices such as cinnamon for a warm touch, too.
Use freshly cleaned scissors or a sharp pizza cutter for clean edges when cutting. This simple step enhances presentation and appeals to various snacking occasions.
Store the cut roll-ups in an airtight container or wrap them individually in parchment paper for maximum freshness. This ensures they stay chewy and flavorful for longer.
Perfecting Your Fruit Roll-Ups
Perfecting Results
Perfecting your homemade strawberry fruit roll-ups comes from a blend of patience and care. Ensure the strawberries are ripe, as sweetness impacts the final flavor significantly. If using frozen strawberries, allow them to thaw completely, draining excess liquid before blending.
Monitor your oven’s temperature. Some ovens may operate differently. If they run hot, check your roll-ups to prevent over-drying. When the centers are no longer tacky, your roll-ups are ready!
Furthermore, adjusting your honey levels can create the perfect sweetness balance. Add more honey for a sweeter treat, or reduce it slightly for a more tart result.
Troubleshooting/Variations
Sometimes, results may vary from what you expect. If your roll-ups turn out too tacky, return them to the oven for longer. Alternatively, if they become too brittle, they can still be enjoyed; simply break them up as a topping for yogurt or oatmeal.
Variate by adding different fruits to your mixture. Peaches or mango can deliver an exciting flavor contrast, while still maintaining the fruit roll-up integrity.
If storing for longer periods, consider freezing your roll-ups. Freeze them in individual portions to enjoy a healthy snack even weeks later.
Presenting Your Strawberry Roll-Ups
Serving/Presentation
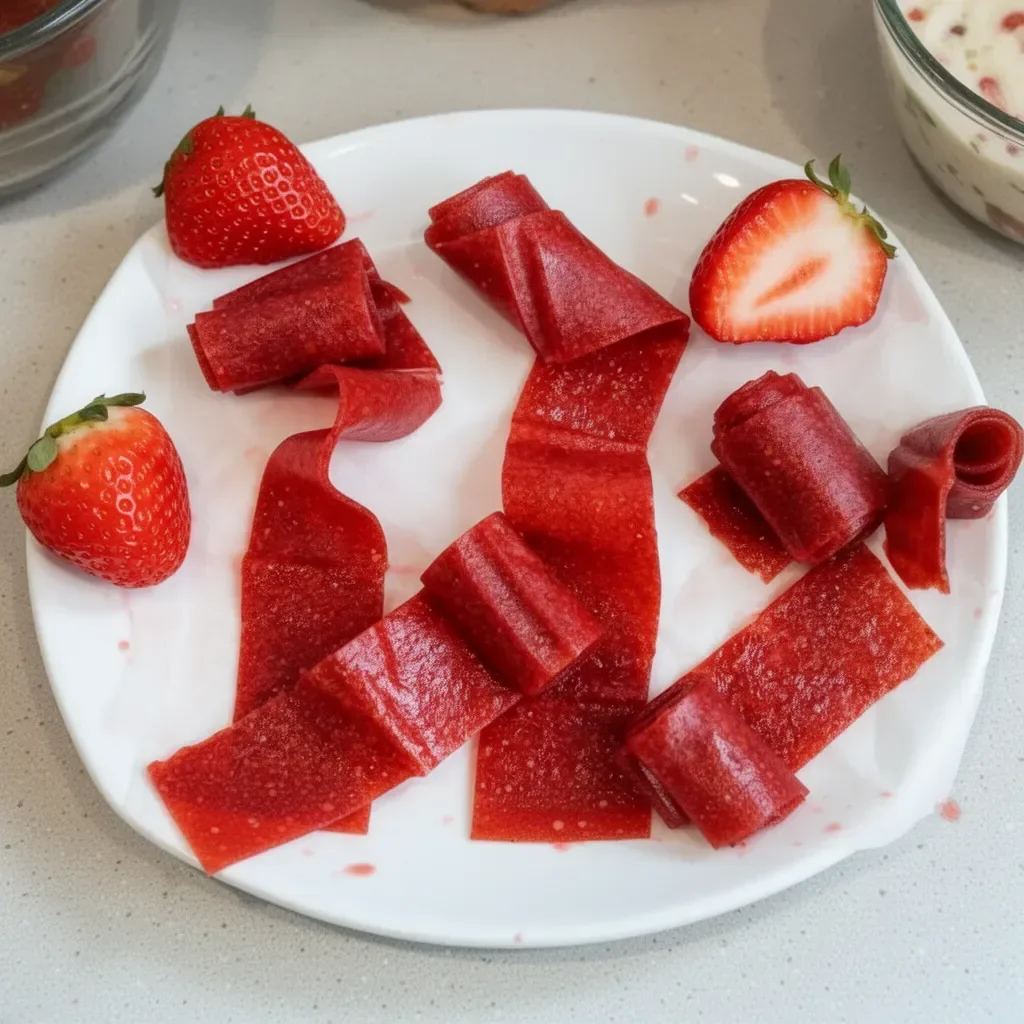
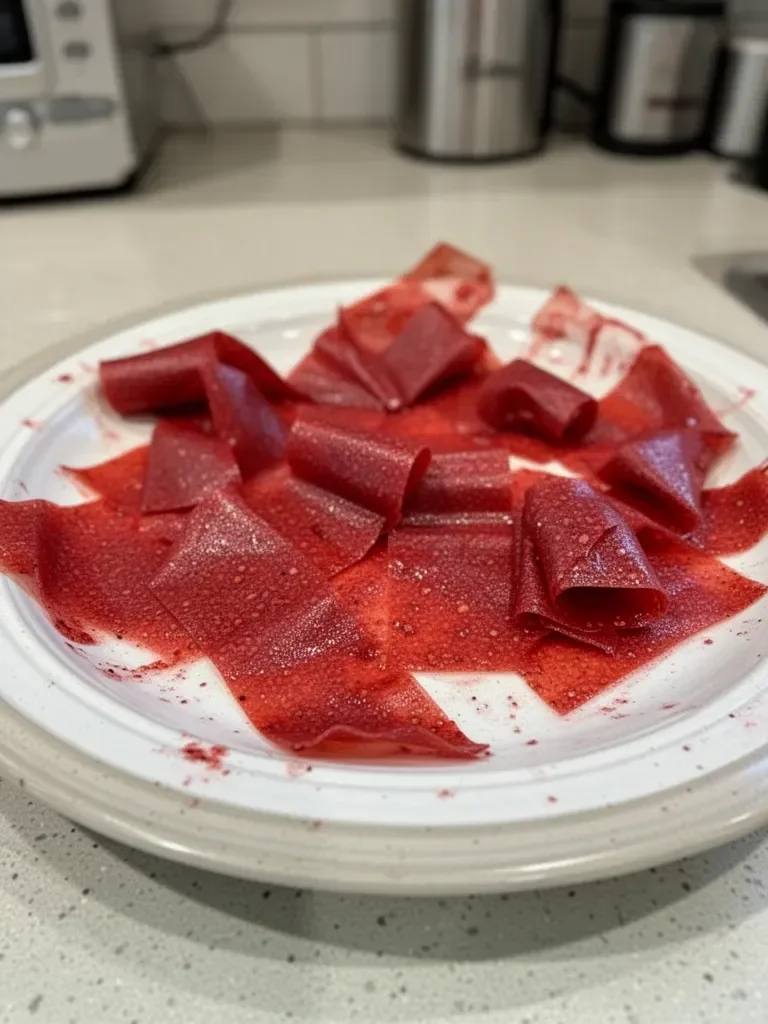
Homemade strawberry fruit roll-ups shine when presented creatively. Arrange the strips on a colorful plateto excite the eyes. For a fun snack board, combine them with nuts, yogurt, and fresh fruits.
For kids’ lunch boxes, roll them neatly and tie them with a string for an appealing presentation. Their vibrant color naturally attracts little hands, adding a touch of joy to lunchtime.
Pairing/Storage
Enjoy your homemade strawberry fruit roll-ups as they are, or pair them with creamy yogurt for a delectable snack. They also work wonderfully as a topping on oatmeal or as part of a dessert platter.
For proper storage, keep the roll-ups in an airtight container at room temperature for up to two weeks. Alternatively, refrigerate for longer shelf life, ensuring they remain fresh and flavorful.
In conclusion, homemade strawberry fruit roll-ups provide a delightful way to enjoy the sweet taste of strawberries. Simple preparation and wholesome ingredients create both flavor and fond memories, making these treats more than just snacks. Enjoy the process and savor the results!
Print
3-Ingredient Homemade Strawberry Fruit Roll-Ups
- Prep Time: 15 minutes
- Cook Time: 240 minutes
- Total Time: 255 minutes
- Yield: 8 servings
- Category: Snack
- Method: Baking
- Cuisine: American
- Diet: Vegan
Description
Delightful homemade strawberry fruit roll-ups made with just three simple ingredients for a chewy, sweet snack.
Ingredients
- 3 cups strawberries, either fresh or frozen (thawed)
- 3 tablespoons honey
- 2 tablespoons lemon juice
Instructions
- Preheat your oven to between 140 and 170 degrees F, or as low as your oven can go.
- Line a sheet pan with parchment paper and set it aside.
- Combine strawberries, honey, and lemon juice in a food processor or blender. Blend until smooth.
- Pour the fruit mixture onto the lined sheet pan and spread it evenly to about ⅛ to ¼ inch thick.
- Place the pan in the oven and let it bake for 4 to 6 hours, checking that the middle no longer feels tacky.
- Once cooled, remove the mixture from the sheet pan. With clean scissors or a pizza cutter, trim the edges. Cut into 1-inch wide strips.
- Enjoy!
Notes
Consider adding other fruits like bananas or blueberries for a twist. Store in an airtight container for freshness.
