
📑 Table of Contents ▶
DIY Pizza Lunchable
Creating a DIY Pizza Lunchable brings together both nostalgia and simplicity. When growing up, those little packs filled with crackers, cheese, and pepperoni were the ultimate treat. As an adult, the thrill of recreating that deliciousness in my own kitchen is just as exciting, if not more so.
This fun and easy approach to lunch not only satisfies hunger but also invites creativity. With just a few simple ingredients, you can whip up a tasty meal that pleases kids and adults alike. The unique flavors of cheese, pepperoni, and pizza sauce come together to evoke memories of family gatherings and simple joys.
With this DIY Pizza Lunchable recipe, you can embrace the spirit of homemade meals. Enjoy the crunchy texture of the crackers paired with gooey cheese, savory pepperoni, and a dip of zesty pizza sauce. Explore the option of adding fresh vegetables to customize it further. This recipe makes for an ideal, on-the-go meal that can fit into busy lifestyles.
Let’s dive into how to create your very own pizza lunchables that are as delightful as they are straightforward.
Building the DIY Pizza Lunchable
Fundamentals
Creating the perfect DIY Pizza Lunchable begins with understanding the essential components. The main ingredients—crackers, cheese, and pepperoni—form the base of your tasty creation. Each element plays a role in balancing flavors and textures.
Choose sturdy crackers that can hold up to various toppings. They serve as a crunchy foundation that adds an appealing contrast to the creamy cheese and savory pepperoni slices. Sliced cheese provides that classic pizza flavor, while the pepperoni adds a spicy kick. You can also enhance your creation with fresh vegetables.
While this lunchable is incredibly simple to make, the joy lies in customization. Each person can personalize their lunchable experience based on their tastes. This versatility makes it a crowd-pleaser for everyone, from the pickiest eaters to those who relish bold flavors.
Preparation/Setup
Start by preparing your workspace for an organized assembly. Gather all your ingredients, making sure to have everything you need within arm’s reach. Setting up a designated area will make crafting your DIY Pizza Lunchable more efficient and fun.
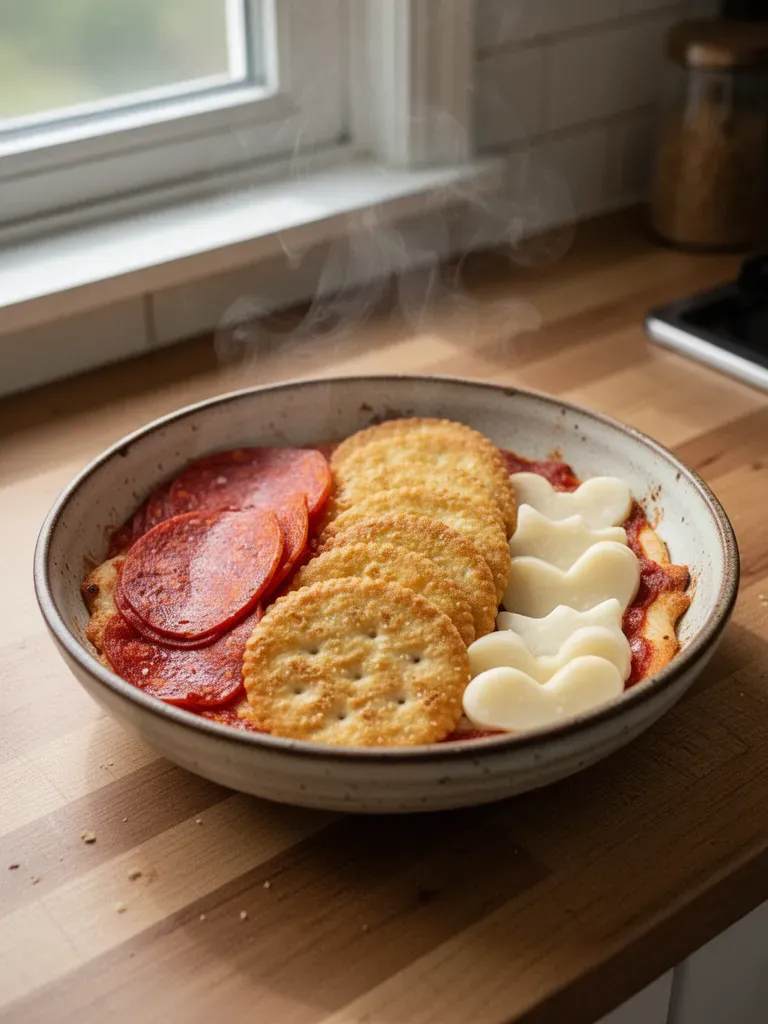
Begin by laying out your crackers on a plate or in a lunchbox. This forms the base of your lunchable and sets the stage for the toppings. Make sure the crackers sit side by side without overlapping. This arrangement will make it easier to add the cheese and pepperoni.
Next, take your sliced cheese and place one piece on top of each cracker. The cheese will melt slightly if left at room temperature, enhancing the overall flavor experience. Then, layer a few slices of pepperoni on each cheese-topped cracker. The assembly process becomes a creative activity, especially for kids who enjoy personalizing their meals.
Ingredients
- Crackers: Choose whole grain or classic varieties.
- Sliced cheese: Opt for your favorite cheese like cheddar, mozzarella, or Swiss.
- Pepperoni slices: Select thinly sliced pepperoni for ease of layering.
- Pizza sauce: Have a small container ready for dipping.
- Vegetables (optional): Chopped bell peppers, olives, or sliced cucumbers for added flair.
Directions
- Start by laying out the crackers on a plate or in a lunchbox.
- Add a slice of cheese on top of each cracker.
- Place a few slices of pepperoni on top of the cheese.
- Include a small container of pizza sauce for dipping.
- If desired, add sliced vegetables for extra toppings.
- Pack the assembled lunchable in a lunchbox for an easy, on-the-go meal.
Creative Spins on Your Pizza Lunchable
Technique
Experimenting with various techniques can elevate your DIY Pizza Lunchable. For those who love a bit of zest, consider incorporating herbs into the cheese layer. A sprinkle of Italian seasoning or garlic powder can certainly enhance the flavor.
You can also toast the crackers lightly in the oven before assembly. This technique adds an extra crunch and warms up the cheese and toppings if you plan to eat them immediately.
For a more gourmet touch, try using flavored crackers. Options like garlic or herb-infused crackers can add an exciting twist to the overall taste experience.
Tips/Tricks
Here’s where creativity shines. You can incorporate a range of toppings based on what you have on hand. Consider adding diced tomatoes, jalapeños, or even a sprinkle of parmesan cheese.
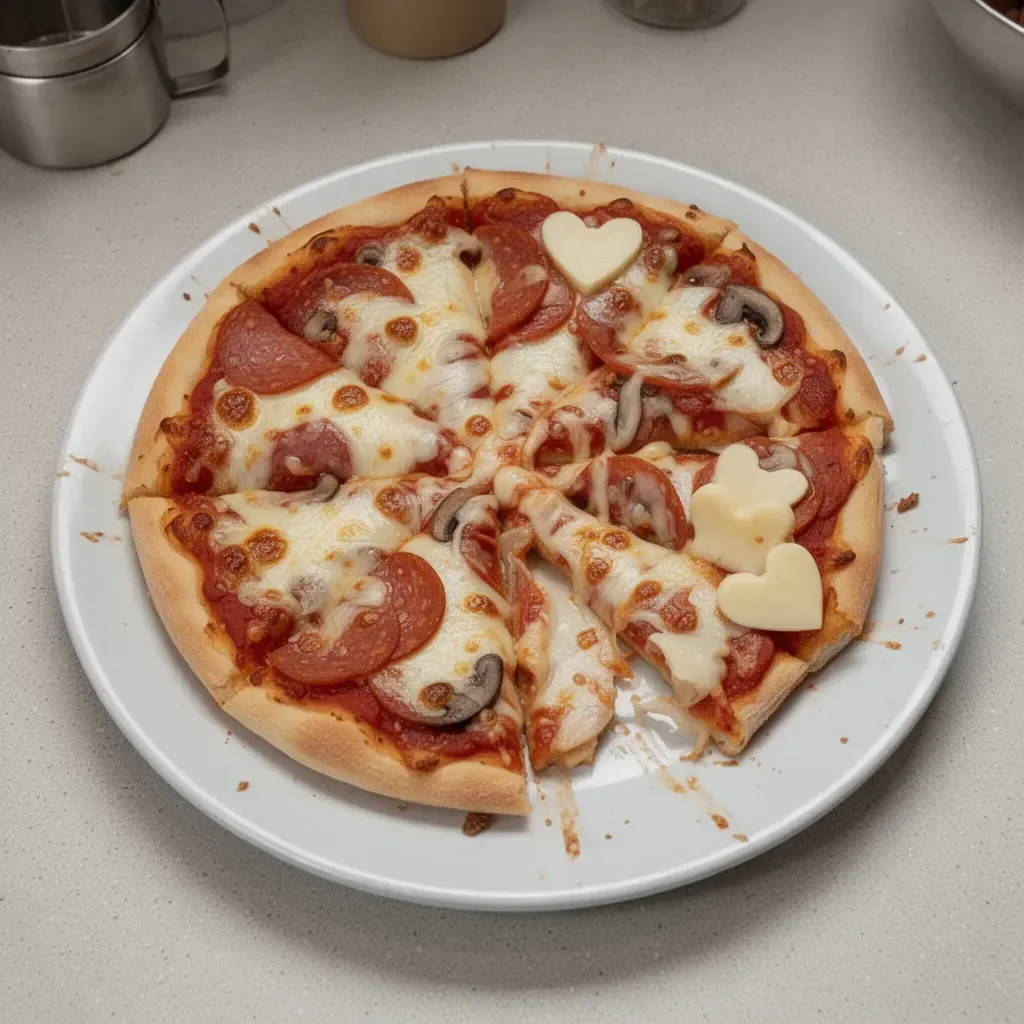
Have fun with the shapes. If you have cookie cutters, transform your cheese slices into fun shapes to engage kids in the process. Making food visually appealing can make it more exciting for young diners.
Lastly, assembly line-style preparation works well when making multiple servings. Get your little chefs involved and let them choose their toppings while you oversee the assembly.
Elevating Your Pizza Lunchable Experience
Perfecting Results
Achieving the perfect DIY Pizza Lunchable comes down to balance. Ensure each layer complements the other to enhance flavor harmony. Start with the right ratios of cheese to pepperoni and ensure your crackers are fresh.
A good rule of thumb is to use one slice of cheese for every two crackers. This allows for a satisfying proportion of toppings without overwhelming the crackers. If using vegetables, be conscious of their moisture content, as some may cause the crackers to become soggy.
Troubleshooting/Variations
Should your crackers soften before enjoying, consider investing in sturdier varieties or adding the toppings closer to serving time. Avoid the spread of pizza sauce directly on the crackers until just before eating to maintain optimal crunch.
If you’re incorporating fresh vegetables, slice them thinly to prevent overpowering the other flavors. Experiment with different types of cheese for those who prefer a sharper flavor or a milder taste.
If you want to create a kid-friendly option, let children get involved in the process, and allow each to have input on their toppings and flavors.
Serving and Storing Your Lunchable
Serving/Presentation
Presentation transforms the experience of eating. Serve your DIY Pizza Lunchable with an appealing display. Arrange the crackers neatly, showcasing the colorful toppings, and present the pizza sauce in a fun dipping container.
Consider pairing your lunchable with a side of fruit or a small treat for a well-rounded meal. This visual appeal can make the meal feel festive, encouraging everyone to dig in and enjoy.
Pairings/Storage
While the DIY Pizza Lunchable stands wonderfully on its own, you can complement it with fresh fruit such as grapes or apple slices for a refreshing balance. Alternatively, serve it alongside crispy baked veggie chips to enhance the crunchiness.
Store any leftover ingredients in airtight containers in the fridge. Proper storage ensures freshness for your next pizza lunchable creation. To keep crackers fresh, consider storing them separately and assembling your lunchable when ready to eat.
Conclusion
Creating a DIY Pizza Lunchable transforms a nostalgic snack into a delightful homemade meal. By focusing on quality ingredients and encouraging personal creativity, everyone can find joy in assembling their own lunchables. Enjoy the process, explore new toppings, and savor the vibrant flavors—experience the bliss of homemade simplicity.
Print
DIY Pizza Lunchable
- Prep Time: 10 minutes
- Cook Time: 0 minutes
- Total Time: 10 minutes
- Yield: 2 servings
- Category: Snack
- Method: No-Cook
- Cuisine: American
- Diet: N/A
Description
A nostalgic and customizable DIY Pizza Lunchable recipe that brings together crunchy crackers, gooey cheese, and savory pepperoni for a delightful lunch experience.
Ingredients
- Whole grain or classic crackers
- Sliced cheddar, mozzarella, or Swiss cheese
- Thinly sliced pepperoni
- Pizza sauce in a dipping container
- Chopped bell peppers, olives, or sliced cucumbers (optional)
Instructions
- Start by laying out the crackers on a plate or in a lunchbox.
- Add a slice of cheese on top of each cracker.
- Place a few slices of pepperoni on top of the cheese.
- Include a small container of pizza sauce for dipping.
- If desired, add sliced vegetables for extra toppings.
- Pack the assembled lunchable in a lunchbox for an easy, on-the-go meal.
Notes
Customize your lunchable with different toppings, such as diced tomatoes or jalapeños. Use cookie cutters for fun cheese shapes to engage kids.