📑 Table of Contents ▶
Recipe: Bean and Cheese Pupusas + Meal Plan Monday Week 7
The first time I experienced the joy of bean and cheese pupusas was in a lively kitchen, filled with the sounds of laughter and sizzling tortillas. My friend’s family prepared them during a celebration, and I felt instantly at home. Each bite brought warmth and an explosion of flavor, bridging cultures and embracing community.
Now, making bean and cheese pupusas fills my kitchen with the same excitement. The simplicity of the ingredients makes the process accessible, while the flavors remind me of those cherished moments. Every pupusa I create is a vessel of love and tradition. This recipe captures the essence of comfort food—easy to make and deeply satisfying.
As I roll out each tortilla, I think about how food connects us all. The combination of warm masa, savory beans, and melted cheese creates a delicious and indulgent treat that anyone can enjoy. Whether you share them at a gathering or savor them alone, these pupusas embody everything great about homemade cooking.
Bean and Cheese Pupusas
Fundamentals
Bean and cheese pupusas stand out as a delightful dish that transcends ordinary meals. Their roots in Salvadoran cuisine showcase the versatility of simple ingredients. The pupusa’s base consists of masa harina, a corn flour that creates a slightly sweet and nutty flavor. Paired with beans and cheese, these flavors meld into a comforting and rich experience.
Understanding the fundamental elements of this dish ensures success in every step. Choose high-quality fillings, whether you opt for re-fried beans or a blend of cheeses, to elevate your pupusas. Each ingredient harmonizes to make this recipe approachable and versatile, perfect for family dinners or weekend gatherings.
Preparation/setup
Starting this culinary adventure requires setting up your kitchen for success. Gather all your ingredients—masa harina, warm water, cheese, refried beans, and cooking oil. Creating a clean workspace makes the process smoother and more enjoyable.
Begin by mixing masa harina with warm water until you form a smooth dough. This dough serves as the base for your pupusas. While preparing them, keep a wet cloth on hand to cover the dough. This prevents it from drying out, ensuring that each pupusa remains moist and delicious. With the basics set, you’re ready to craft these delightful treats.
Ingredients
- 2 cups masa harina
- 1.5 cups warm water
- 1 cup refried beans (black or pinto)
- 1 cup shredded cheese (like mozzarella or Monterey Jack)
- 2 tablespoons cooking oil
- Salt to taste
Directions
- In a large bowl, combine masa harina and salt, gradually adding warm water. Mix until a smooth dough forms.
- Divide dough into balls, about the size of a golf ball.
- Flatten each ball into a disc, approximately ½ inch thick.
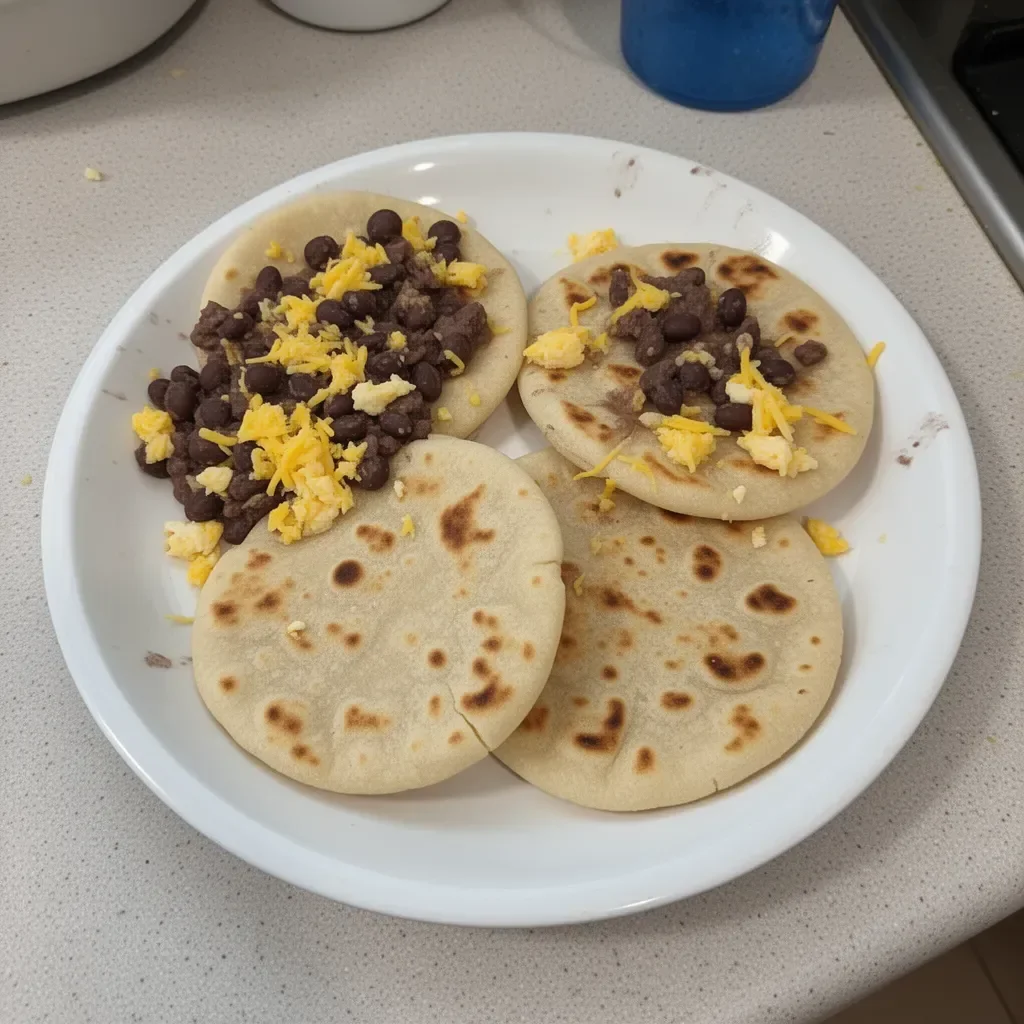
- Spread about a tablespoon of refried beans in the center, followed by a tablespoon of cheese.
- Carefully fold the edges over the filling, sealing it completely.
- Flatten gently to shape the pupusa into a disc again.
- Heat cooking oil in a skillet over medium heat. Cook each pupusa for about 3-4 minutes on each side, until golden brown.
- Serve warm, and enjoy the delightful combination of flavors.
Crafting the Perfect Pupusa Experience
Technique
Perfecting the pupusa requires attention to detail. When rolling out the dough, keep the thickness consistent to ensure even cooking. If you feel the dough sticks to your hands, lightly flour your workspace to ease the process. Additionally, using a non-stick skillet helps prevent the pupusas from sticking while providing a nice golden crust.
Another technique involves maintaining the right temperature during cooking. Too high, and you risk burning the pupusa; too low, and it may become soggy. Finding that sweet spot allows you to achieve the perfect texture every time.
Tips/tricks
Embrace flexibility in your ingredients. If you’re feeling adventurous, consider adding various spices or herbs to your masa. Experimenting with different types of cheese will also enhance the flavor profiles of your pupusas. For a spicy kick, add jalapeños or diced vegetables to the filling.
Also, remember the value of practice. The first couple may not turn out perfect, but don’t let that deter you. Each attempt brings you closer to mastering the craft of making pupusas that will impress family and friends.
Elevating Your Pupusa Game
Perfecting results
Achieving the best results with your bean and cheese pupusas revolves around a few critical factors. Firstly, ensure your dough maintains a pleasant texture—smooth and pliable. If your dough becomes dry or crumbly, add a little more water until it reaches a desirable consistency.
Secondly, allow your cooked pupusas to rest for a few minutes after cooking. This resting time allows the flavors to meld and enhances the overall texture, leading to a more enjoyable experience. And, of course, serving them immediately provides a warm, mouthwatering treat.
Troubleshooting/variations
Sometimes, things don’t go as planned. If your dough cracks while shaping, it likely contains too much air. Knead it more thoroughly and try again. If they fall apart while cooking, ensure you seal the edges effectively during the preparation phase.
You can also explore variations with different fillings or toppings. Consider incorporating sautéed vegetables or switching up the cheeses for unique flavor combinations. Each variation not only broadens your culinary horizons but also keeps mealtime exciting.
Serving and Storing Your Pupusas
Serving/presentation
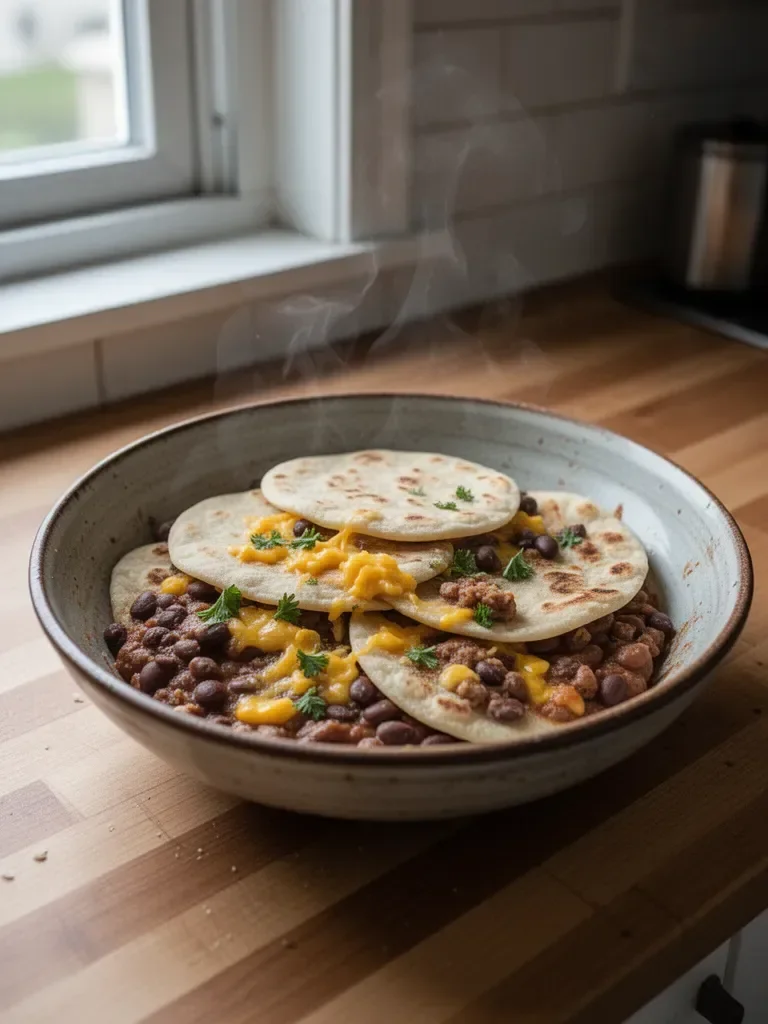
For an appealing presentation, stack your bean and cheese pupusas on a plate, and serve with a colorful side of shredded cabbage and salsa for contrast. The vibrant colors draw guests in and stimulate their appetite. Warm pupusas paired with savory toppings invite a delightful experience to the dinner table.
To elevate the meal further, consider accompanying them with sides like rice or a refreshing salad. These combinations enhance the flavors and create a dynamic meal your family will love.
Pairings/storage
Enjoying bean and cheese pupusas lends itself to various pairings beyond salsa. Freshly made pico de gallo or guacamole works exceptionally well, offering crunch and creaminess. For a drink, serve chilled aguas frescas for a refreshing complement.
If you have leftovers, store the pupusas in an airtight container in the fridge. Reheat them in a skillet or toaster oven to retain their crispness. With the right storage, you can savor the delicious flavors for days to come.
Creating bean and cheese pupusas brings a unique joy to the kitchen. Every moment spent preparing these delicious treats connects you to tradition while inviting creativity into your cooking. With simple ingredients and straightforward techniques, anyone can master this classic dish, turning mealtime into a memorable celebration of flavor and heritage. Enjoy sharing these pupusas and the happiness they bring to your table.
Print
Bean and Cheese Pupusas
- Prep Time: 15 minutes
- Cook Time: 20 minutes
- Total Time: 35 minutes
- Yield: 4 servings
- Category: Main Course
- Method: Cooking
- Cuisine: Salvadoran
- Diet: Vegetarian
Description
Delicious and comforting bean and cheese pupusas, perfect for gatherings or family dinners.
Ingredients
- 2 cups masa harina
- 1.5 cups warm water
- 1 cup refried beans (black or pinto)
- 1 cup shredded cheese (like mozzarella or Monterey Jack)
- 2 tablespoons cooking oil
- Salt to taste
Instructions
- In a large bowl, combine masa harina and salt, gradually adding warm water. Mix until a smooth dough forms.
- Divide dough into balls, about the size of a golf ball.
- Flatten each ball into a disc, approximately ½ inch thick.
- Spread about a tablespoon of refried beans in the center, followed by a tablespoon of cheese.
- Carefully fold the edges over the filling, sealing it completely.
- Flatten gently to shape the pupusa into a disc again.
- Heat cooking oil in a skillet over medium heat. Cook each pupusa for about 3-4 minutes on each side, until golden brown.
- Serve warm, and enjoy the delightful combination of flavors.
Notes
Consider adding spices or herbs to the masa for a unique twist. Practice makes perfect, so don’t be discouraged if the first few don’t turn out perfectly.
