📑 Table of Contents ▶
How to Make Cake Pops: Step-by-Step
Turning leftover cake into irresistible cake pops brings back memories of celebration and sweet indulgence. Each bite of these delightful treats takes me back to festive gatherings where desserts ruled the table and laughter filled the air. Whether it’s a birthday, holiday, or just a casual get-together, cake pops always add that special touch.
Using cake pops as a fun, interactive dessert option can brighten up any event. They are perfect for sharing and customizing, allowing you to express creativity through various decorations. Plus, they’re easy to make with just a few simple ingredients, making them accessible for everyone.
Embracing the art of making cake pops not only fuels creativity in the kitchen but also creates memorable experiences with family and friends. Gather your leftover cake, and let’s embark on the joyful journey of transforming it into these delicious bites of happiness.
Part 1 — How to Make Cake Pops
Fundamentals
Making delicious cake pops begins with understanding the technique. At their core, cake pops are simple: you combine crumbled cake with icing, shape them into balls, chill, and coat them with chocolate. The balance between the cake and frosting is crucial; it affects the texture and flavor of your cake pops.
You can use either leftover dry cake or a cake mix box. Both options yield fantastic results. Using leftover cake is an excellent way to reduce waste, while a cake mix gives you a fresh start. The process remains the same, providing endless opportunities to enjoy these sweet treats.
Preparation/setup
Start by preparing your workspace. Gather all your ingredients within reach to streamline the process. If using leftover dry cake, crumble it into fine pieces using a food processor. If you don’t have one, simply crumble it by hand. This step is vital as it ensures an even mix with the icing.
Next, decide how much icing to use. A can of icing typically contains enough for most cakes. Mix about three-quarters of the can with the cake crumbs initially. This approach gives you control over the moisture level of your dough, preventing it from becoming overly sticky. Adjust by adding more cake or icing as needed to achieve the perfect consistency.
Ingredients
For this delicious cake pop recipe, you’ll need the following ingredients:
- 1 leftover dry cake (or 1 cake mix box)
- 1 can of icing
- 1 package of candy melts
- 1 package of candy sticks
- Sprinkles (for decoration)
These basic ingredients lay the foundation for your cake pops. Each element plays a critical role in the flavor and texture, allowing your cake pops to shine.
Directions
-
If you are using a cake mix, bake according to package instructions, then allow it to cool completely. Once cooled, crumble the cake into fine crumbs.
-
Combine the cake crumbs with the icing in a mixing bowl. Start with three-quarters of the can, mixing until you achieve a dough-like consistency. Adjust as needed to keep it formable yet not too sticky.
-
Roll the mixture into uniform balls and place them on wax or parchment paper.
-
Chill the cake balls in the refrigerator for a few hours. This step is essential for achieving the perfect firm texture.
-
Melt the candy melts in the microwave according to the package directions, stirring frequently to prevent overheating. If you overheat, add a little shortening to restore the consistency.
-
Dip the ends of the candy sticks into the melted candy melts before inserting them into the cake balls. This acts as glue, helping to hold everything together.
-
Allow the candy coating to harden slightly on the cake balls.
-
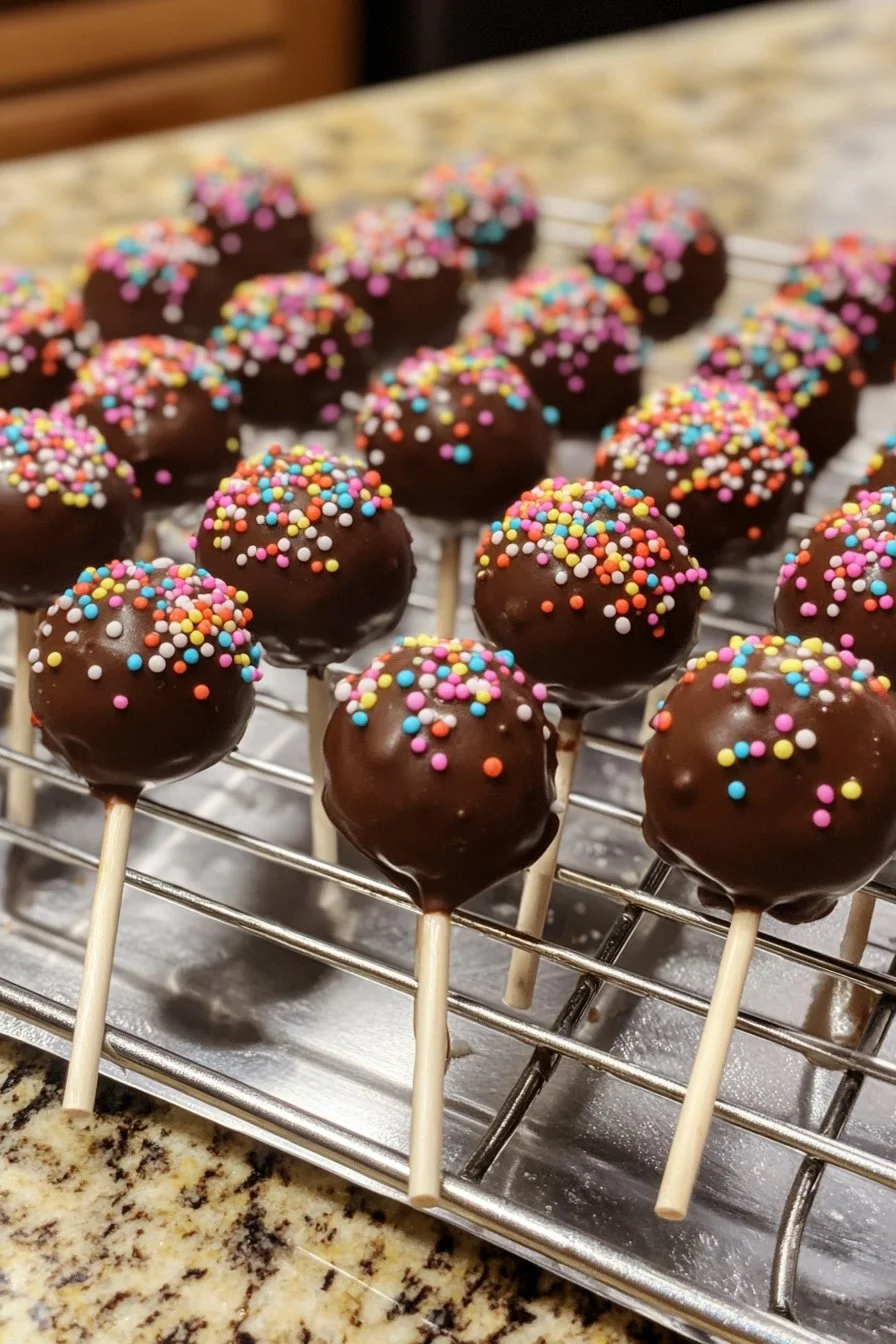
Dip each cake ball into the melted candy coating, letting excess chocolate drip off to one side.
-
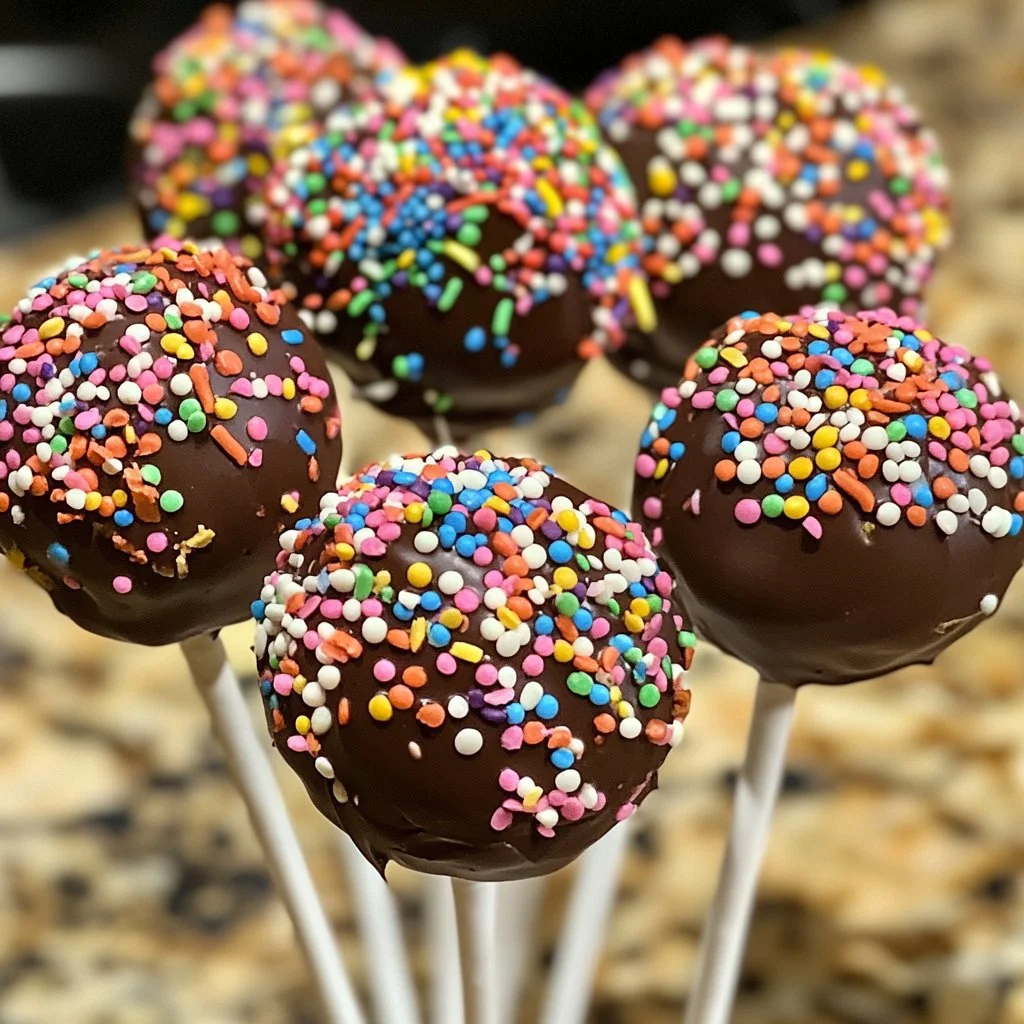
If desired, add sprinkles before the coating dries completely. For round cake pops, place them in a cake pop stand to dry.
Part 2 — Mastering Cake Pops
Technique
Perfecting cake pops involves mastering a few key techniques. Firstly, the chilling process is crucial. Properly chilled cake balls retain their shape during coating, preventing unwanted melting. Additionally, ensure the coating is warm enough to dip but not too hot; overheating can compromise the texture.
Another effective technique involves rotating the cake pop while dipping. This method helps to create an even coating and minimizes excess chocolate. Carefully tap the stick to remove any pooling chocolate, allowing for a clean finish.
Tips/tricks
Here are some handy tips to elevate your cake pop game:
- Use different flavors of icing to complement your cake’s flavor. This addition creates a unique flavor profile for your pops.
- Experiment with various candy melt colors to match different occasions or themes.
- Add contrast by using different colored sprinkles or edible glitter to give your cake pops a fun twist.
Part 3 — Elevating the Experience
Perfecting results
Achieving the perfect cake pop texture requires attention to detail. Your cake mixture should not be too dry or moist. Finding that balance enhances both flavor and the overall eating experience. A well-balanced mixture produces cake pops that pop in your mouth without crumbling or being overly gooey.
Incorporating flavored extracts like vanilla, almond, or orange can further enhance your pops’ flavor. A few drops can elevate your traditional cake pops to gourmet levels.
Troubleshooting/variations
If you encounter issues, don’t worry—troubleshooting is part of the journey. If your cake pops are falling off the sticks, it can indicate a few possible problems. First, ensure the cake balls are adequately chilled and the coating isn’t too hot during the dipping process. If a coating is too thick, consider adding a splash of shortening to achieve the right consistency.
You can also create variations by adding different fillings. Try using peanut butter or chocolate ganache in the center for a surprise twist. Alternatively, swap out traditional candy melts for flavored chocolate to create unique pops.
Part 4 — Serving and Storing Cake Pops
Serving/presentation
Presentation matters when serving cake pops. Use cake pop stands to showcase your creations at parties. A beautiful display adds an enticing visual element that draws everyone in. Additionally, consider arranging them on a decorative platter or inserting them into floral foam or Styrofoam for a stunning centerpiece.
Creative garnishes enhance your cake pops’ visual appeal. Edible glitter, coconut flakes, or even colorful drizzles add personality to each pop, appealing to both young and adult palates.
Pairings/storage
Cake pops pair excellently with various treats, making them a versatile addition to any dessert table. They complement iced coffee, hot cocoa, or even milkshakes for a delightful afternoon snack.
Store leftover cake pops in an airtight container in the refrigerator to keep them fresh for extended periods. They can last up to a week, allowing you to enjoy these treats well after they’ve been made. Ensure the container doesn’t crush the decorations, preserving their visual appeal.
Conclusion
Transforming leftover cake into cake pops is a delightful and enjoyable way to celebrate every occasion. The combination of flavors and textures brings a unique twist to traditional desserts, and the simplicity of the recipe makes it accessible for anyone. Embracing creativity through decorating and experimenting with flavors keeps each batch exciting and fresh. So grab your ingredients and get ready to whip up a treat that will surely bring smiles to everyone’s faces.
Print
Cake Pops
- Prep Time: 30 minutes
- Cook Time: 15 minutes
- Total Time: 45 minutes
- Yield: 12 servings
- Category: Dessert
- Method: Chilling and Coating
- Cuisine: American
- Diet: Vegetarian
Description
Transform leftover cake into delightful cake pops with this simple recipe, perfect for any celebration.
Ingredients
- 1 leftover dry cake (or 1 cake mix box)
- 1 can of icing
- 1 package of candy melts
- 1 package of candy sticks
- Sprinkles (for decoration)
Instructions
- If using a cake mix, bake according to package instructions, then allow it to cool completely. Once cooled, crumble the cake into fine crumbs.
- Combine the cake crumbs with the icing in a mixing bowl. Start with three-quarters of the can, mixing until you achieve a dough-like consistency. Adjust as needed to keep it formable yet not too sticky.
- Roll the mixture into uniform balls and place them on wax or parchment paper.
- Chill the cake balls in the refrigerator for a few hours.
- Melt the candy melts in the microwave according to the package directions, stirring frequently.
- Dip the ends of the candy sticks into the melted candy melts before inserting them into the cake balls.
- Allow the candy coating to harden slightly on the cake balls.
- Dip each cake ball into the melted candy coating, letting excess chocolate drip off.
- If desired, add sprinkles before the coating dries completely.
- For round cake pops, place them in a cake pop stand to dry.
Notes
Use different flavors of icing and various colors of candy melts for a unique twist on your cake pops.
